
How to Install Renaissance Security Gates
How to Install Renaissance Security Gates
The Renaissance Security Gate is designed for straightforward installation using common DIY tools. Follow the steps below to ensure a secure fit and smooth operation.
🛠️ Tools Required
🖊️ Marker or pencil
📏 Measuring tape
📐 Spirit level
🛠️ Multi-purpose drill
🔩 Drill bits (2mm, 4mm, 6mm, 8mm, 10mm for steel or timber)
🧱 Masonry drill bits (6mm and 10mm)
🔧 Phillips and flat-head screwdrivers
🔧 10mm and 13mm ring spanners
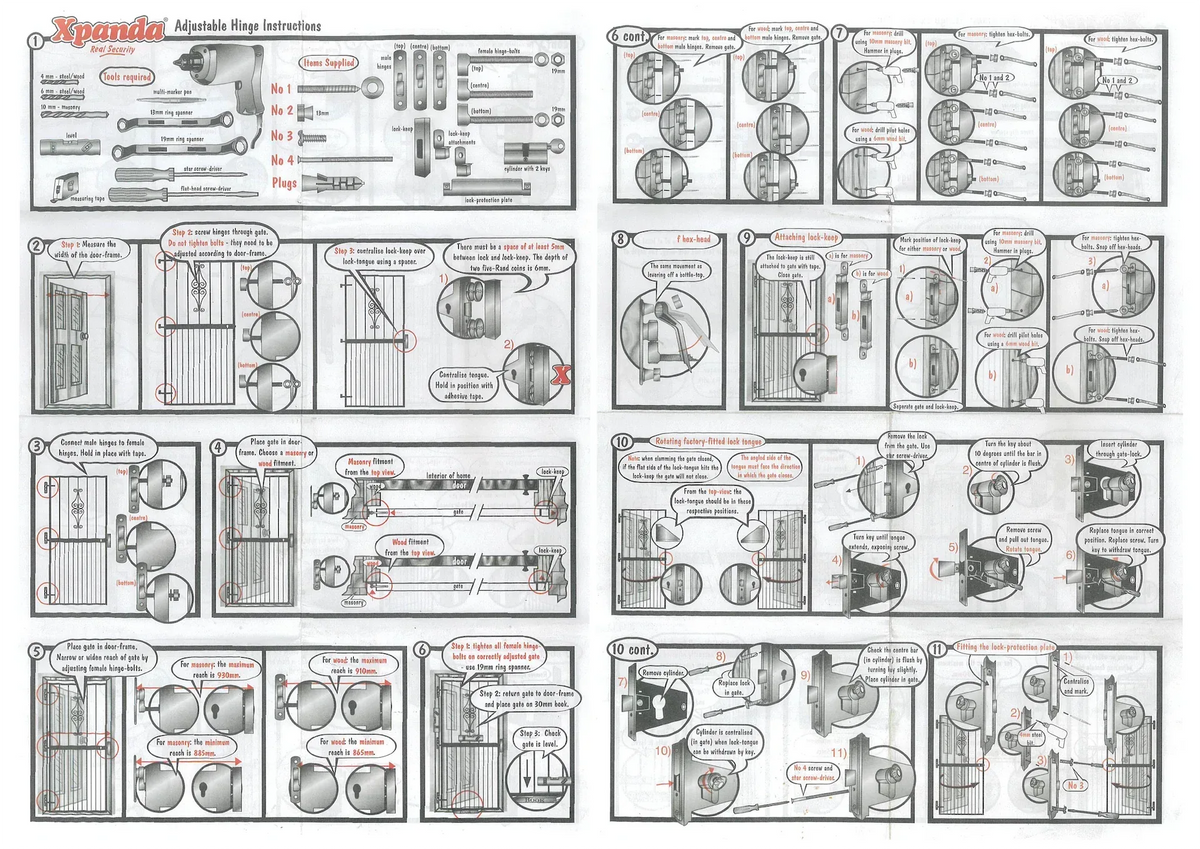
Step 1. Measure the Door Frame Width
Measure the inside width of the doorway where the gate will be installed. Always measure from inside the frame to ensure the gate fits correctly.
🚪 Measure carefully before proceeding.
Step 2. Attach the Hinges to the Gate
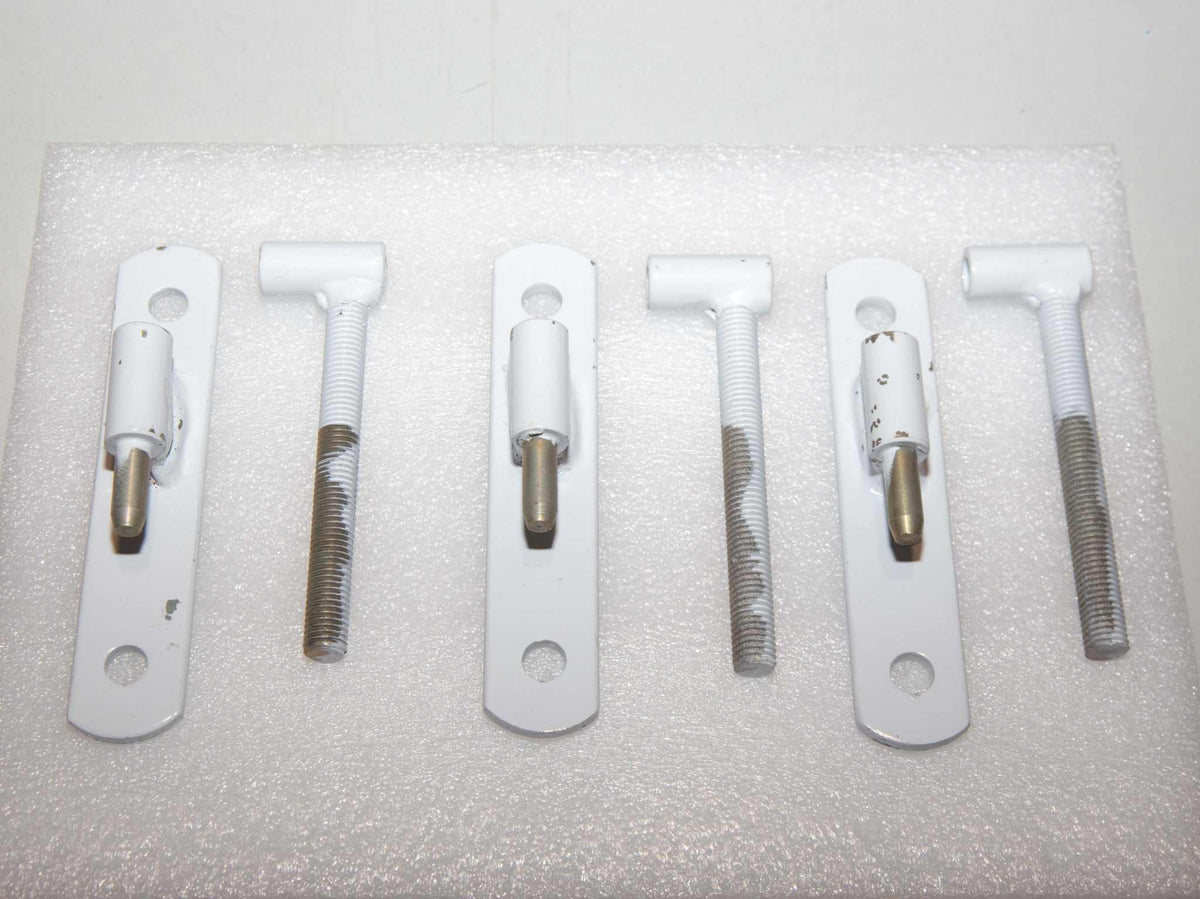
a. Attach the hinges to the gate.
b. Do not fully tighten them yet—leave enough movement for adjustment.
c. Align the hinges with the door frame.

Step 3. Position the Lock-Keep and Hinges
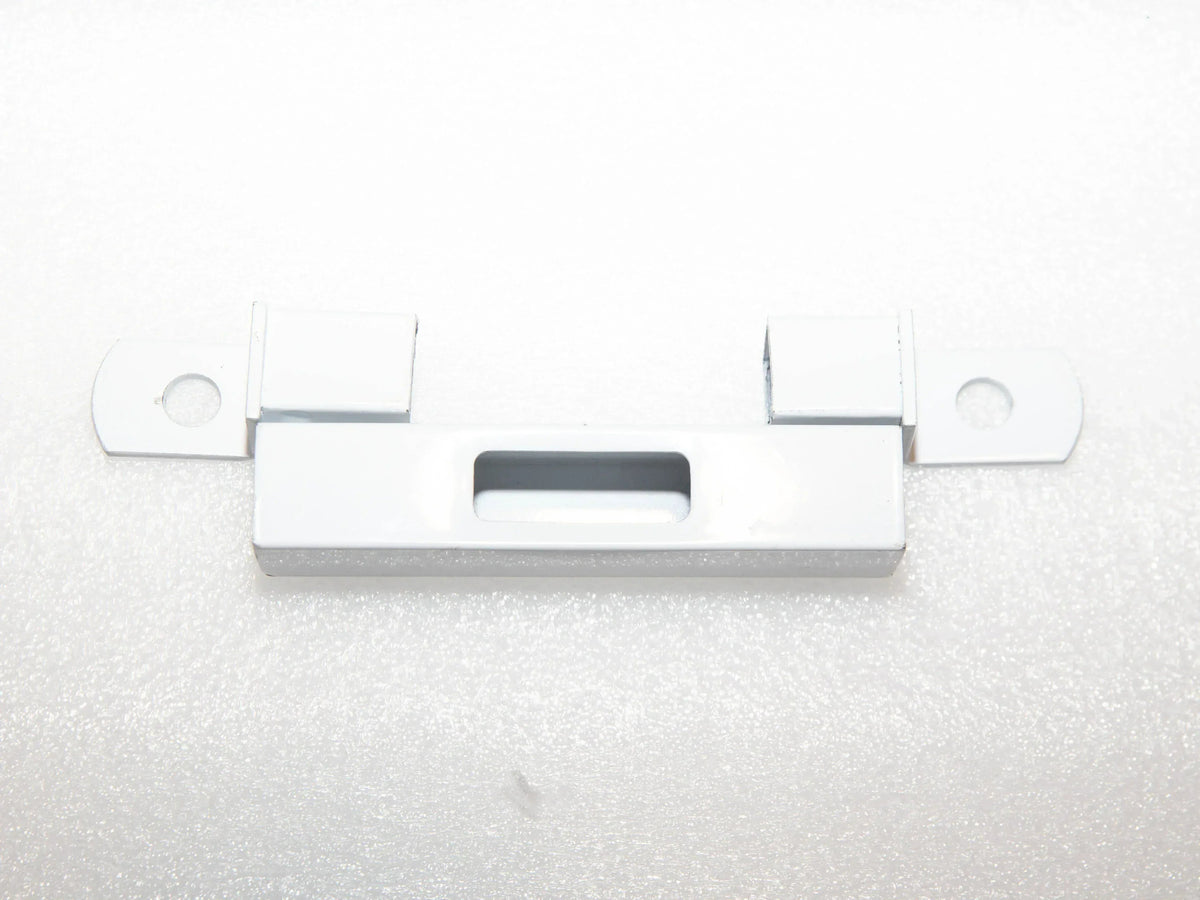
a. Centre the lock-keep over the lock tongue.
b. Use adhesive tape to temporarily hold the lock-keep in place.
c. Leave approximately 5mm clearance between the lock and lock-keep.
d. Connect the top, middle, and bottom hinge sections.
e. Secure them temporarily with tape.


Step 4. Position the Gate in the Doorway
Place the gate into the door frame.
- 🧱 Masonry installation: position the gate parallel to the frame.
- 🪵 Timber installation: position the gate perpendicular to the frame.

Step 5. Adjust the Gate Position
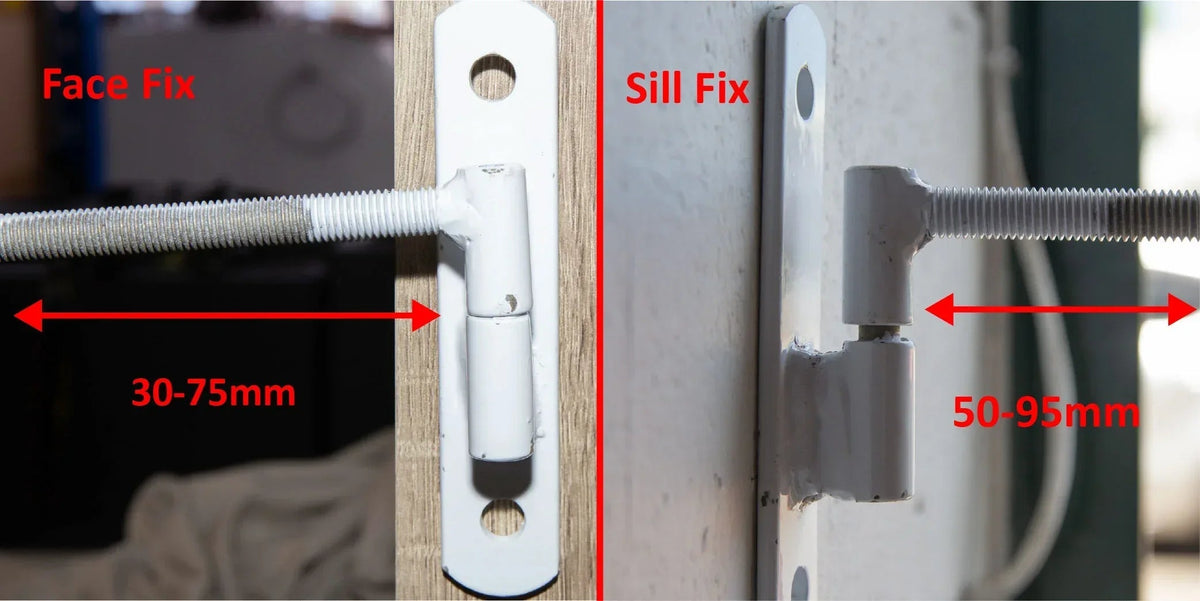
Adjust the female hinge bolts to widen or reduce the gate reach until the desired position is achieved.
- 📏 Masonry fitment range: 885mm–930mm
- 📏 Timber fitment range: 865mm–910mm

Step 6. Tighten Hinges and Check Alignment
a. Tighten all female hinge bolts.
b. Use a spirit level to confirm the gate is straight.
c. Mark the top, middle, and bottom hinge positions.
d. Carefully remove the gate.

Step 7. Secure the Hinges to the Frame
a. Drill holes at the marked hinge locations.
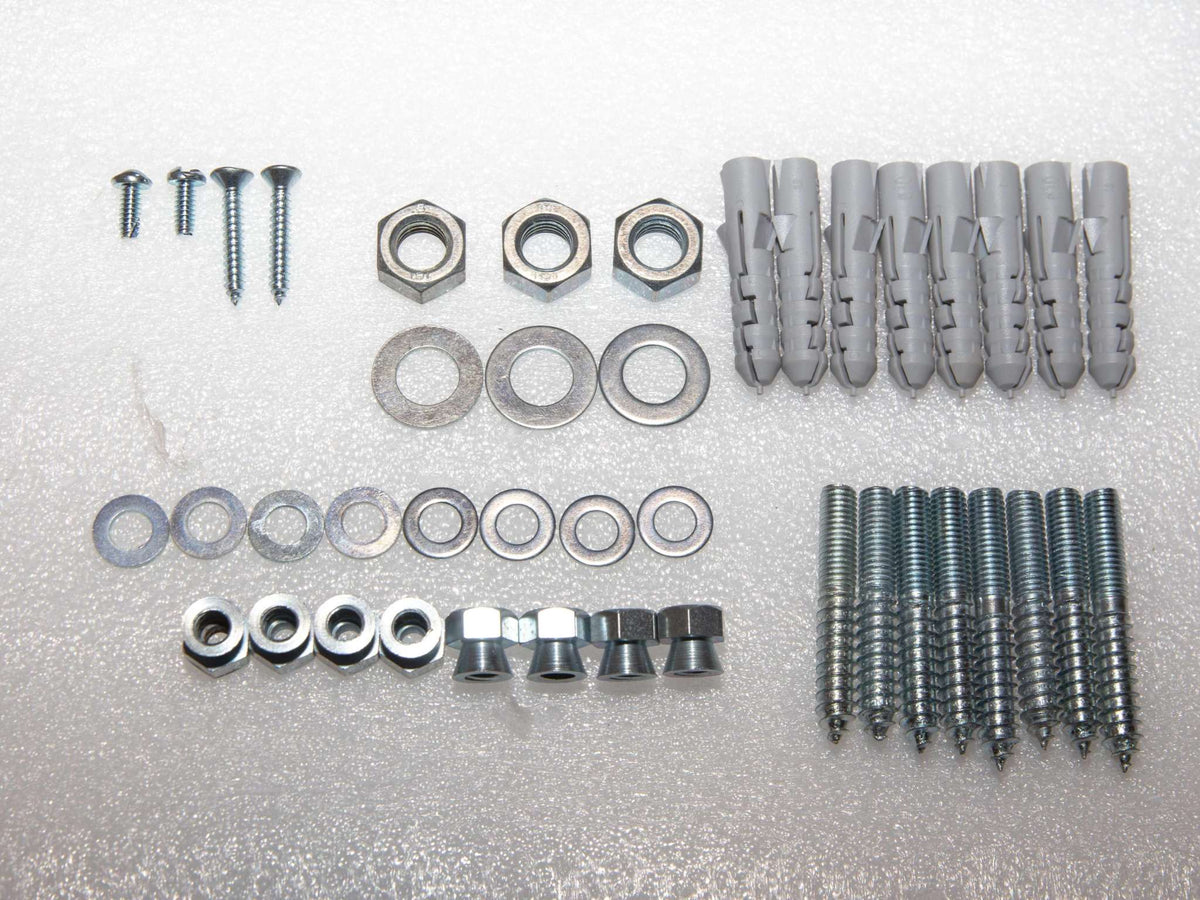
b. Insert and tighten the supplied hex bolts.
c. Ensure all fixings are securely fastened.
Step 8. Install the Lock-Keep
a. Leave the lock-keep temporarily attached to the gate.
b. Close the gate and mark the lock-keep position.
c. Remove the gate and lock-keep.
d. Drill the marked holes and secure the lock-keep.
Step 9. Check the Lock Tongue Direction
The angled side of the lock tongue must face the direction the gate closes.
⚠️ If installed incorrectly, the gate may not latch properly.

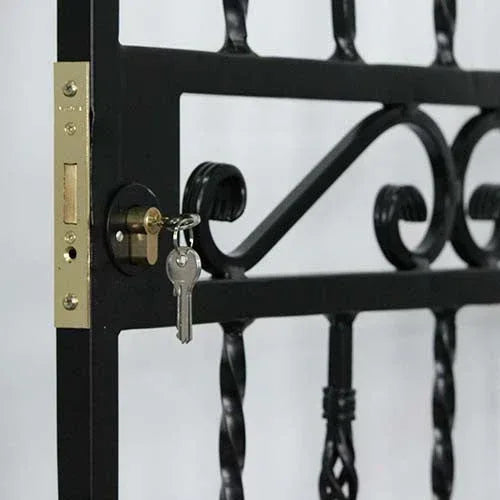
Step 10. Adjust the Lock Cylinder
If required, adjust the lock tongue direction to suit your installation.
a. Remove the lock cylinder from the gate.
b. Turn the key approximately 10° until the centre bar is flush.
c. Insert the cylinder into the lock body.
d. Extend the tongue until the retaining screw becomes visible.
e. Remove the retaining screw and withdraw the tongue.
f. Rotate the tongue to the correct orientation.
g. Reinsert the tongue and secure the retaining screw.
h. Reinstall the lock cylinder.
i. Confirm the tongue extends and retracts correctly.
j. Secure the lock using the supplied screws.


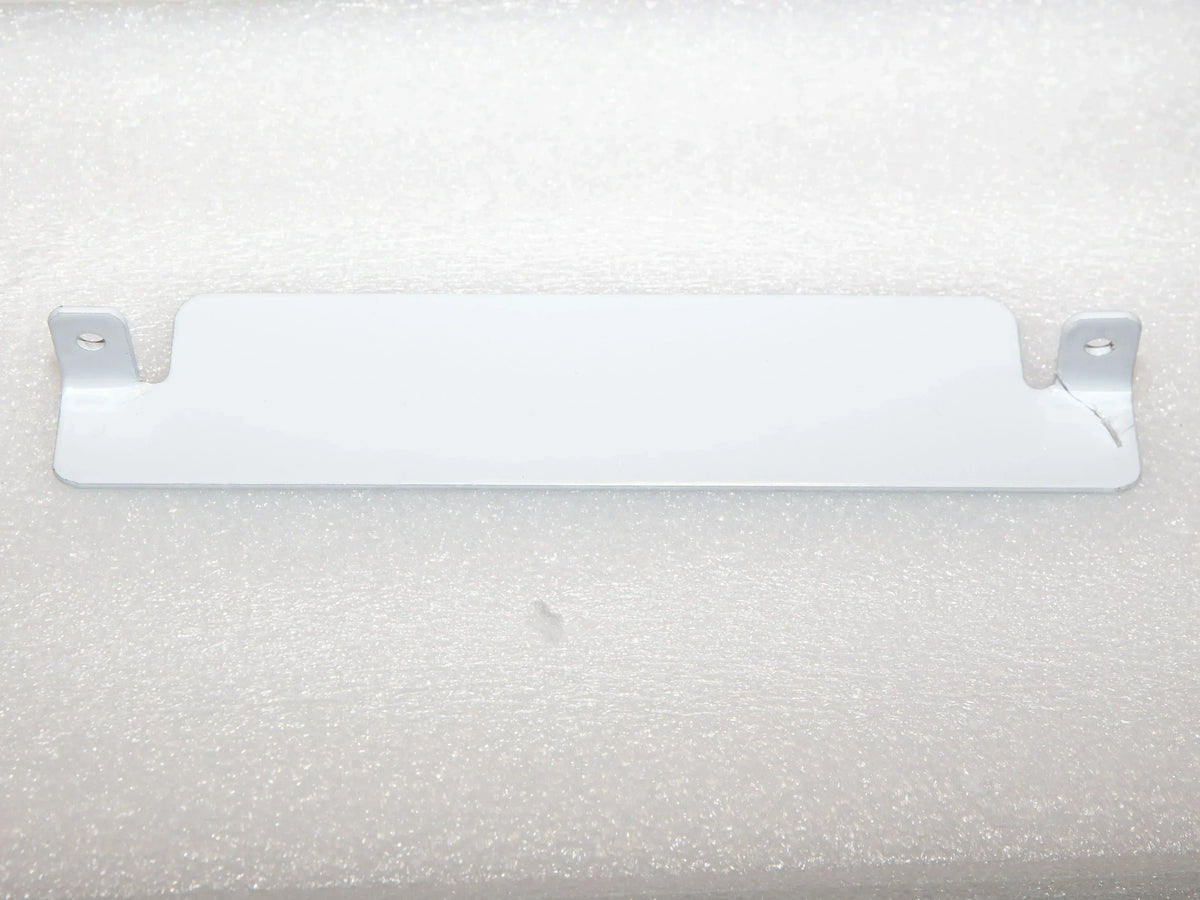
Step 11. Install the Lock Protection Plate
a. Centre the protection plate over the lock area.
b. Mark the fixing holes.
c. Drill the holes and secure the plate using the supplied screws.
Final Check
- ✔ Gate opens smoothly
- ✔ Gate closes correctly
- ✔ Lock engages securely
- ✔ Hinges are firmly attached
- ✔ Protection plate is installed
Your Renaissance Security Gate is now ready to provide an additional layer of security for your home, rental property, or business.









Security Gates
-
Homestyle Steel Shootbolt Security Gate 770mm Wide x 1950mm High
Regular price $297.50 NZDRegular price$297.50 NZDSale price $297.50 NZD -
Sibaya Steel Security Gate 770mm Wide x 1950mm High
Regular price $337.50 NZDRegular price$337.50 NZDSale price $337.50 NZD -
Valor Steel Security Gate 770mm Wide x 1950mm High (Ref 34)
Regular price $372.00 NZDRegular price$372.00 NZDSale price $372.00 NZD -
Trellis Style Steel Security Gate 770mm Wide x 1950mm High
Regular price $305.00 NZDRegular price$305.00 NZDSale price $305.00 NZD -
Regal Steel Security Gate 770mm Wide x 1950mm High
Regular price $430.50 NZDRegular price$430.50 NZDSale price $430.50 NZD -
Trendi Steel Security Gate 840mm Wide x 1950mm High
Regular price $521.50 NZDRegular price$521.50 NZDSale price $521.50 NZD -
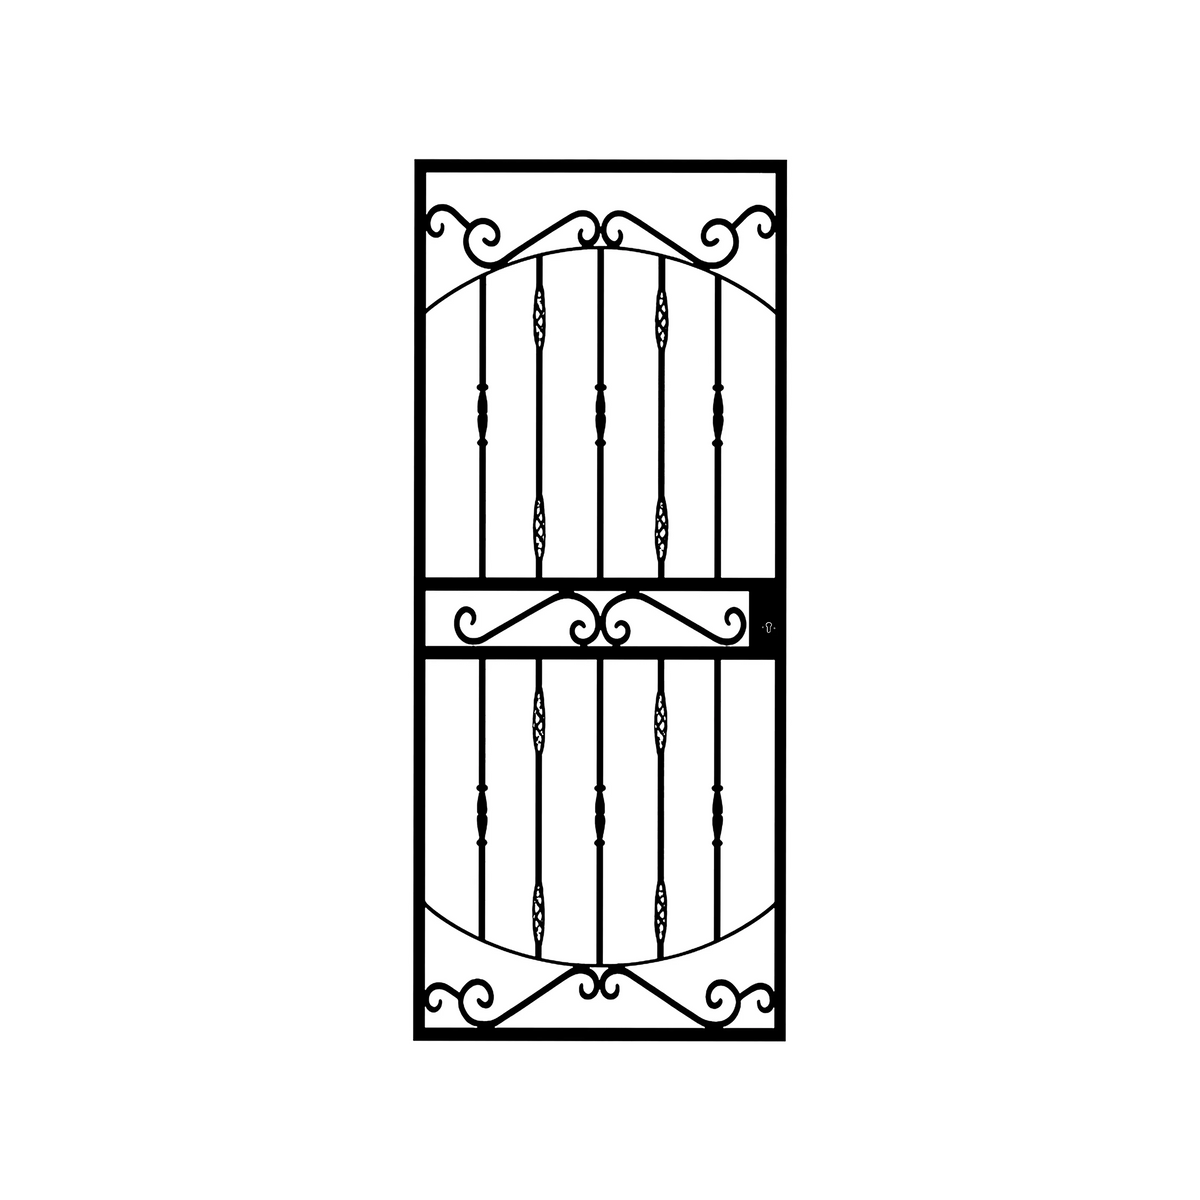
Renaissance Steel Security Gate 930mm Wide x 2000mm High
Regular price $924.00 NZDRegular price$924.00 NZDSale price $924.00 NZD -
Security Screens | Amplimesh | 770mm Wide x 1950mm High
Regular price $1,400.00 NZDRegular price$1,400.00 NZDSale price $1,400.00 NZD -
Security Screens | Supascreen | 770mm Wide x 1950mm High
Regular price $2,000.00 NZDRegular price$2,000.00 NZDSale price $2,000.00 NZD -
Decorative Fixed Swing Security Gate 762mm Wide x 1983mm High (CLEARANCE SALE)
Regular price $1,230.00 NZDRegular price$297.50 NZDSale price $1,230.00 NZD -
Induna Steel Driveway Gate 3000mm Wide x 2000mm High
Regular price $1,400.00 NZDRegular price$1,400.00 NZDSale price $1,400.00 NZD -
Saftidor Retractable Security Gate 1000mm Wide x 2080mm High (B)
Regular price From $642.00 NZDRegular price$632.00 NZDSale price From $642.00 NZD -
Saftidor Retractable Security Gate 1300mm Wide x 2080mm High (D)
Regular price From $716.00 NZDRegular price$632.00 NZDSale price From $716.00 NZD -
Saftidor Retractable Security Gate 1600mm Wide x 2080mm High (F)
Regular price From $799.00 NZDRegular price$632.00 NZDSale price From $799.00 NZD -
Aluglide Retractable Security Gate 1500mm Wide x 2150mm High (A)
Regular price $1,035.00 NZDRegular price$1,035.00 NZDSale price $1,035.00 NZD -
Aluglide Retractable Security Gate 3000mm Wide x 2150mm High (C)
Regular price $1,650.00 NZDRegular price$1,650.00 NZDSale price $1,650.00 NZD -
Multiguard Retractable Security Gate 1440mm Wide x 2100mm High (A)
Regular price $1,405.00 NZDRegular price$632.00 NZDSale price $1,405.00 NZD -
Multiguard Retractable Security Gate 2140mm Wide x 2100mm High (B)
Regular price $1,885.00 NZDRegular price$632.00 NZDSale price $1,885.00 NZD -
Multiguard Retractable Security Gate 2880mm Wide x 2100mm High (C)
Regular price $2,199.00 NZDRegular price$632.00 NZDSale price $2,199.00 NZD -
Multiguard Retractable Security Gate 3580mm Wide x 2100mm High (D)
Regular price $2,699.00 NZDRegular price$632.00 NZDSale price $2,699.00 NZD -
Multiguard Retractable Security Gate 4320mm Wide x 2100mm High (E)
Regular price $3,139.00 NZDRegular price$632.00 NZDSale price $3,139.00 NZD -
Multiguard Retractable Security Gate 5020mm Wide x 2100mm High (F)
Regular price $3,535.00 NZDRegular price$632.00 NZDSale price $3,535.00 NZD


