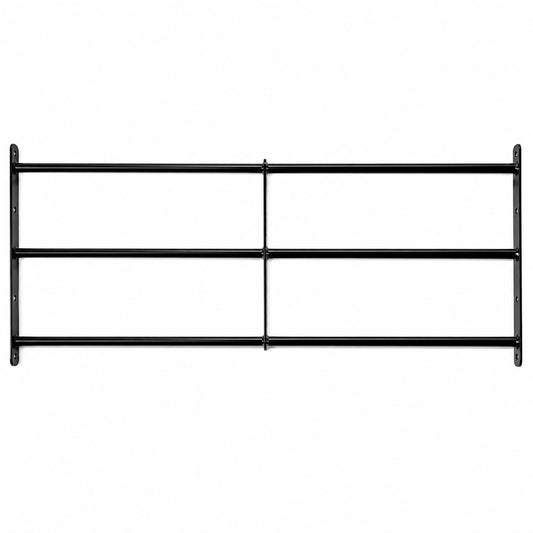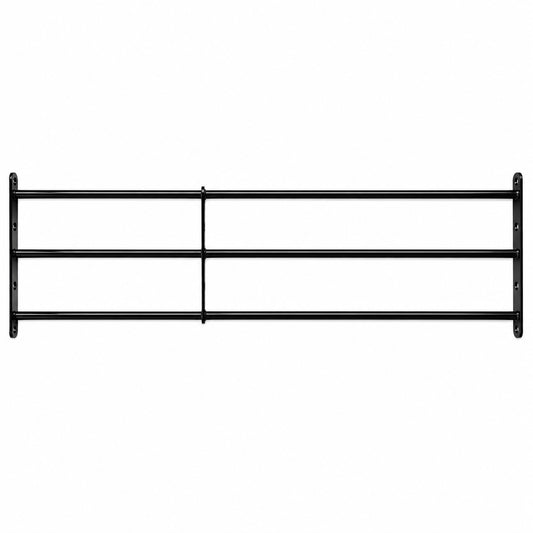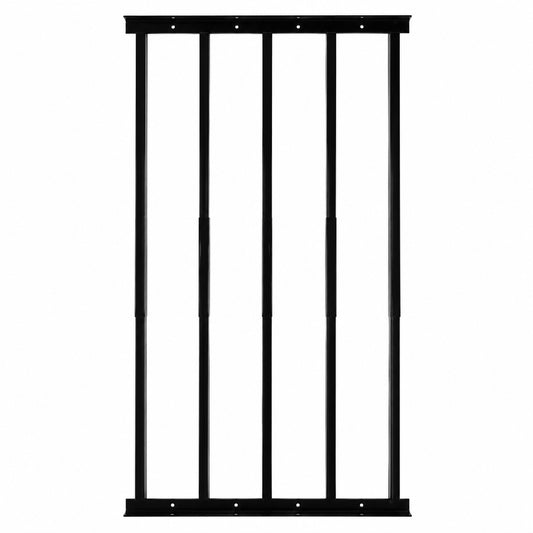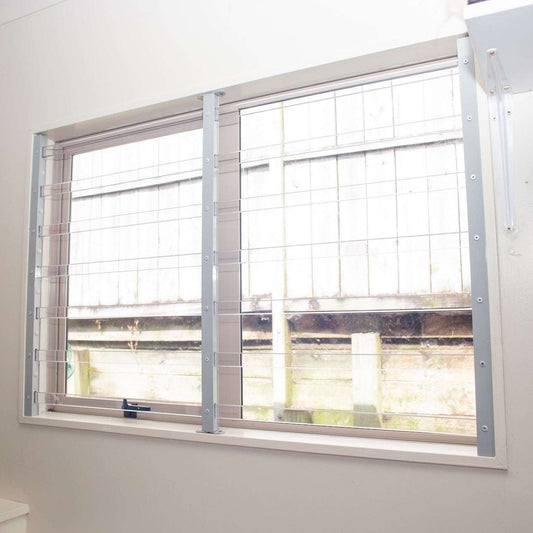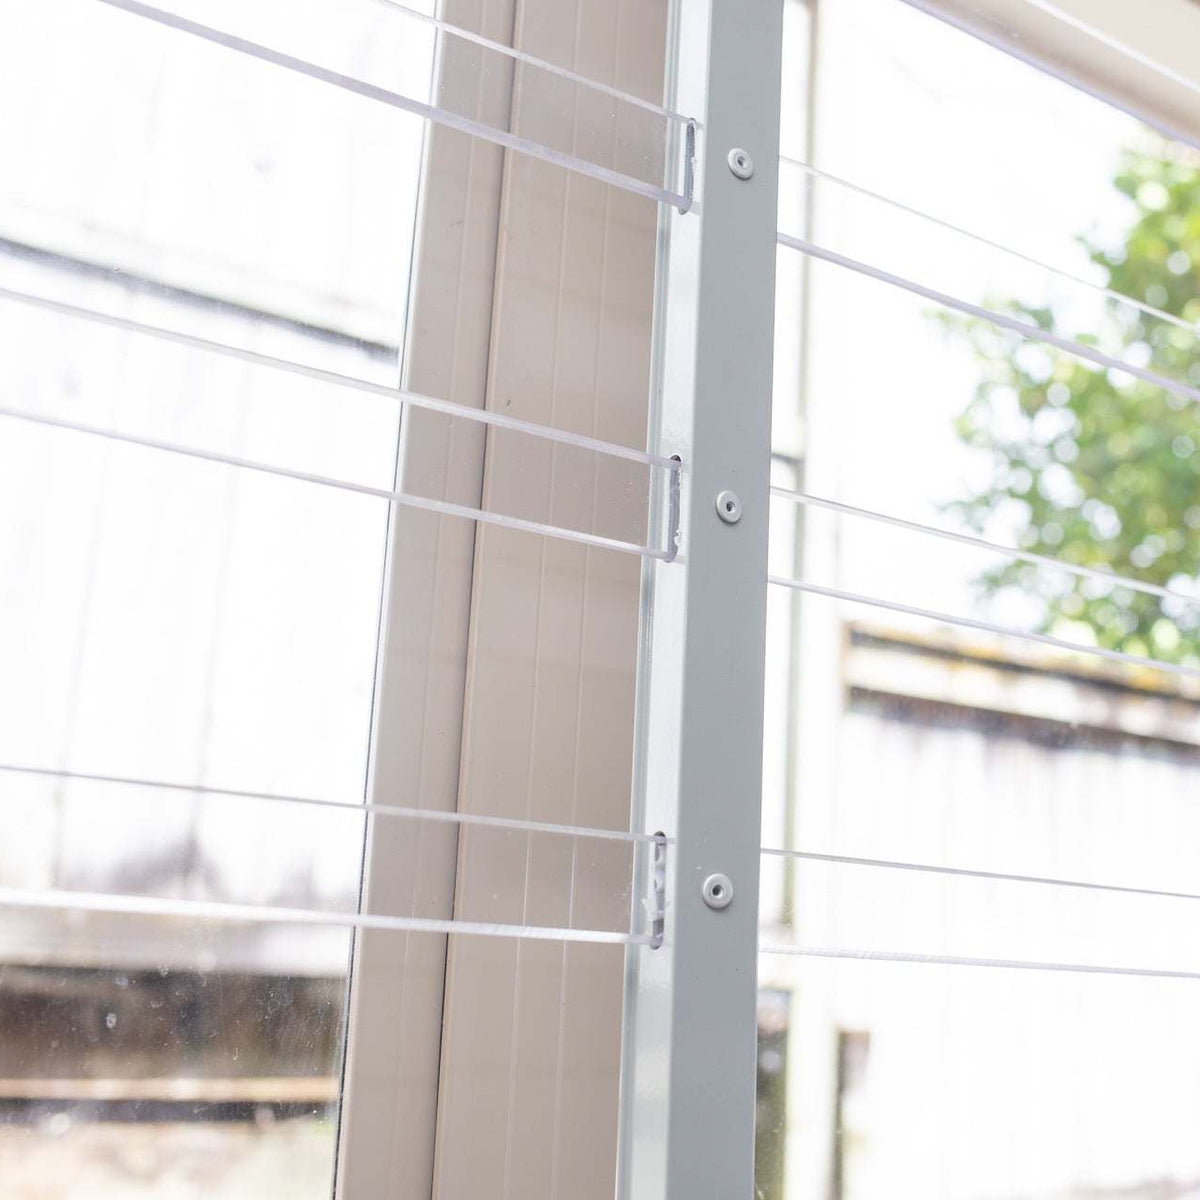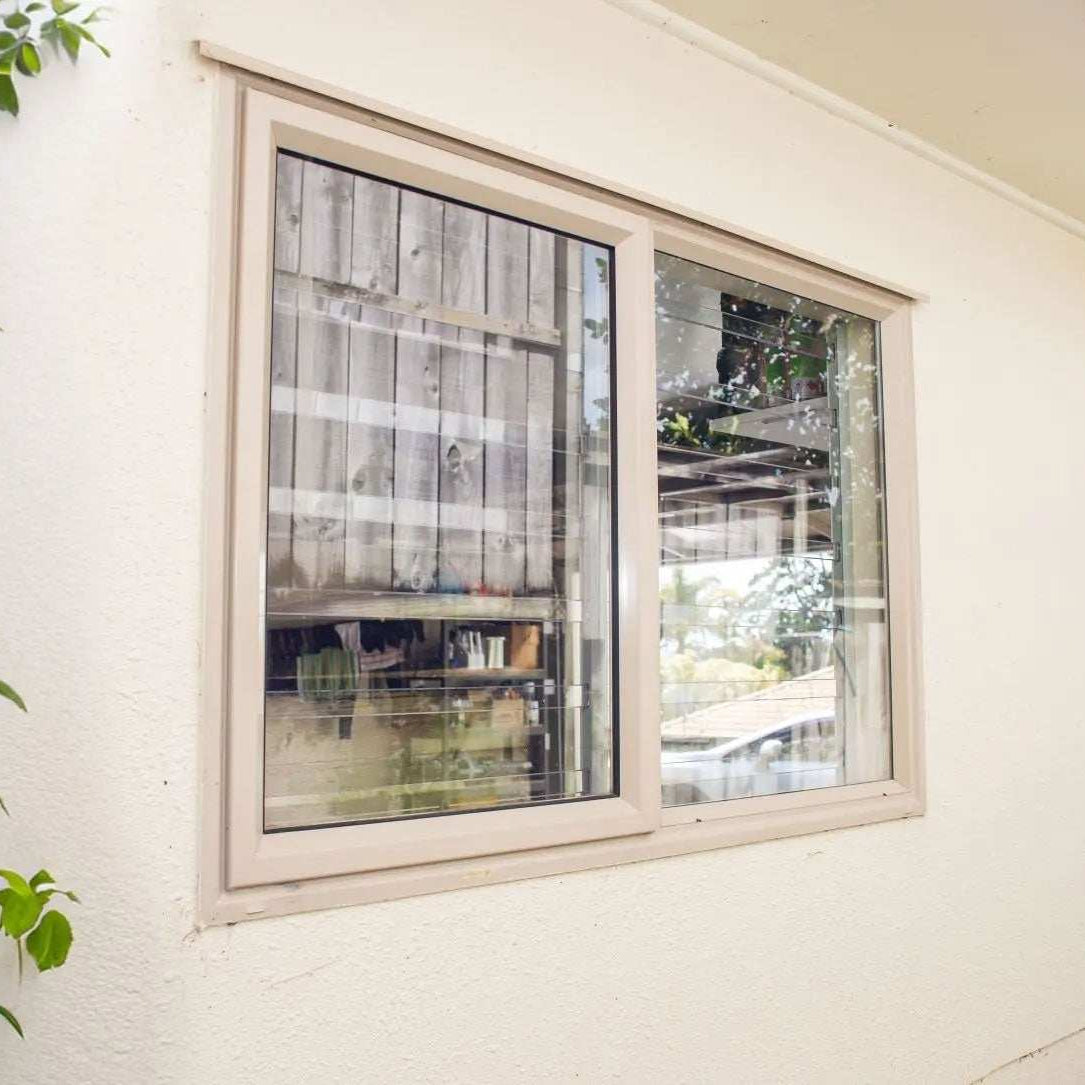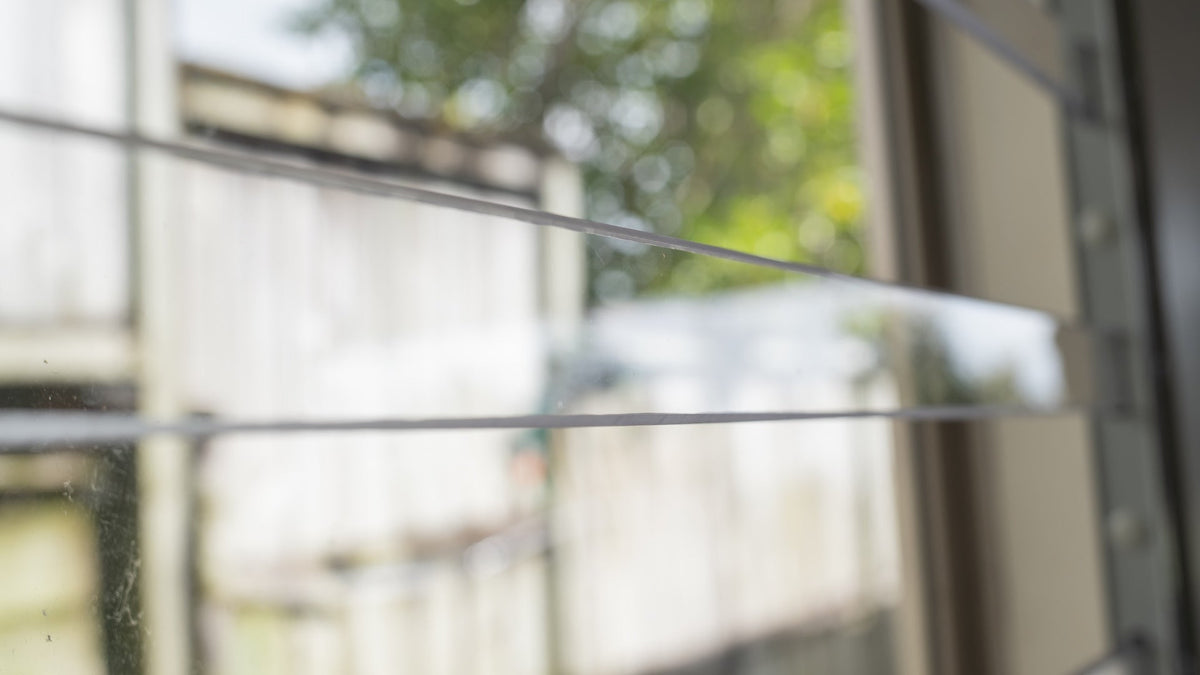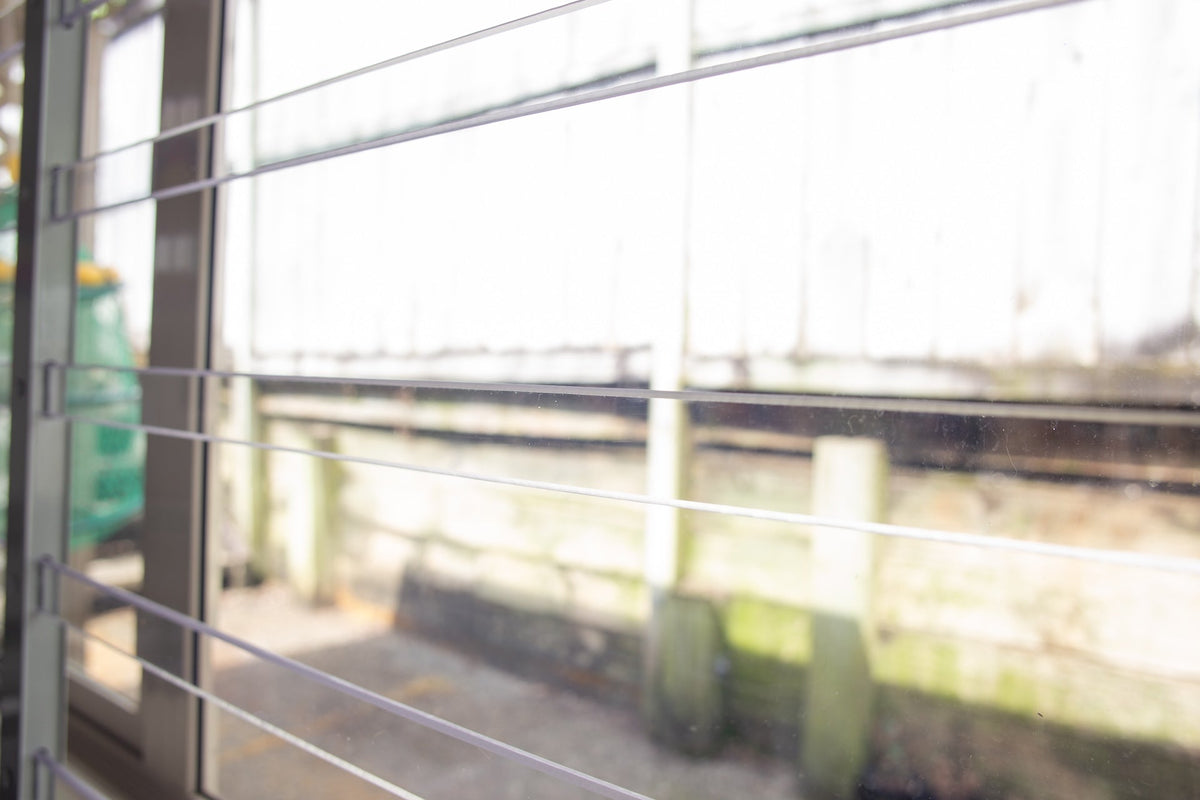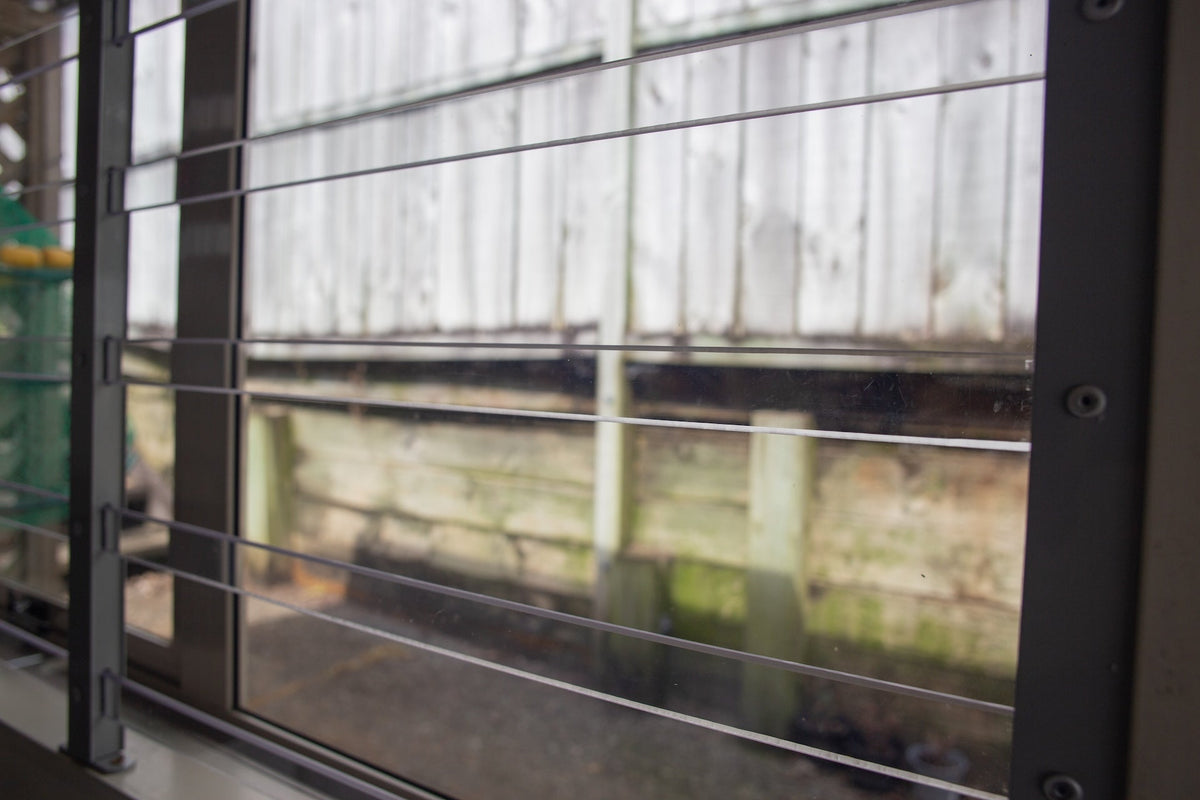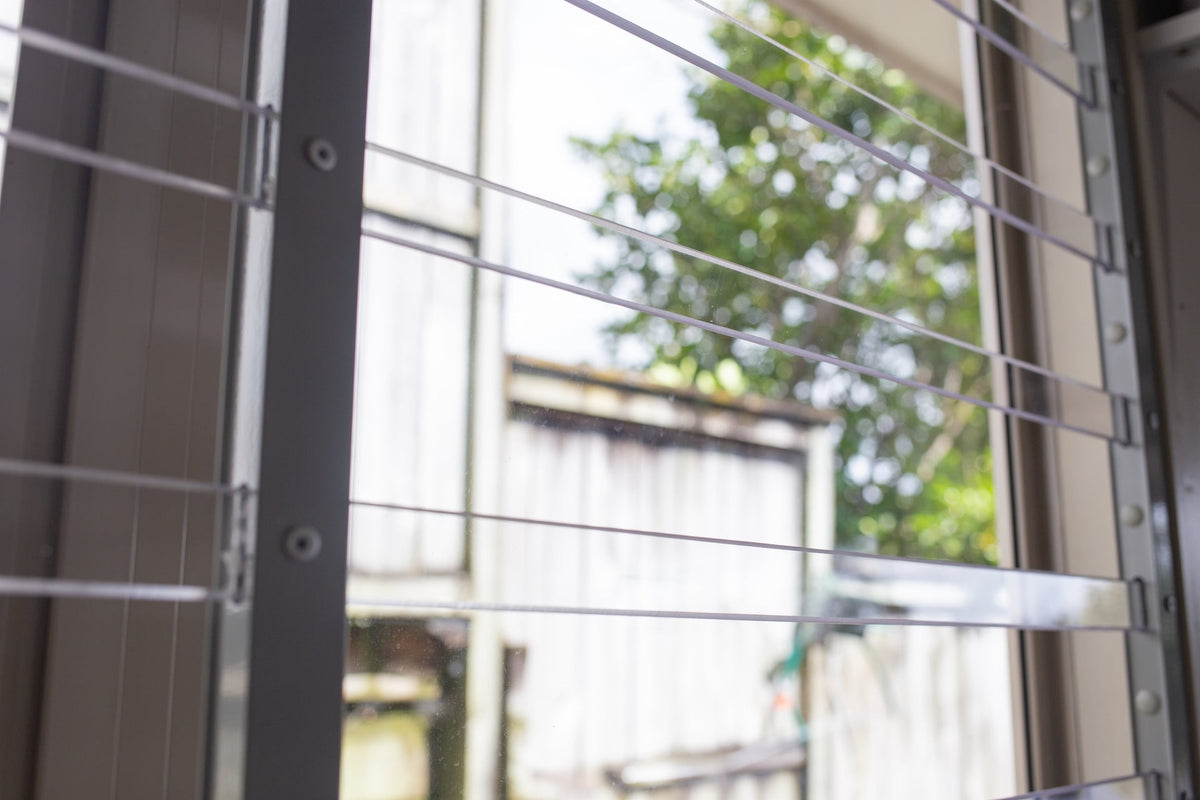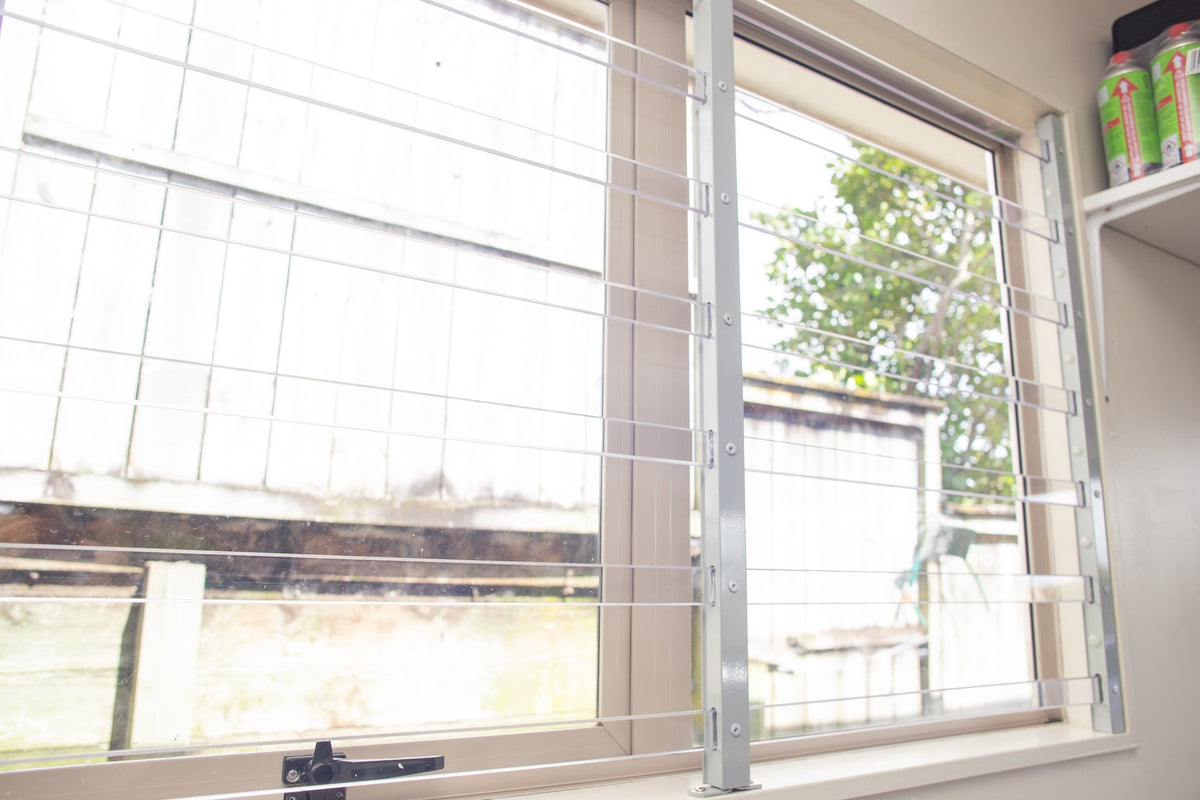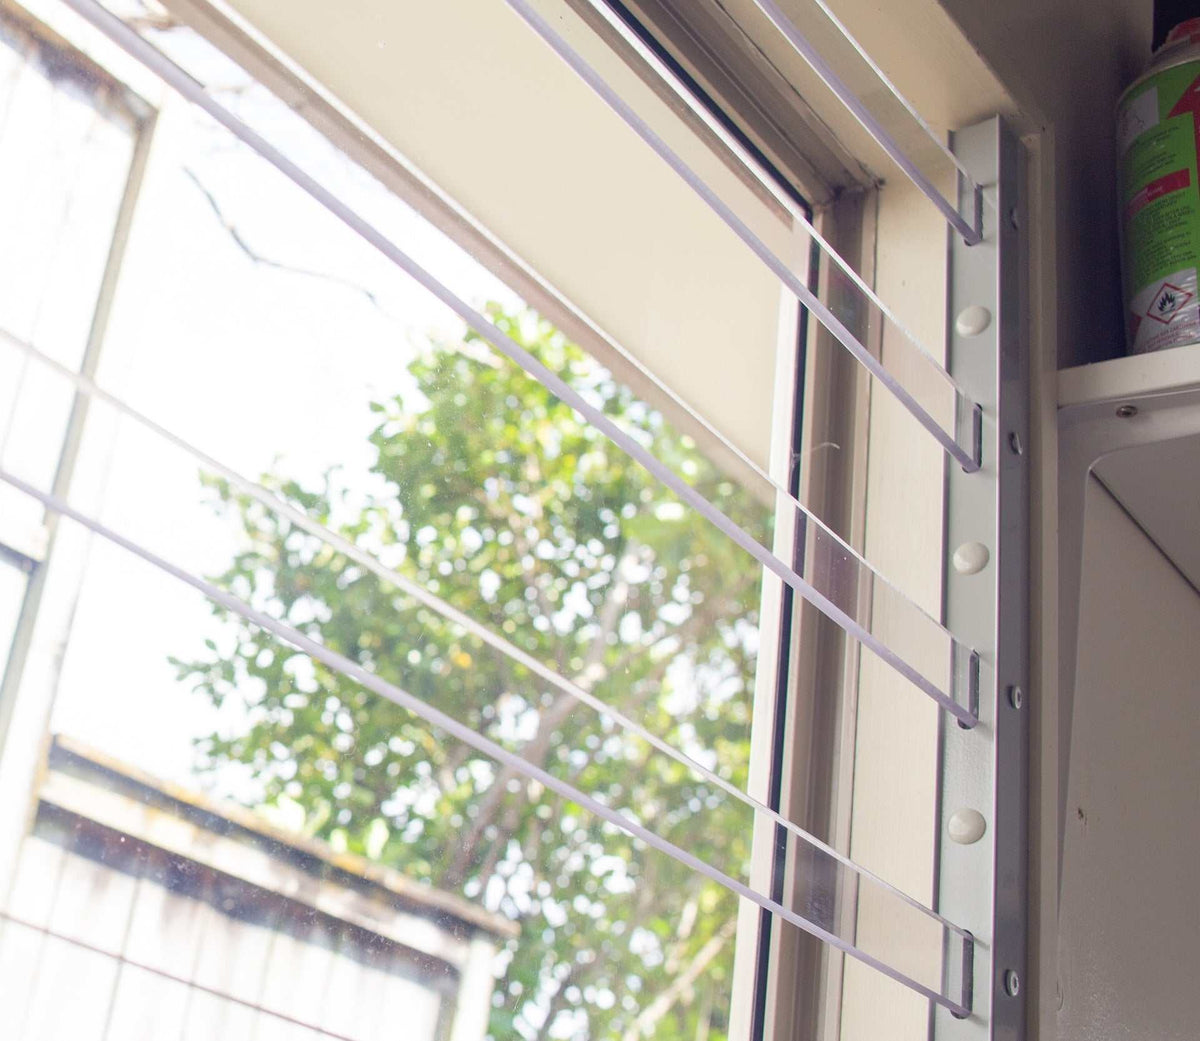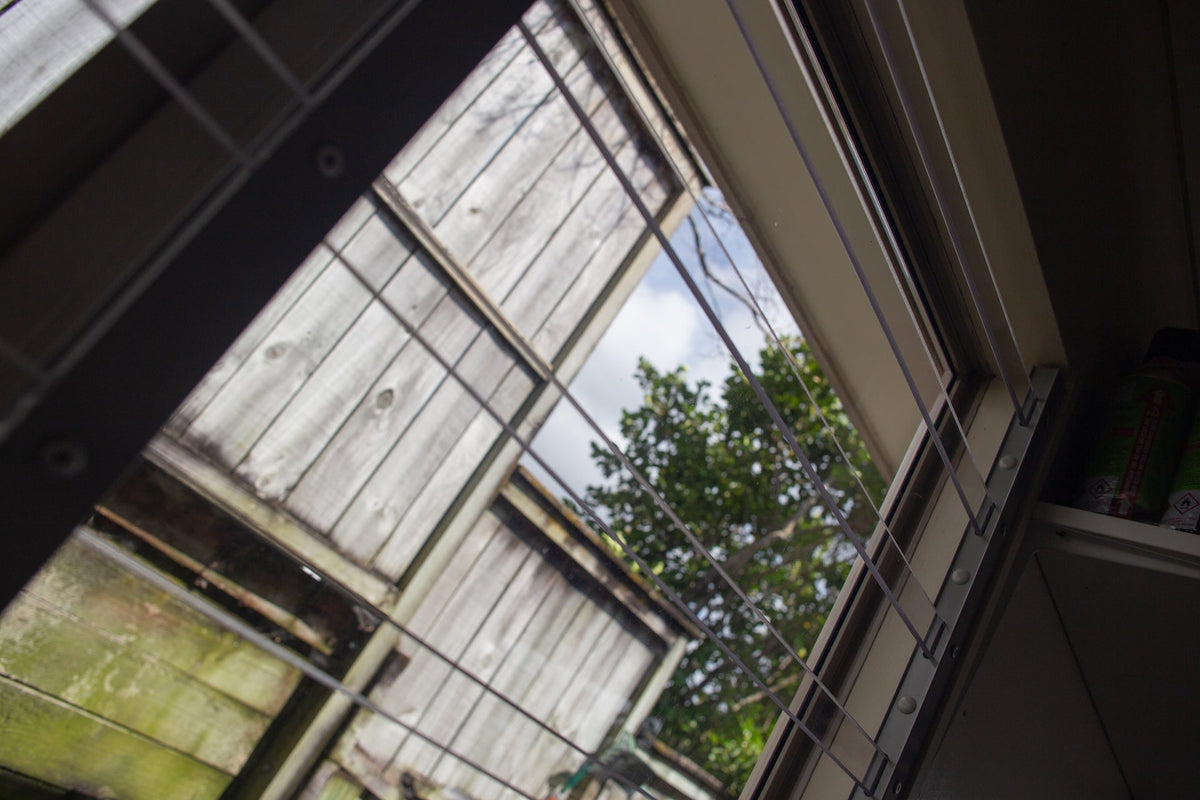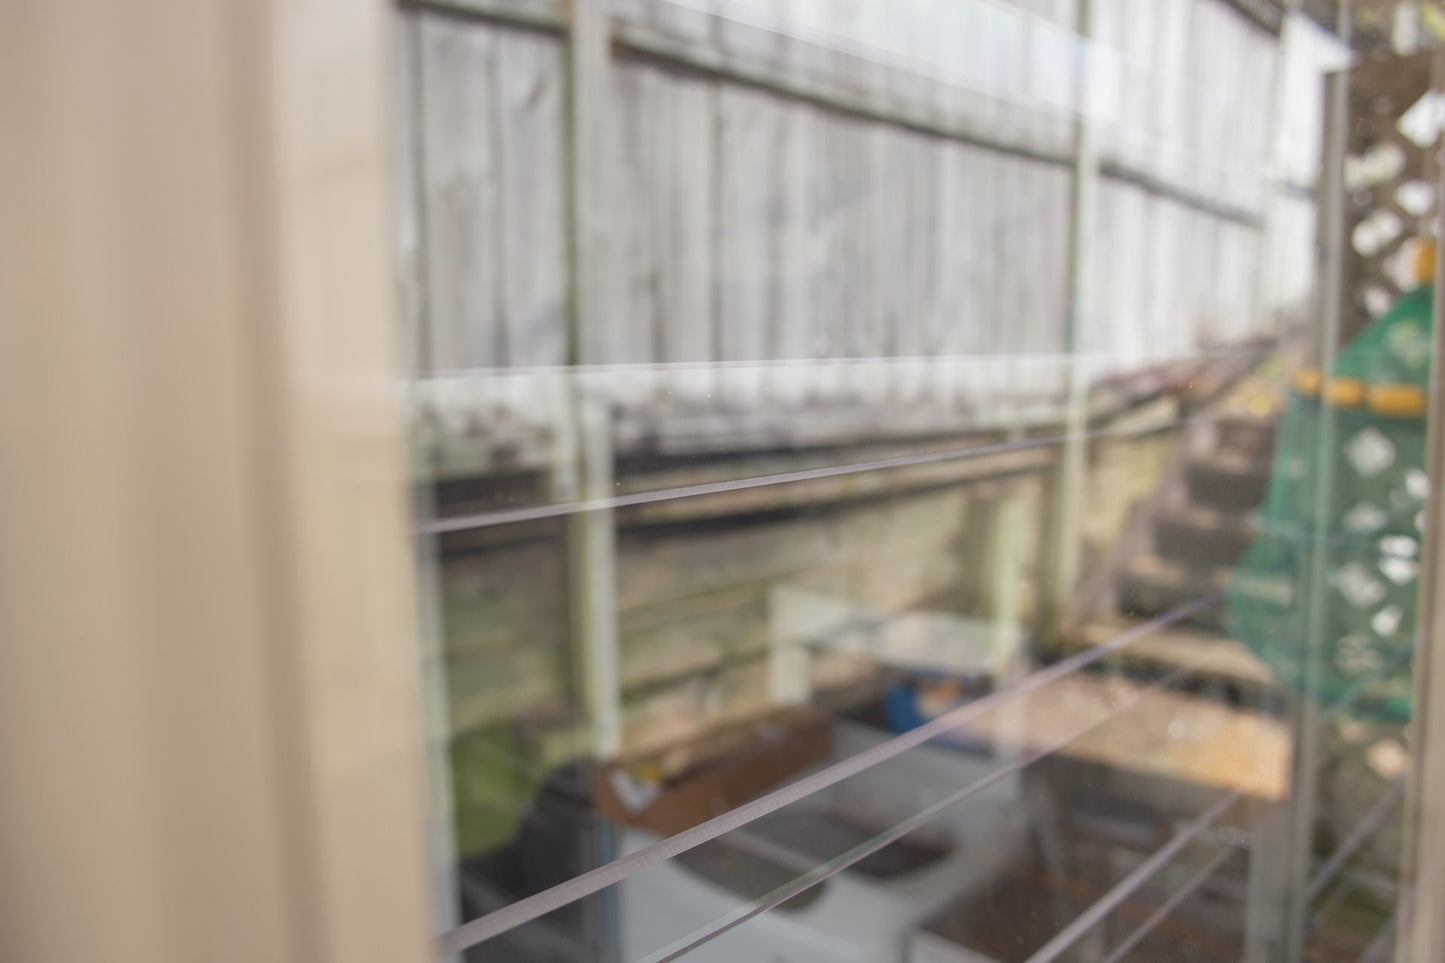
Extendable window bars with 3 round steel security bars for residential window protection

How to Install Expandable Window Security Bars

Install Your Window Bars in 7 Simple Steps

Expandable window security bars are highly effective DIY security solutions against burglaries and trespassers. While these expandable window security bars are often favored by repair and maintenance professionals and DIY enthusiasts, many customers feel hesitant to install them on their own.

In this blog, I would like to alleviate these concerns by providing a step-by-step guide on how to install expandable window bars efficiently. 

The average time of installation is about 30 minutes to 1 hour.

Don't worry, just 7 steps!

Step 1: Measure Inside Your Window Frame
Step 2: Gather Your Tools and Materials
Step 3: Mark the Mounting Points
Step 4: Drill the Holes
Step 5: Attach the Mounting Brackets
Step 6: Install the Bars
Step 7: Test the Security

Video Instruction

Step 1: Measure Your Window

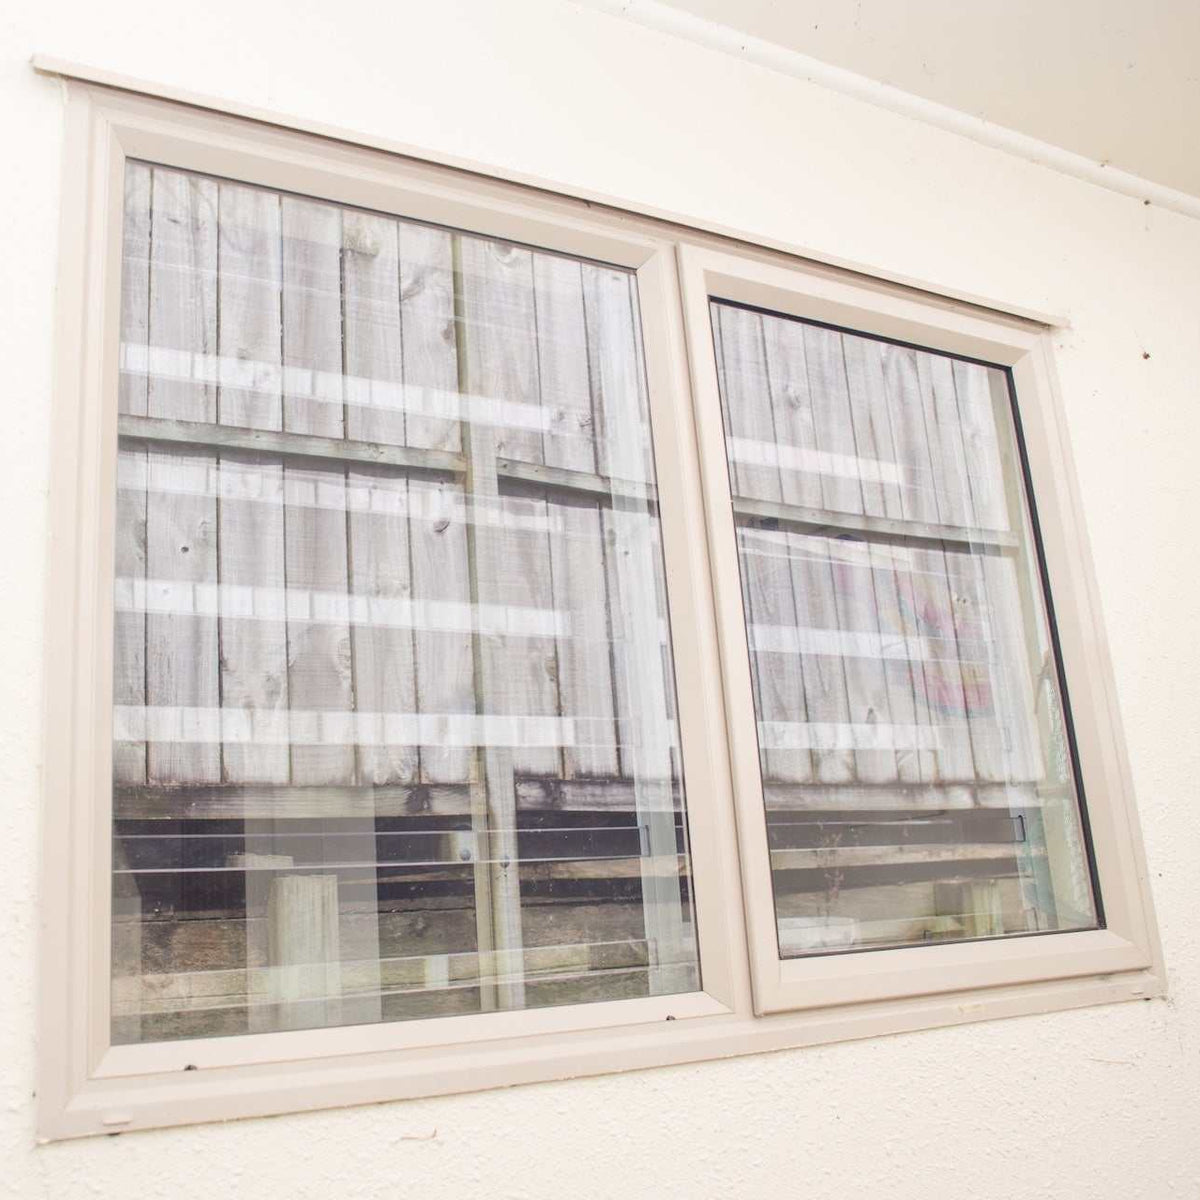
Measure the inside of the window frame, particularly the window reveal.
Accurate measurements will help you choose the correct window bar size and decide how the bars should be positioned.

  • DIY-Xpanda-Blog-Window-Frame-Reveal
  • You can install the bars:

    • Horizontally
    • Vertically
    • In parallel with multiple bars

    Each window bar has a fixed section and an extendable section, allowing its overall length to be adjusted to suit the opening.

Do Not Extend to the Maximum if You Can Avoid It

To help retain rigidity through the centre of the bars, avoid choosing a size that needs to be extended to its absolute maximum.
For example, for an opening around 900mm wide, choose a bar with additional extension available rather than one with a maximum extension of only 900–905mm.

  • Get Extra Coverage from the Fixed Side

    The bars have a set spacing between each parallel bar:

    • Round bars: 120mm spacing
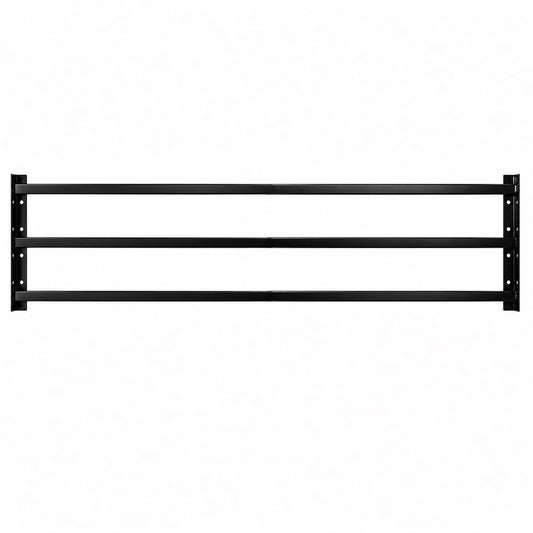
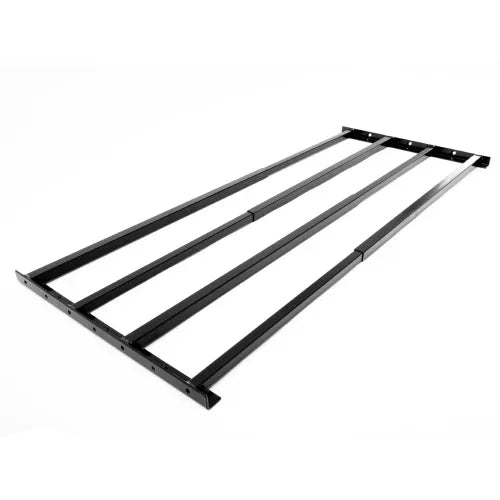
    • Square bars: 100mm spacing

    This spacing helps maintain airflow and visibility while providing practical window security. It also means the fixed section can cover beyond its physical width when planning multiple-bar installations. For example, Type A has a fixed width of 340mm, but the overall effective coverage can be wider when the recommended spacing between bars is taken into account.

  • Round bars are spaced 120mm apart, while square bars are spaced 100mm apart. This spacing maintains airflow and visibility while allowing the fixed side to cover beyond its physical width.

For example, Type A has a 340mm fixed width but can effectively cover a wider area when installed with the recommended spacing.

Round Bars or Square Bars?

Both styles are extendable, but the fixing options differ.
Round Bars:
Designed primarily for installation inside the window reveal.
Square Bars:
Square bars can be installed:

  • Inside the window reveal (sill fix)
  • Onto the face of the frame or surrounding surface (face fix)

Choose the fixing method that best suits your window and installation surface.

Step 2: Gather Your Tools

Before installation, prepare the tools and materials you need.

Recommended Tools

  • DIY Xpanda expandable window security bars
  • Measuring tape
  • Pencil or marker
  • Drill
  • Appropriate drill bits
  • Screws and anchors
  • Screwdriver
  • Level

Make sure the drill bits and fixings are appropriate for the material you are drilling into.

Step 3: Mark the Mounting Points

Position the mounting brackets and mark where the fixing holes will be drilled. Make sure the mounting points are:

  • Level
  • Evenly positioned
  • Properly aligned

Check your measurements again before drilling.

Xpanda Security Premium Products and Installation

Step 4: Drill the Holes

Drill the fixing holes using the marks as your guide.
Use the appropriate drill bit for the installation surface. For harder materials such as masonry or concrete, use suitable drill bits and anchors.

<span class="variable">Product title</span>-<span class="variable">Product tags</span>-<span class="variable">Variant name</span> DIY XPANDA

Step 5: Attach the Mounting Brackets

Secure the mounting brackets to the window frame using the appropriate screws and anchors. Make sure each bracket is firmly fixed before installing the bars.

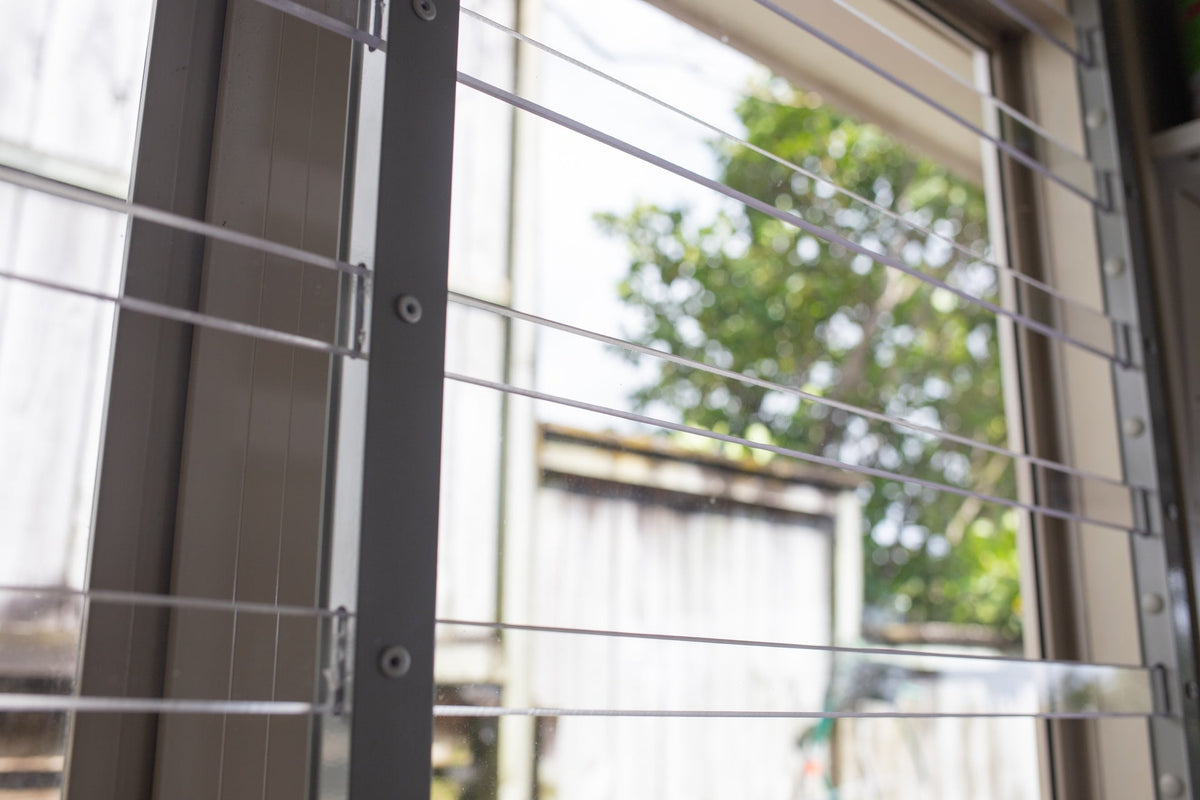
Extendable window bars with 5 square steel security bars for residential window protection

Step 6: Install the Window Bars

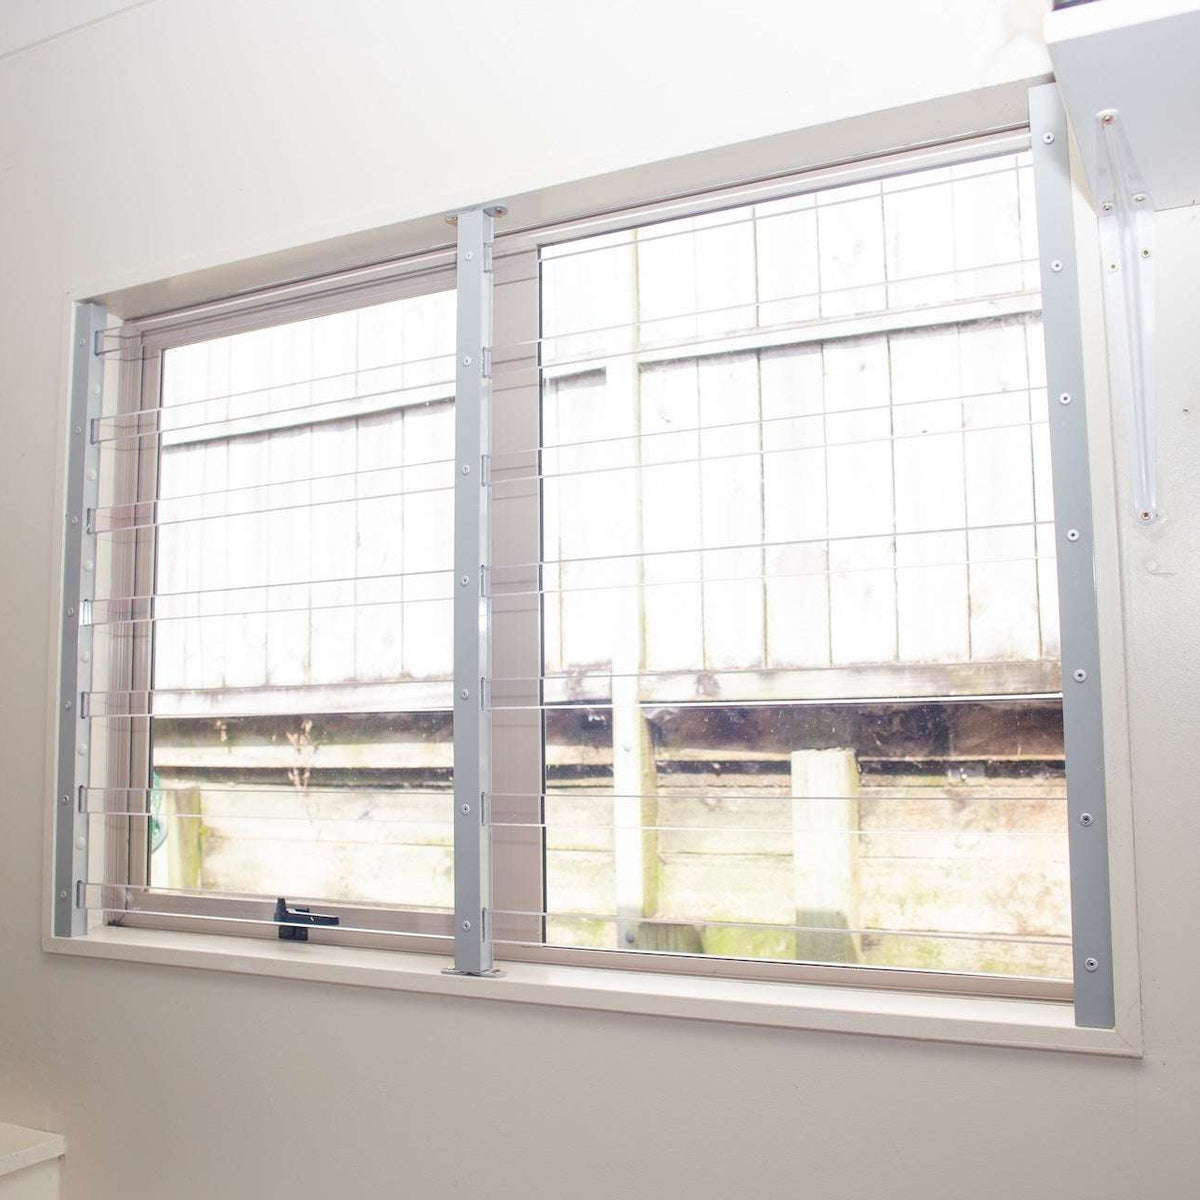
Extend the security bars to fit the opening. Place the bars into the mounting brackets and check that they are properly aligned. Secure the bars according to the supplied installation instructions. Do not extend the bars beyond their recommended maximum size.

Extendable window bars with 3 round steel security bars for residential window protection

Step 7: Check the Installation

Once installed, gently push and pull the bars to check their stability. Make sure:

  • The bars are firmly secured
  • There is no excessive movement
  • All brackets are tight
  • All screws are secure
  • The bars are correctly aligned

Make any final adjustments before finishing the installation.

Installation Instructions

A written installation guide is also available: Download the Expandable Window Bars Installation Instructions.

You can also watch the installation demonstration here.

Need Help?

If you are unsure which size, fixing method or installation direction is right for your window, please contact DIY Xpanda before ordering or installing.
Correct measuring and planning will make installation easier and help you choose the right window security bars for your home.

Need a Custom Size?

If your window is larger than the available DIY Xpanda expandable window bars, a custom-made solution may be more suitable. For custom-designed, manufactured and installed window security bars, visit Xpanda Security.

Need something less visible?

Check out our polycarbonate Clear Guard, offering steel-level strength with clear, unobtrusive protection.