




Overview
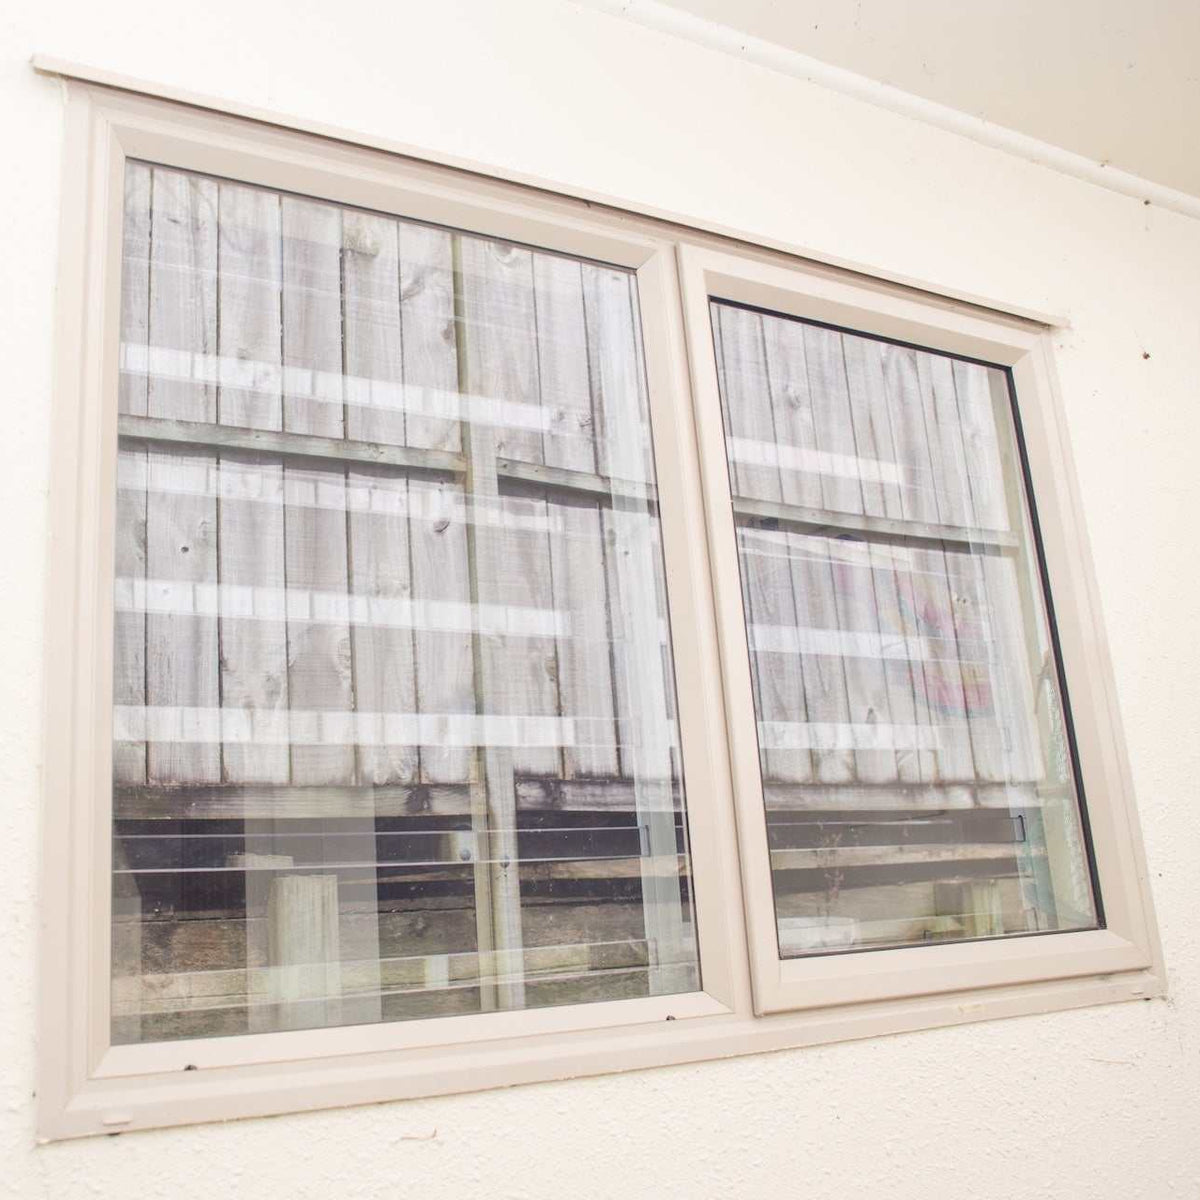
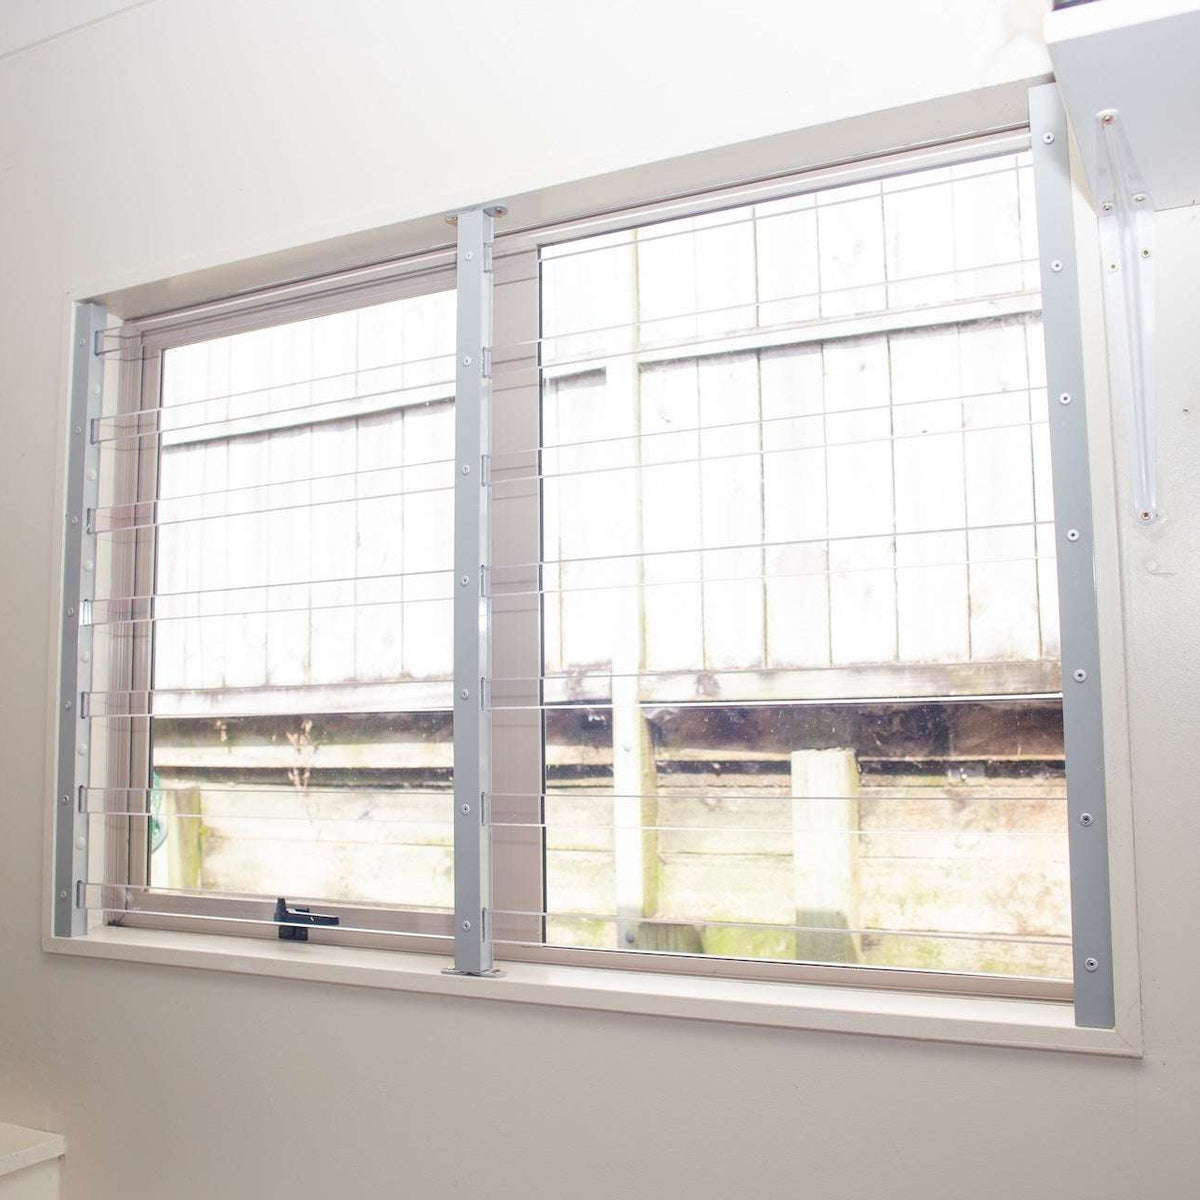
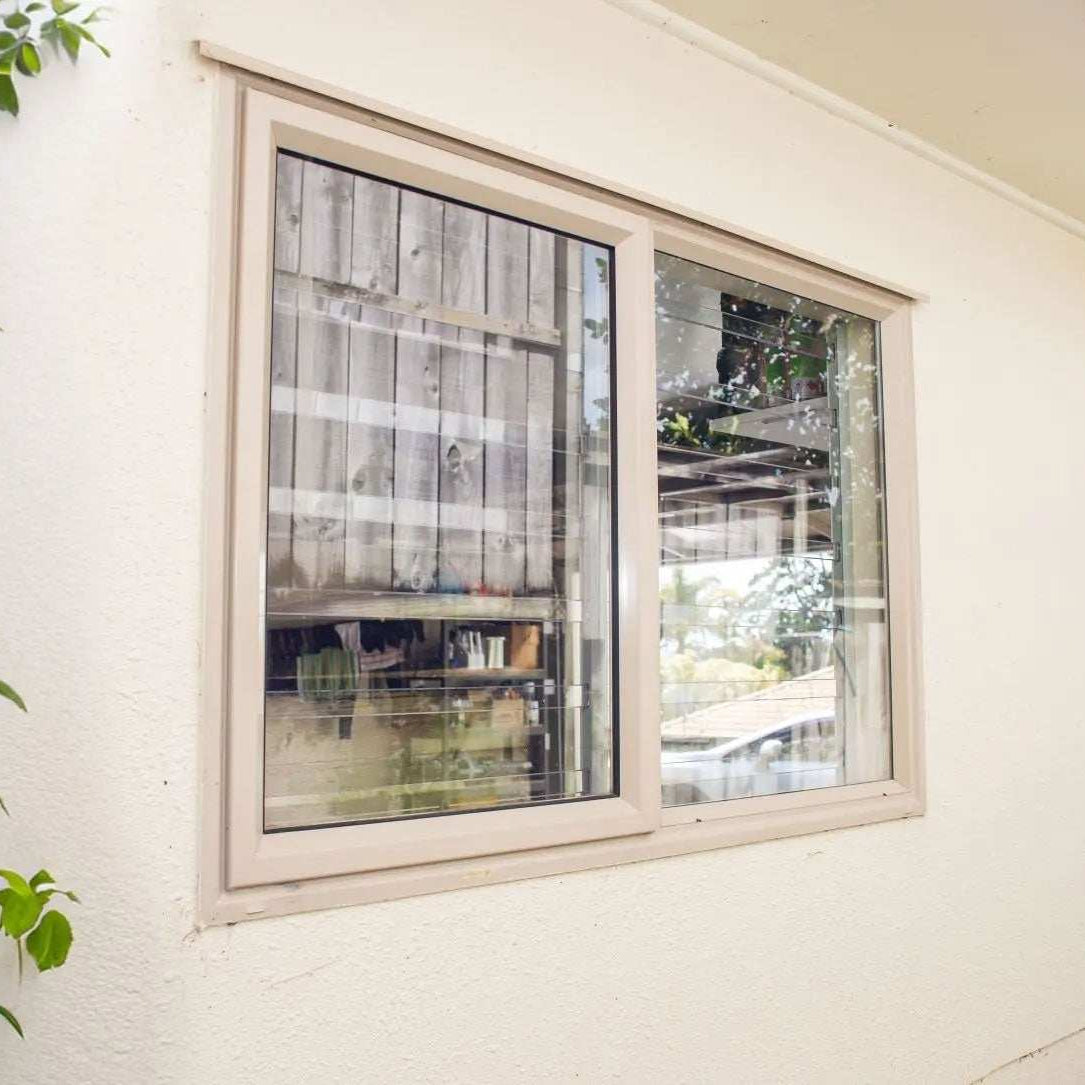
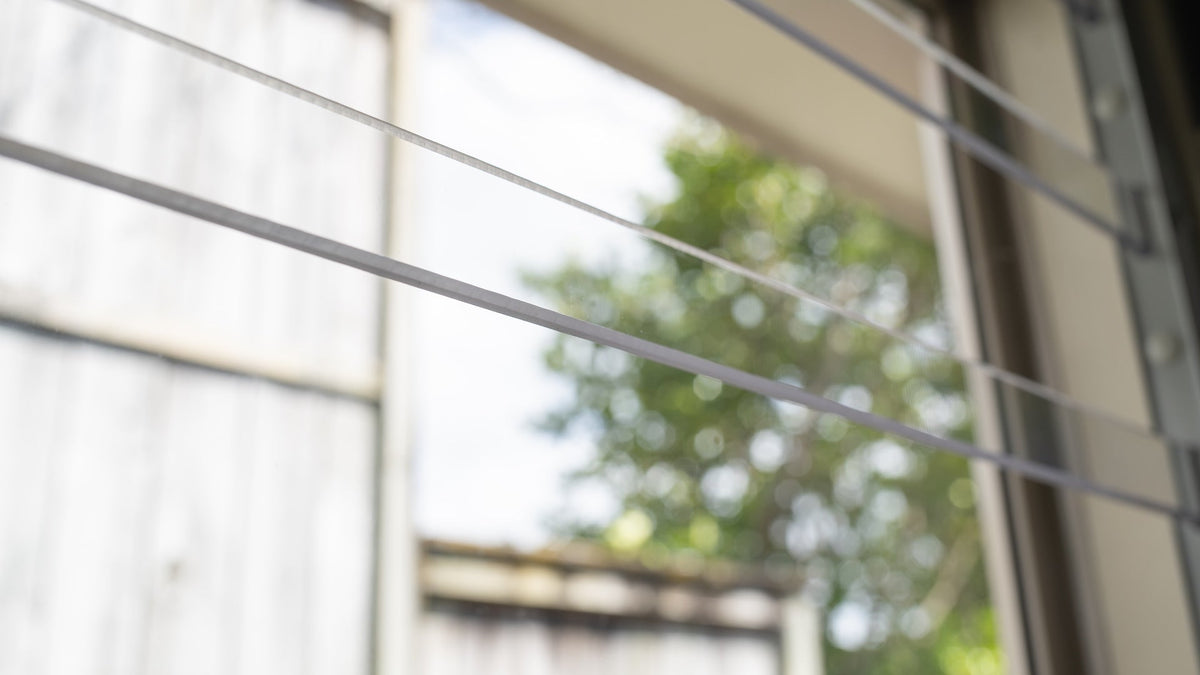
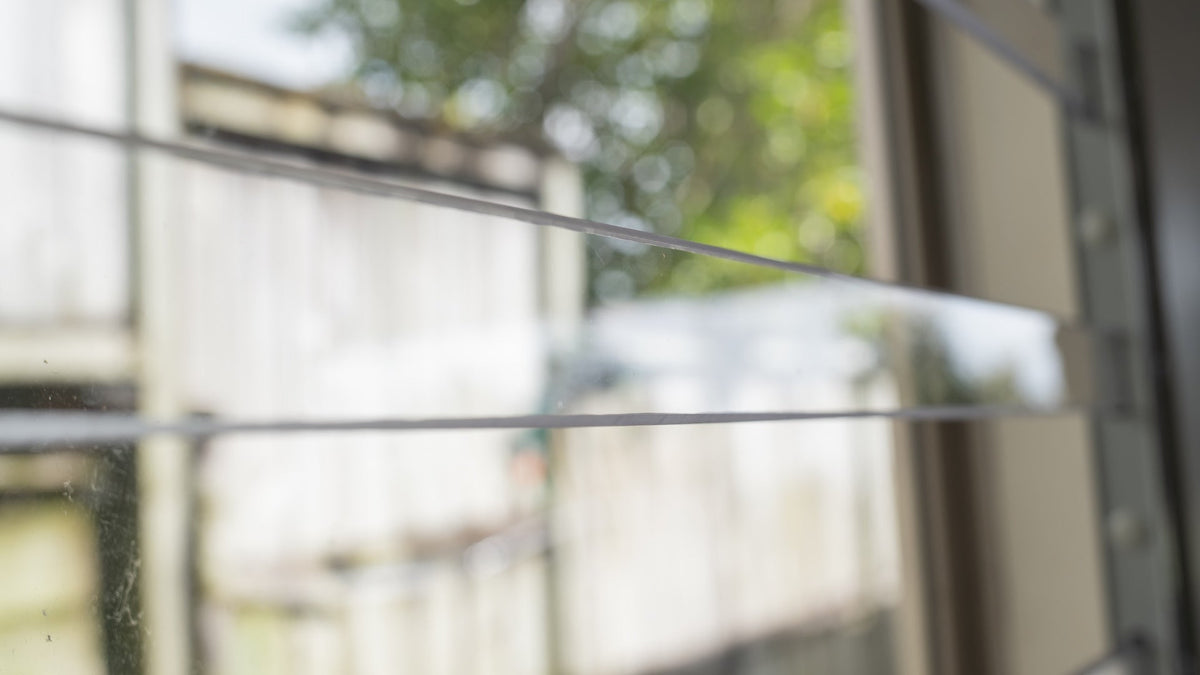
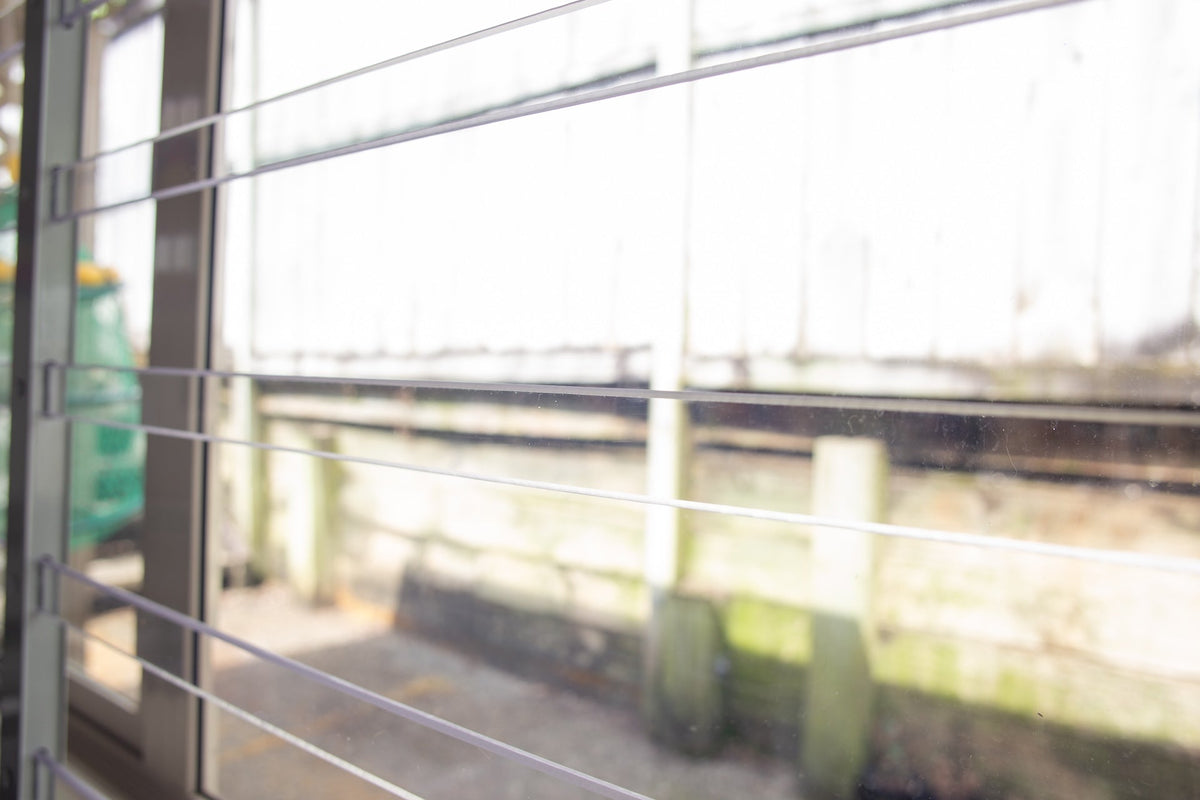
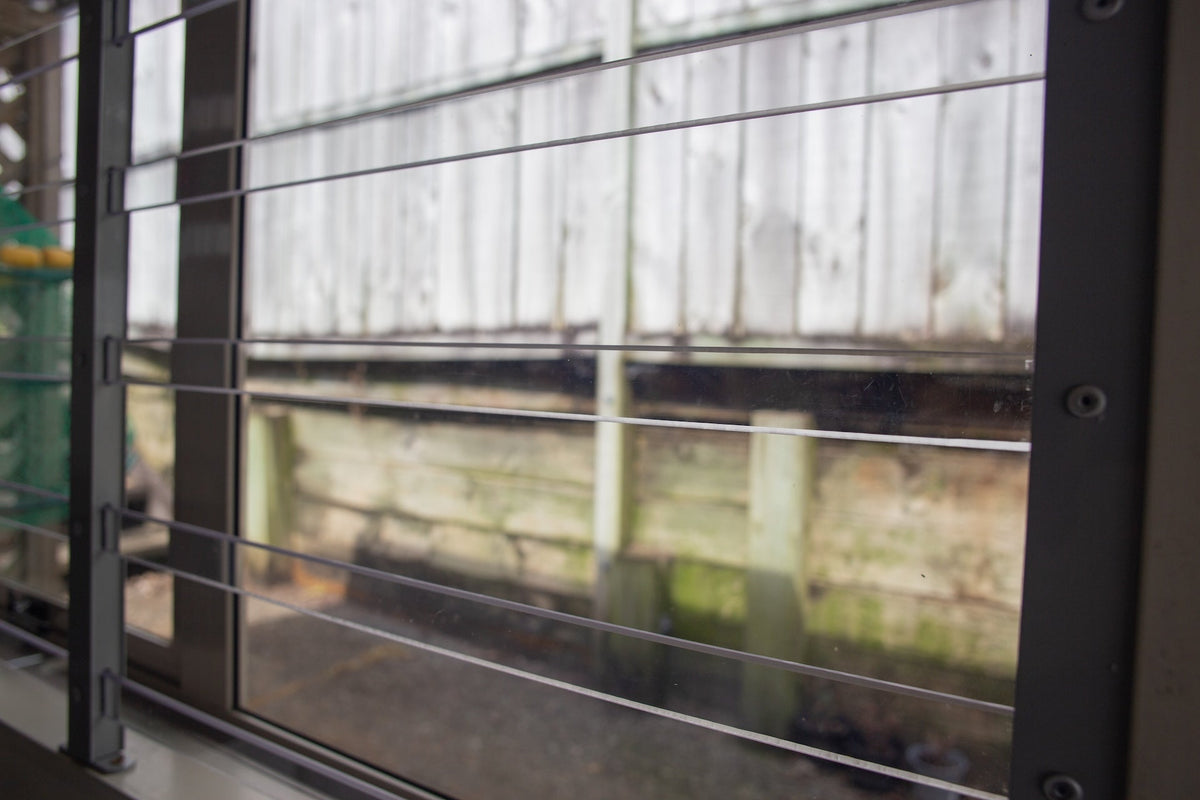
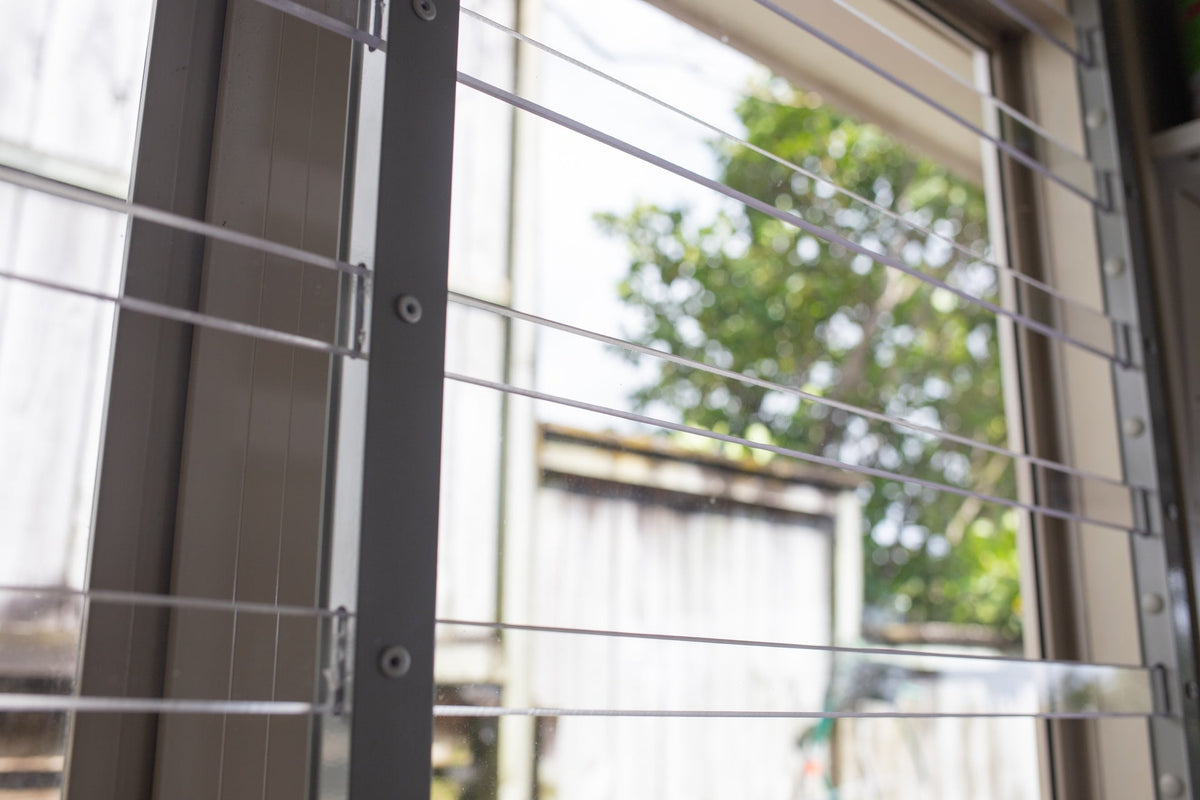
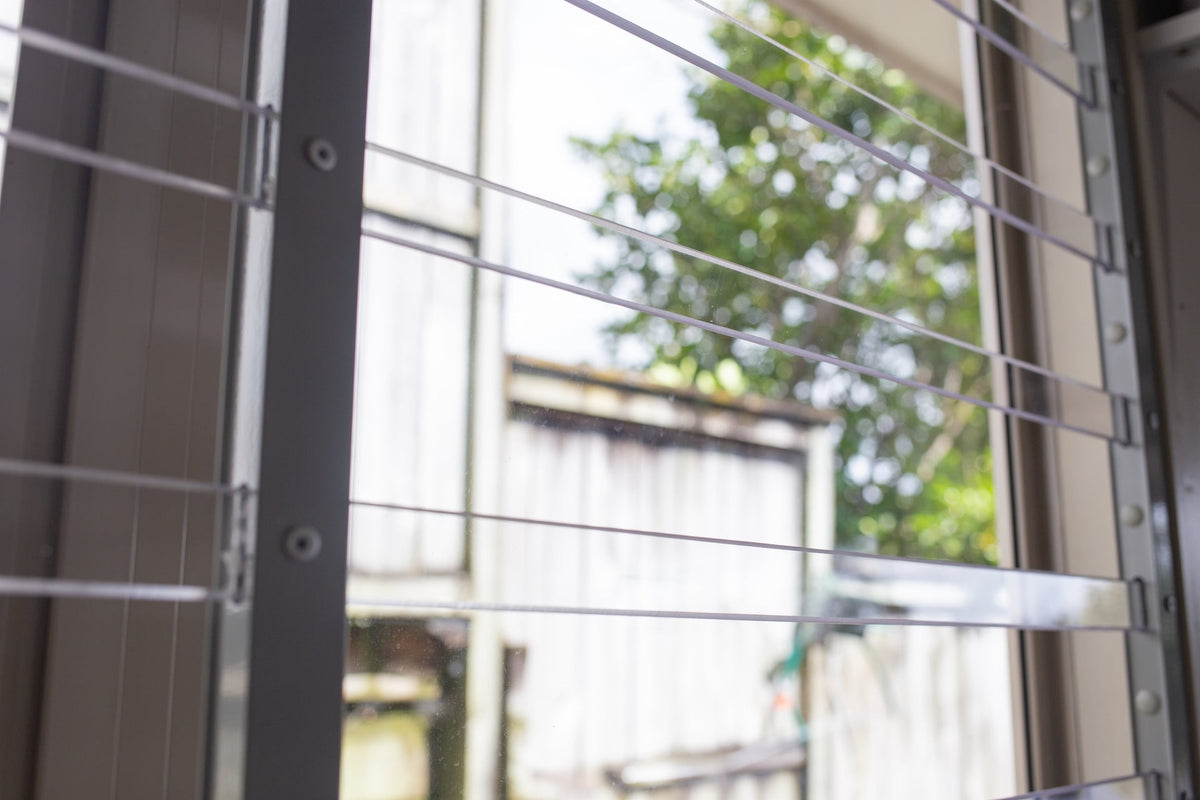
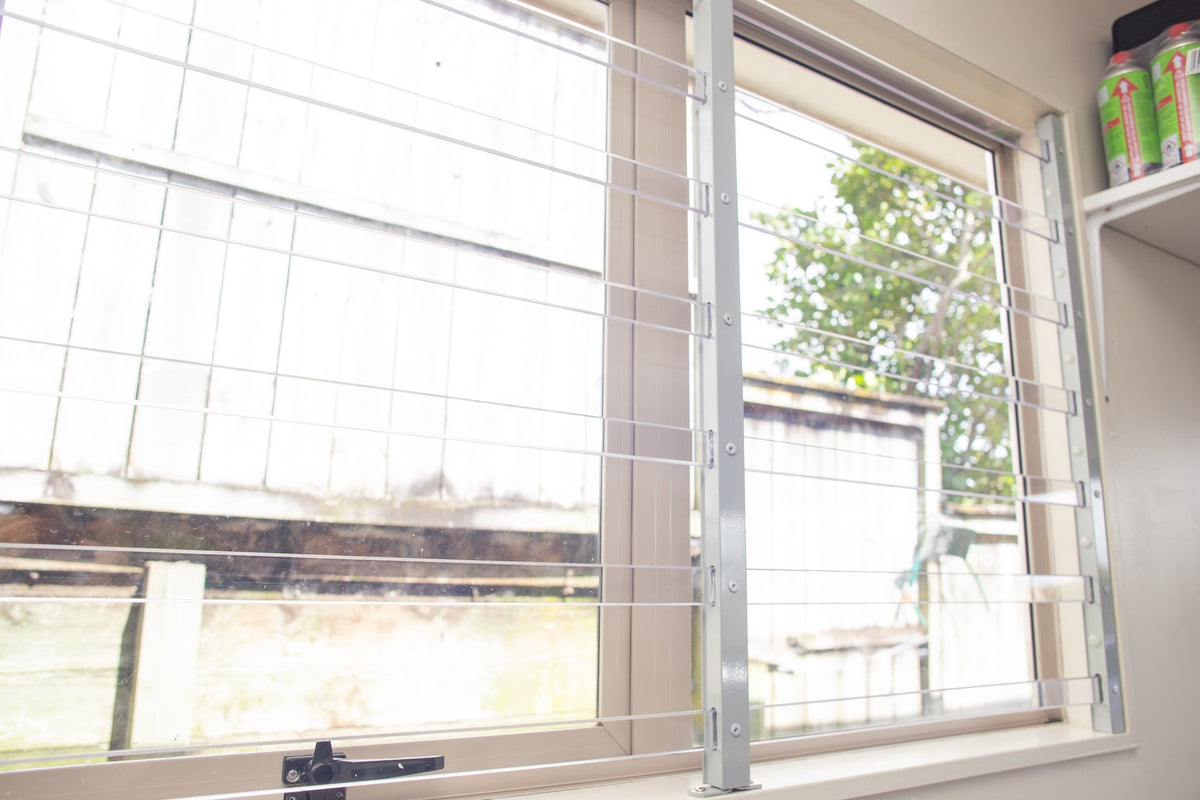
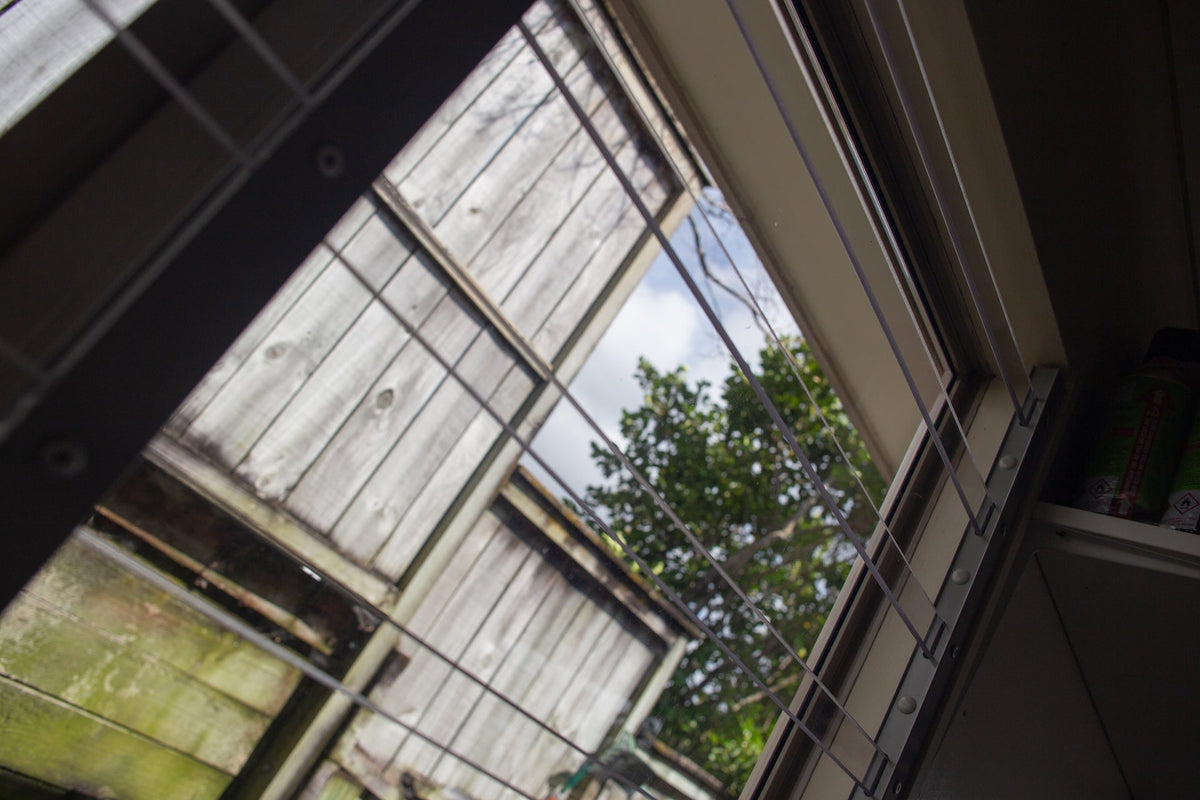
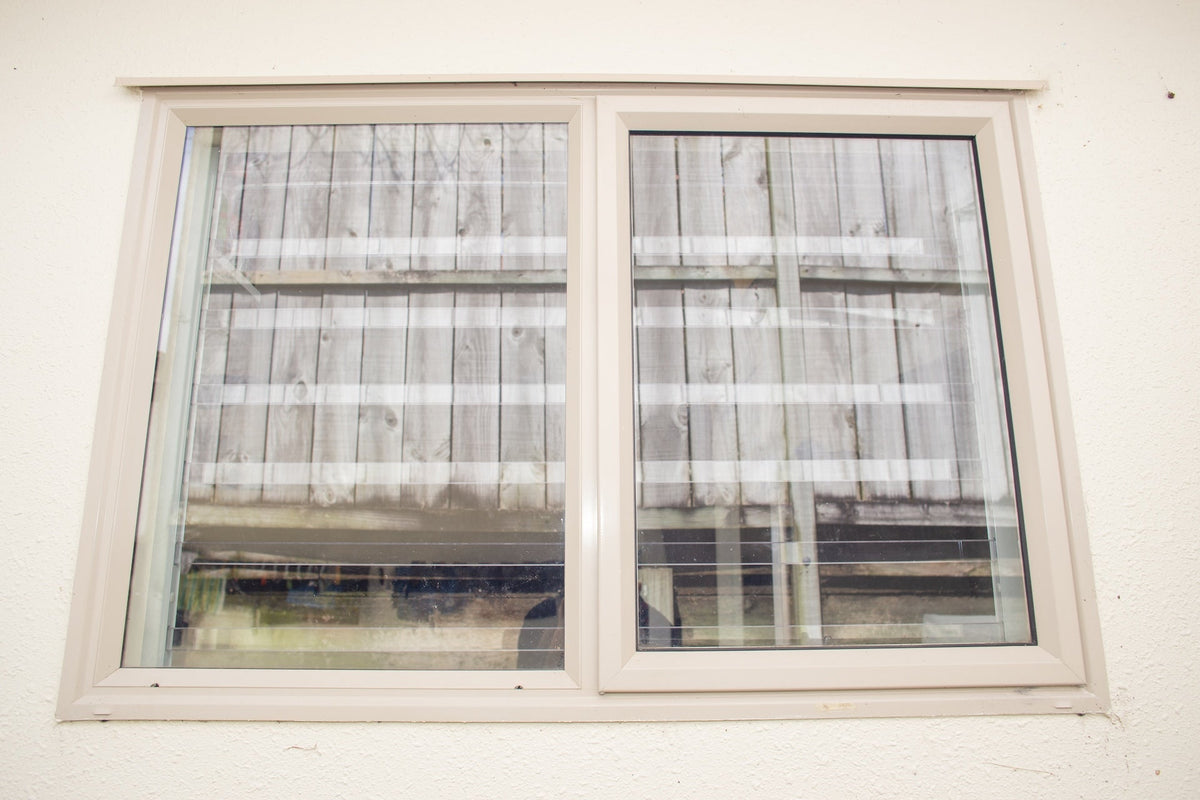
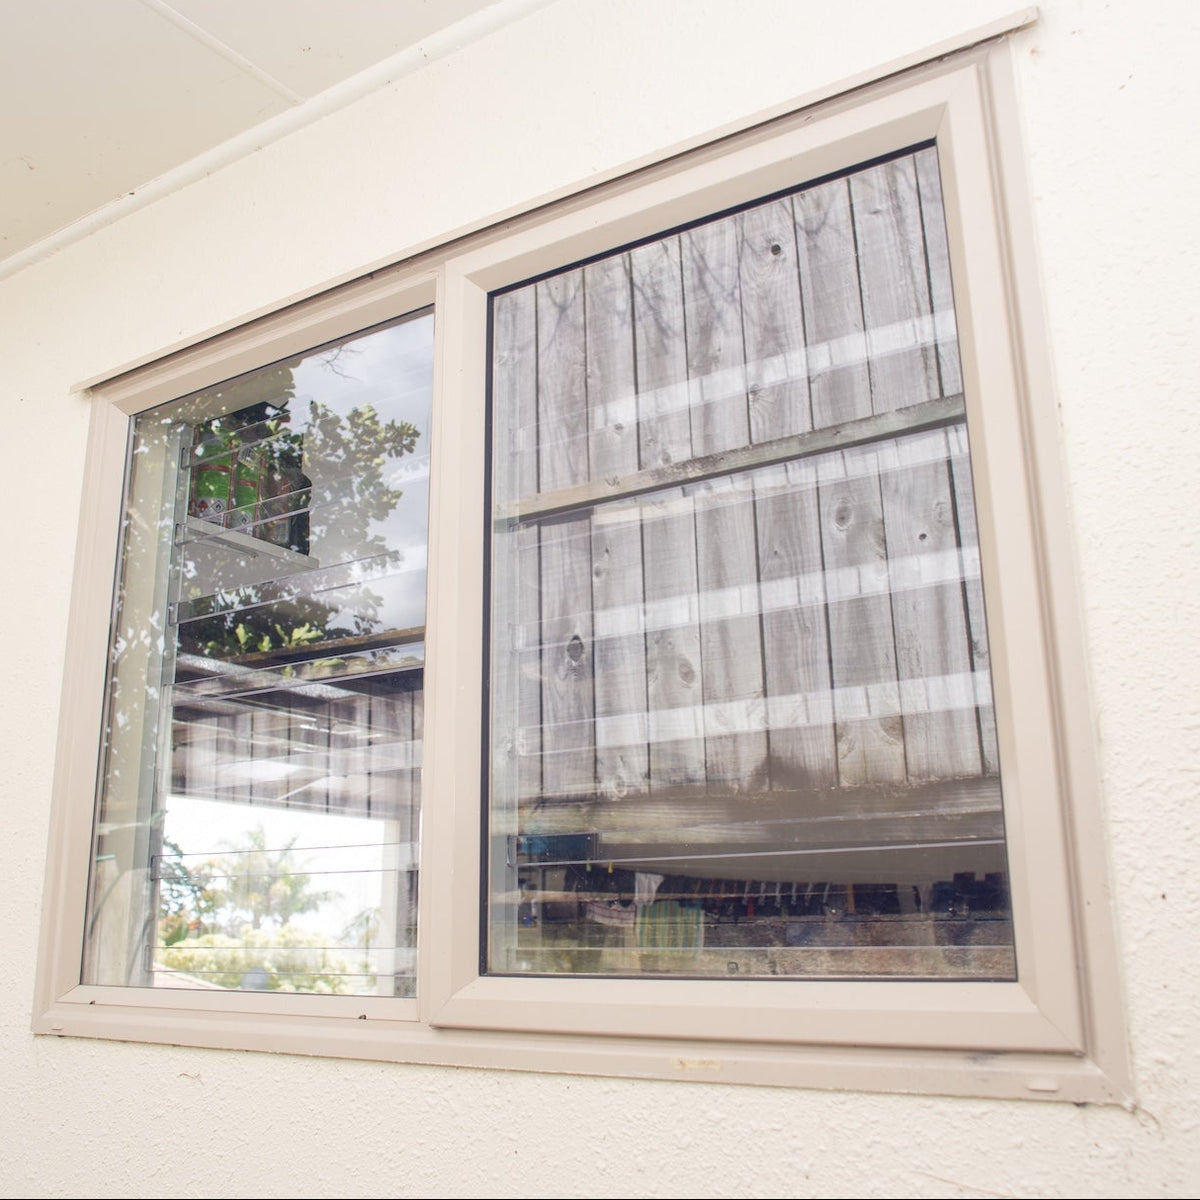
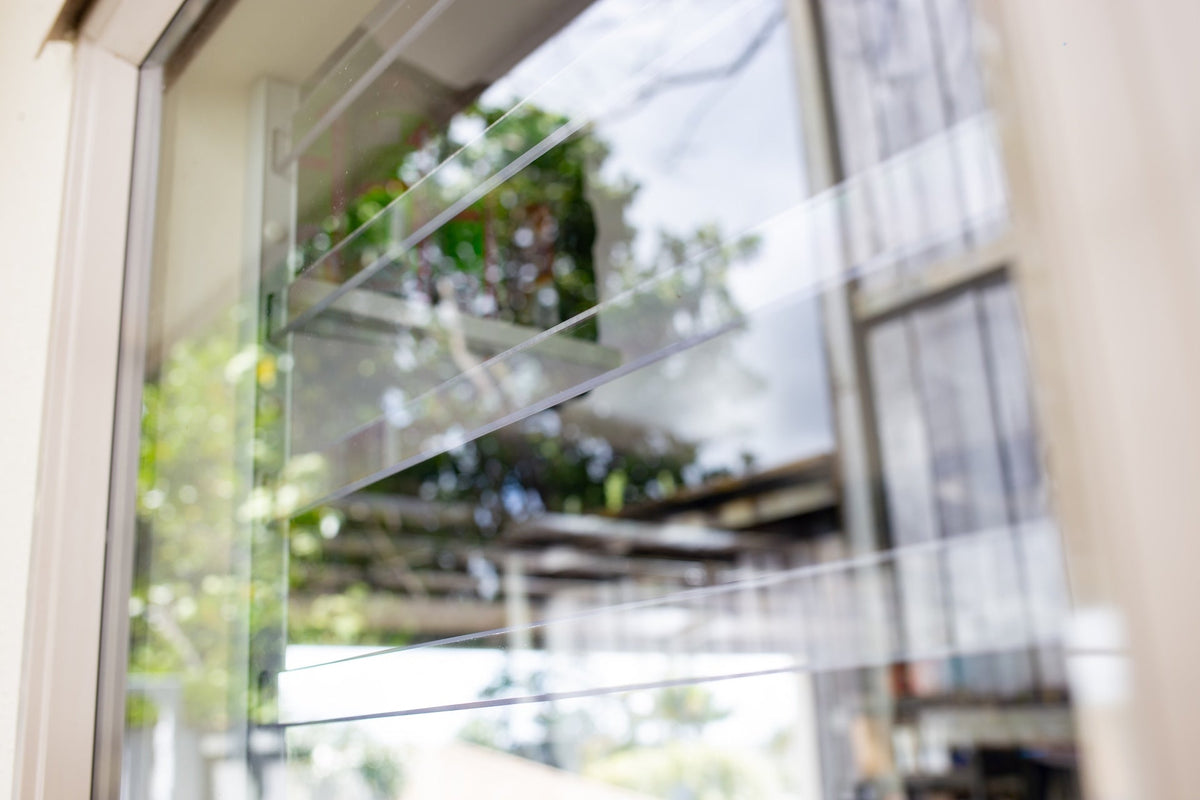
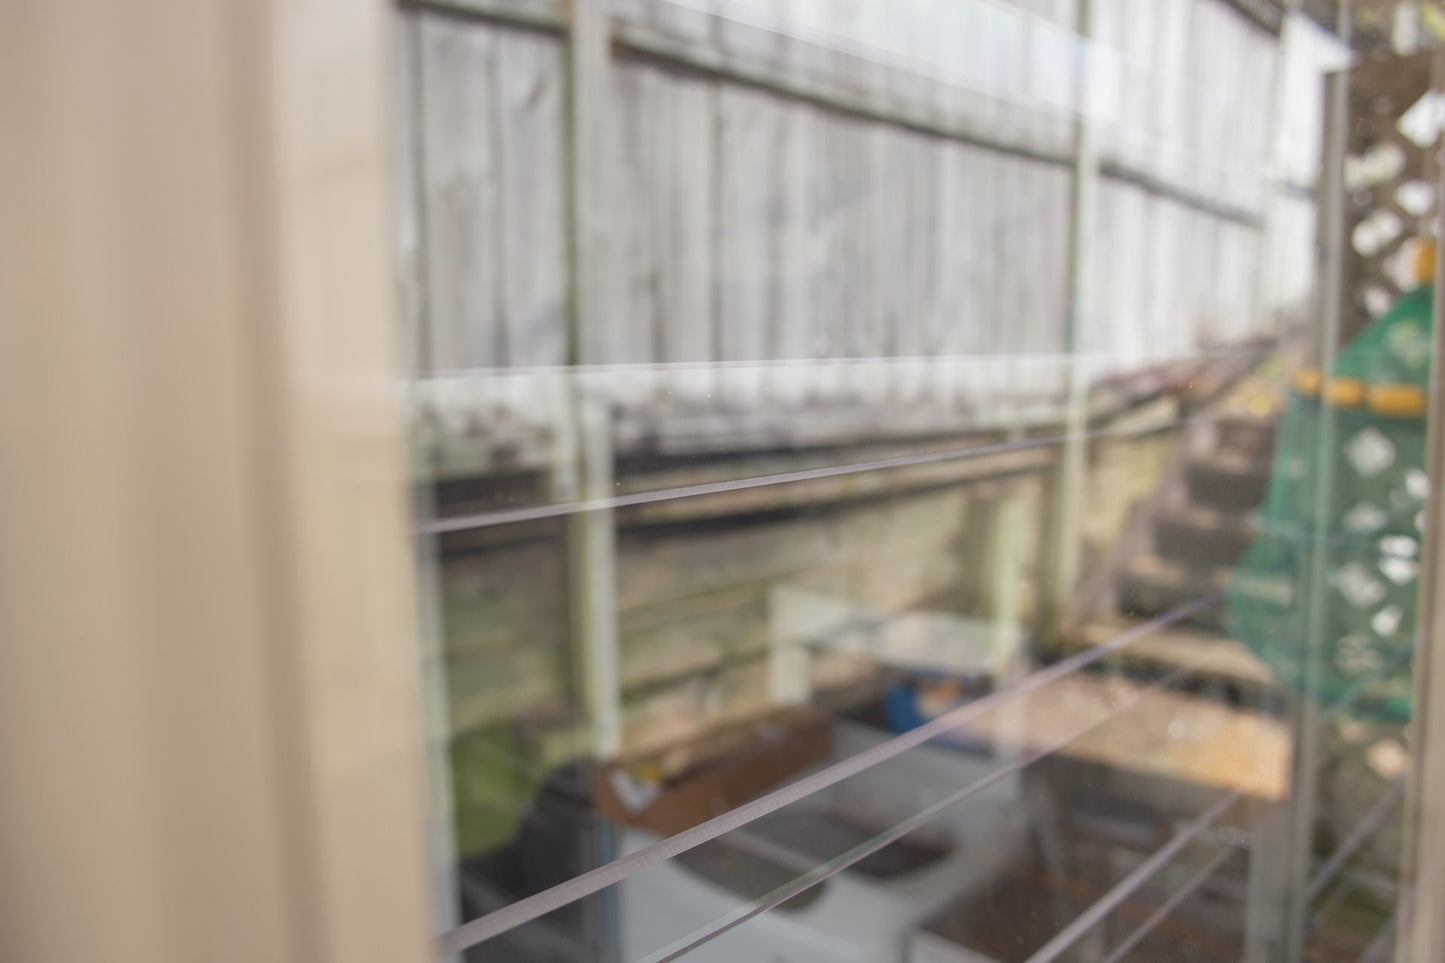
Clear-Guard is a high-security window protection system designed to deter intruders while maintaining the visual appeal of your property. By combining impact-resistant polycarbonate with a sleek aluminium frame, Clear-Guard offers a secure yet discreet alternative to traditional steel bars.
Providing strength, visibility, and natural light, it’s the ideal solution for customers who want both protection and aesthetics. For larger-scale or compliance-specific installations, Xpanda also offers fully engineered custom systems.
Specifications
- Pitch (slat spacing): 105 mm
- Maximum size: up to 3 m (H) × 3 m (W)
- Maximum span of 600mm between supports
- Weather rating: Indoor use
- Fixing method: Sill fix
- Powder-Coat Finish – $150 flat fee per order (choose your colour, one charge no matter how many Clear Guard items you buy).
Top Features
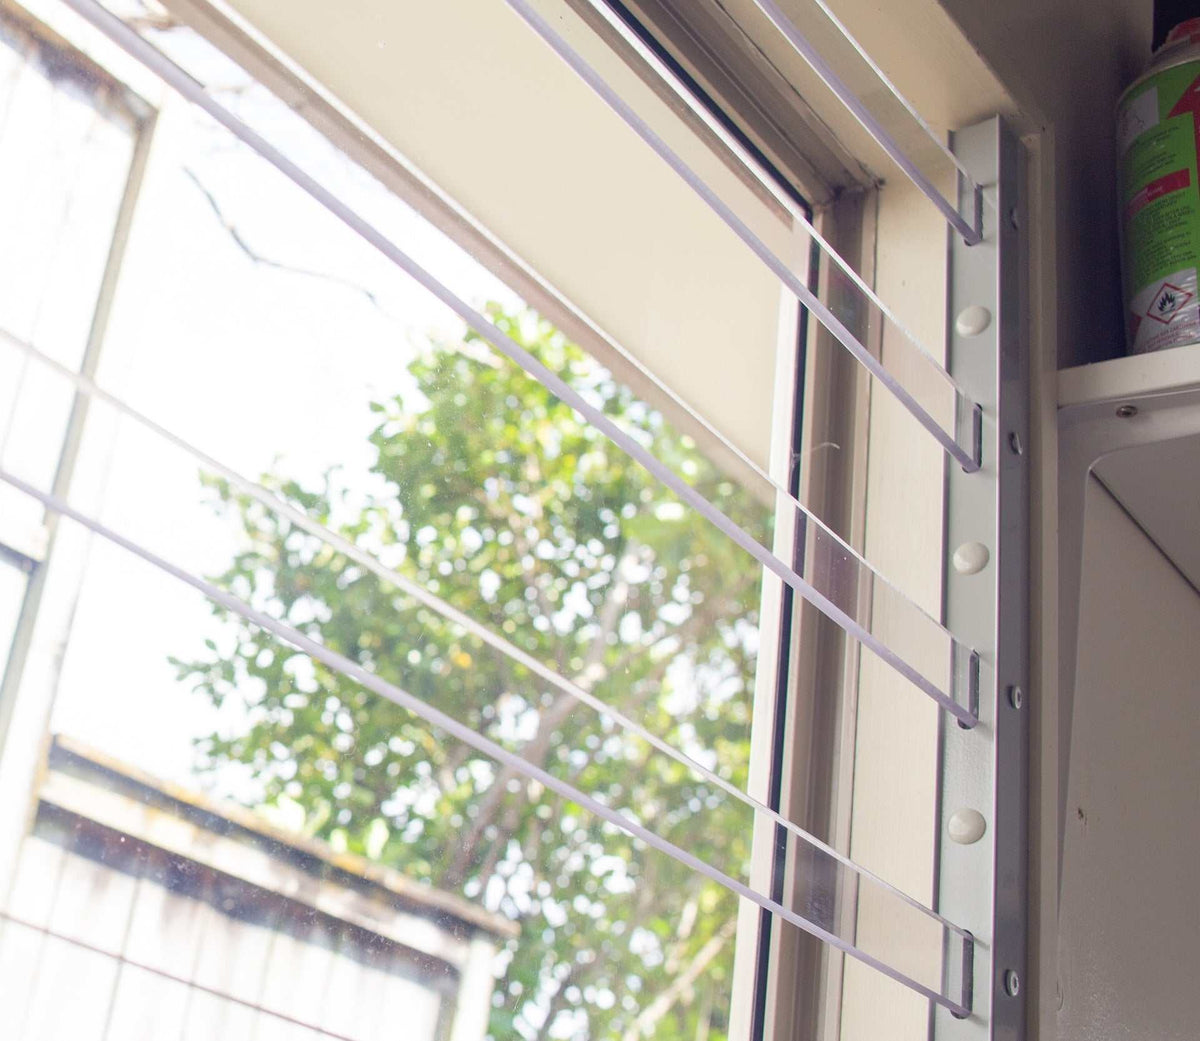
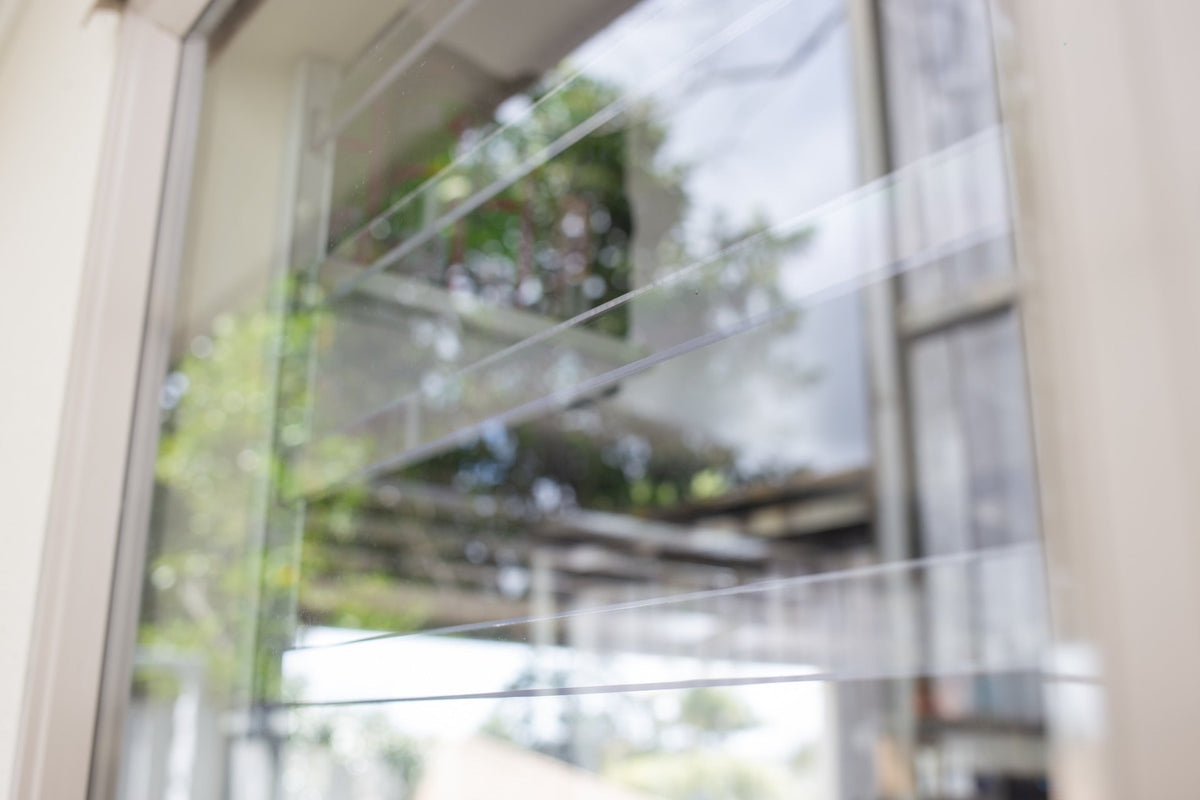
- High-strength 6 mm polycarbonate slats with aluminium frame
- Available in multiple size options (custom adjustments available)
- Maintains visibility and natural light
- Light Grey Powder-coat finish (extra costs apply for other colours)
- Aluminium 'uprights' (but can be horizontal or vertical orientation)
Key Strengths
- Impact-Resistant Security:
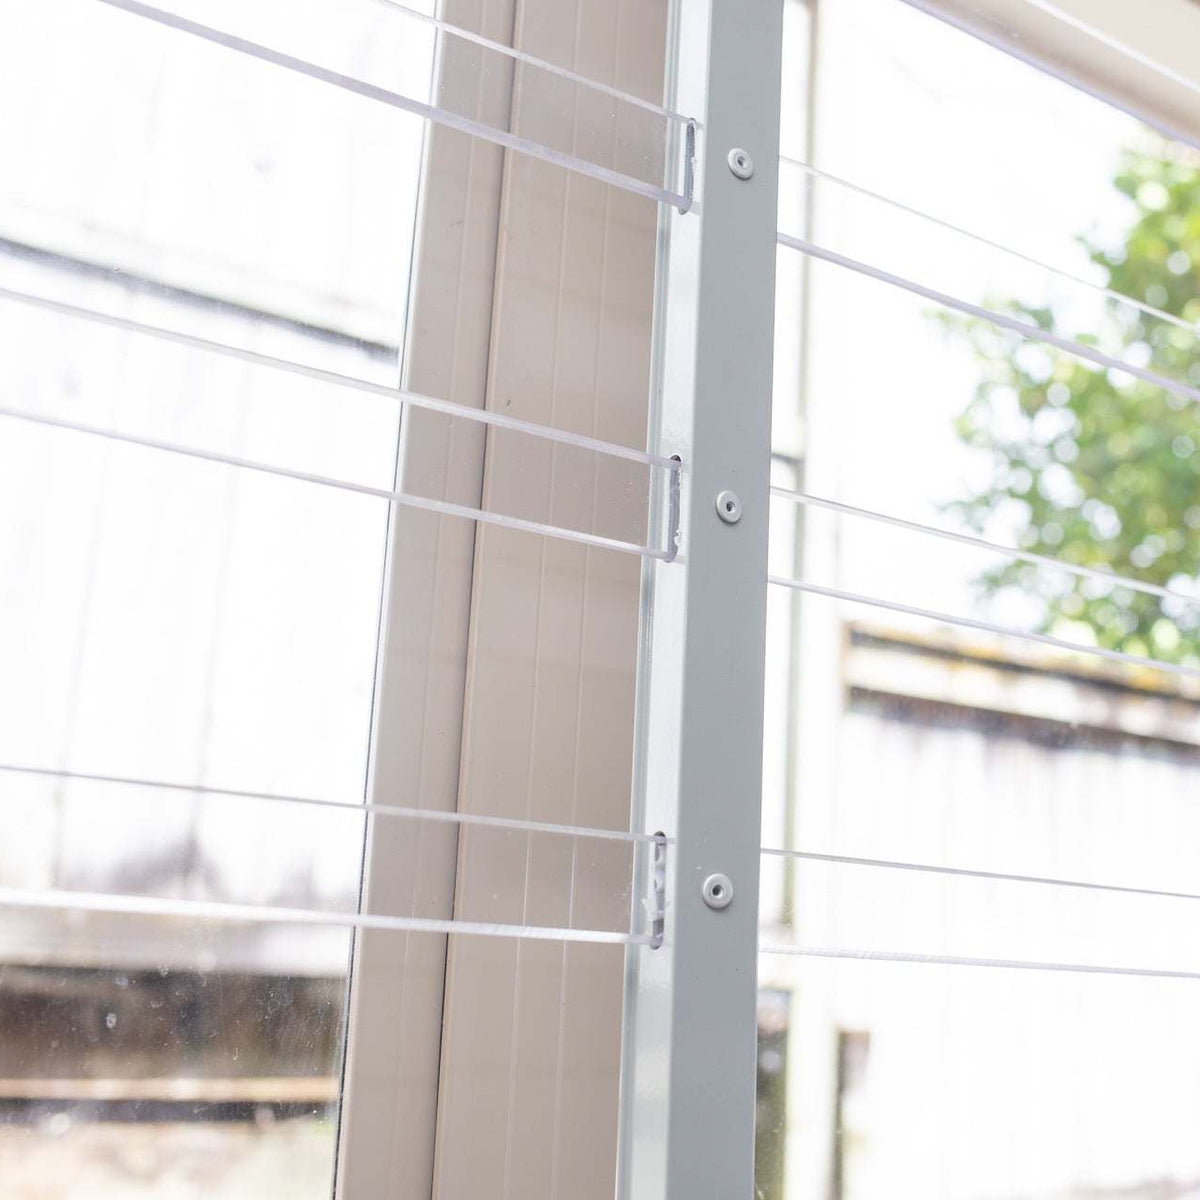
Virtually unbreakable 6 mm polycarbonate slats reinforced with an aluminium frame provide outstanding resistance against forced entry. Slats pass through intermediate uprights with no visible external fasteners, increasing tamper resistance. - Modern, Low-Profile Design:
Slim aluminium framing can be powder-coated in any Dulux colour to blend seamlessly with your property. - Maximum Light, Clear Views:
Unlike traditional steel bars, Clear-Guard allows up to 95% light transmission, maintaining natural light and outdoor visibility. - Flexible Sizing:
Standard and custom sizes available. Provide your measurements at order stage for tailored adjustments at minimal cost.
Applications
- Homes and apartments
- Offices and retail stores
- Warehouses and storerooms
- Schools and community facilities (consult us for compliance projects)
What’s Included
Clear Guard Contents & Components
- Polycarbonate slat(s), 6 mm thick × 30 mm wide

- Vertical Brackets for Left and Right Sides
(Additional support bracing if the coverage is wider than 600mm)

- Bracket screws (for securing slats into the brackets)

- Mounts

- Fixing Caps

- Note: Fixings to attach the bracket (frame) to the building are not included
Recommended Fixings-
Wood Fixing:
Use 8-gauge screws (28–40mm, or up to 100mm for deep penetration through multiple wall layers). Screws pass through the 10mm access hole and fasten into the 5mm fixing hole. -
Concrete Fixing:
Drill a 5mm hole into the concrete, insert a wall plug, then use 8-gauge screws.
For applications that need extra strength, use a 10-gauge hex head screw.
The holes should be drilled 16 mm / 7 mm into the material.
-
Wood Fixing:
Installation Guide
Clear Guard Installation Guide NZ | DIY Window Security
How to Install Clear Guard
Clear Guard is designed for straightforward DIY installation using basic tools. Follow the steps below to install your transparent window security system securely and achieve a clean, professional finish.
Tools Required
- Battery drill
- 5mm drill bit
- Hand or battery-operated riveter
- Screwdriver or suitable driver bit (No. 2 square drive if using square-drive screws)
- Suitable screws and anchors for your installation surface

Important: Mounting screws and anchors are not supplied, as the required fixings depend on whether you are installing into timber, masonry, concrete or another suitable surface. Other standard installation components are supplied with the kit.
Recommended Fixings are:
Wood Fixing:
Use 8-gauge screws (28–40mm, or up to 100mm for deep penetration through multiple wall layers). Screws pass through the 10mm access hole and fasten into the 5mm fixing hole.
Concrete Fixing:
Drill a 5mm hole into the concrete, insert a wall plug, then use 8-gauge screws.
For applications that need extra strength, use a 10-gauge hex head screw.
The holes should be drilled 16 mm / 7 mm into the material.
Step 1: Prepare the Installation Area
- Check that the window opening matches your Clear Guard dimensions.
- Ensure the installation surface is clean, solid and free from obstructions.
-
Unpack all components and identify the left and right side frames.


Step 2: Position and Install the First Side Frame
-
Position the first side frame at your preferred location within the window opening.
The larger access holes on the side frames must face inward, towards the inside of the premises. The smaller fixing holes should face the mounting surface.
- Ensure the frame is straight and correctly aligned.
- Check that the rivet holes face inward and remain accessible for installation.
- Secure the top fixing screw first.
- Once aligned, install the remaining fixing screws.
- Insert the supplied fixing caps to cover the screw holes.
Tip: The side frames can be positioned towards the front, middle or back of the window opening. Make sure there is enough clearance to access all rivet points with your riveter.
Step 3: Prepare the Polycarbonate Slats
- Identify the protective film covering each slat.
- Carefully peel back approximately 50mm of film from both ends of each slat.
- Leave the remaining protective film in place to prevent scratches during installation.
Important: Removing the film from the ends before fitting makes it easier to expose the complete surface after the slats are secured.
Step 4: Install the Slats and Opposite Side Frame
- Slide each polycarbonate slat into the installed side frame.
- Guide the opposite ends of the slats into the second side frame.
- Ensure all slats are correctly seated and evenly positioned.
- Align the second side frame with the first.
- Check that both frames are parallel and straight.
- Secure the second side frame using suitable fixing screws.
- Install the supplied fixing caps.
Check that the slats are properly seated before permanently securing the opposite frame.
Step 5: Install the Centre Support (If Supplied)
For wider openings, a centre support may be included to provide additional stability.
- Identify the centre support and its top and bottom fixing brackets.
- Slide the bottom fixing bracket into the support's lower groove.
- Attach or position the top fixing bracket.
- Position the support at the centre of the window opening.
- Ensure the support is straight and correctly aligned with the slats.
- Secure the bottom bracket through its fixing holes.
- Secure the top bracket in the same manner.
Note: The bottom of the centre support has additional clearance to accommodate its fixing bracket. Check the bracket orientation before installation.
Step 6: Secure the Slats
- Check that each slat is correctly positioned.
- Ensure the rivet fixing points are accessible.
- Secure the slats at the designated fixing points using the supplied rivets and a hand or battery-operated riveter.
- Use the 5mm drill bit where drilling is required, following the positions demonstrated in the installation video.
- Check that all connections are secure.
Avoid overtightening or forcing components against the polycarbonate.
Step 7: Remove the Protective Film and Clean
- Carefully peel away the remaining protective film from all polycarbonate slats.
- Remove any installation dust and debris.
- Wipe the slats gently with a clean, soft, non-abrasive cloth.
- Remove surface static and dust to restore maximum clarity.
Avoid abrasive cleaning materials that could scratch the polycarbonate.
Final Installation Check
Before finishing, confirm that:
- Both side frames are securely fixed.
- All polycarbonate slats are correctly seated.
- All required rivets are securely installed.
- The centre support is properly fixed, if supplied.
- All screw-hole caps are fitted.
- All protective film has been removed.
- The transparent surfaces are clean and free from installation debris.
Your Clear Guard installation is now complete, providing an additional physical security barrier while preserving visibility and natural light.
Still need help?
Contact us here or explore Custom-Made Clear Guard Options
CUSTOM ORDER?
