


Overview
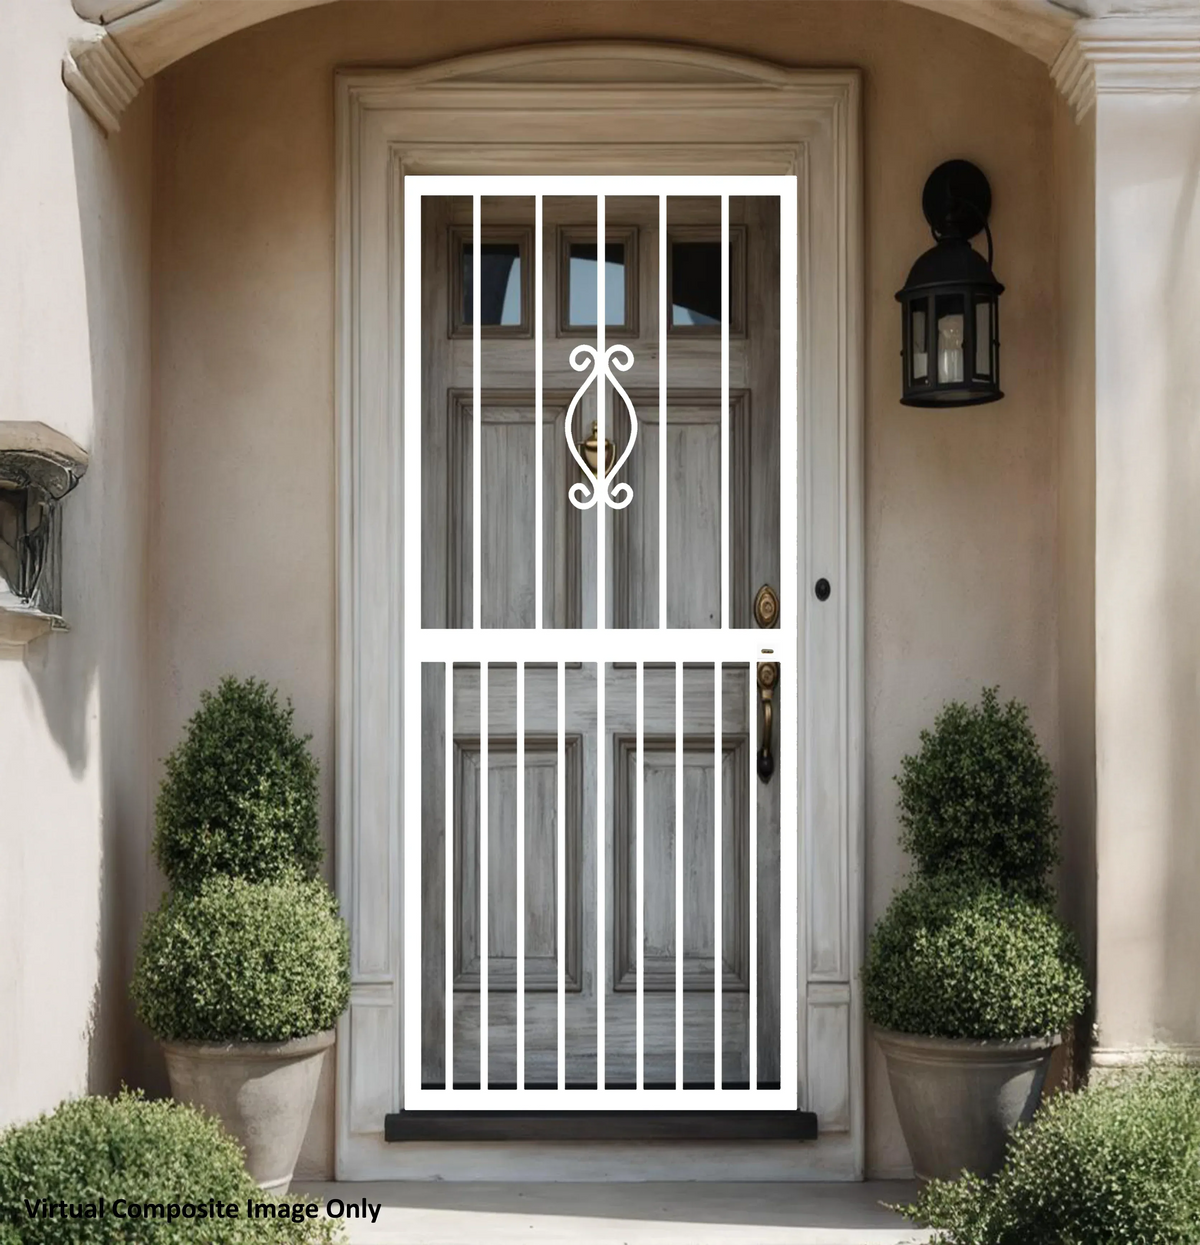
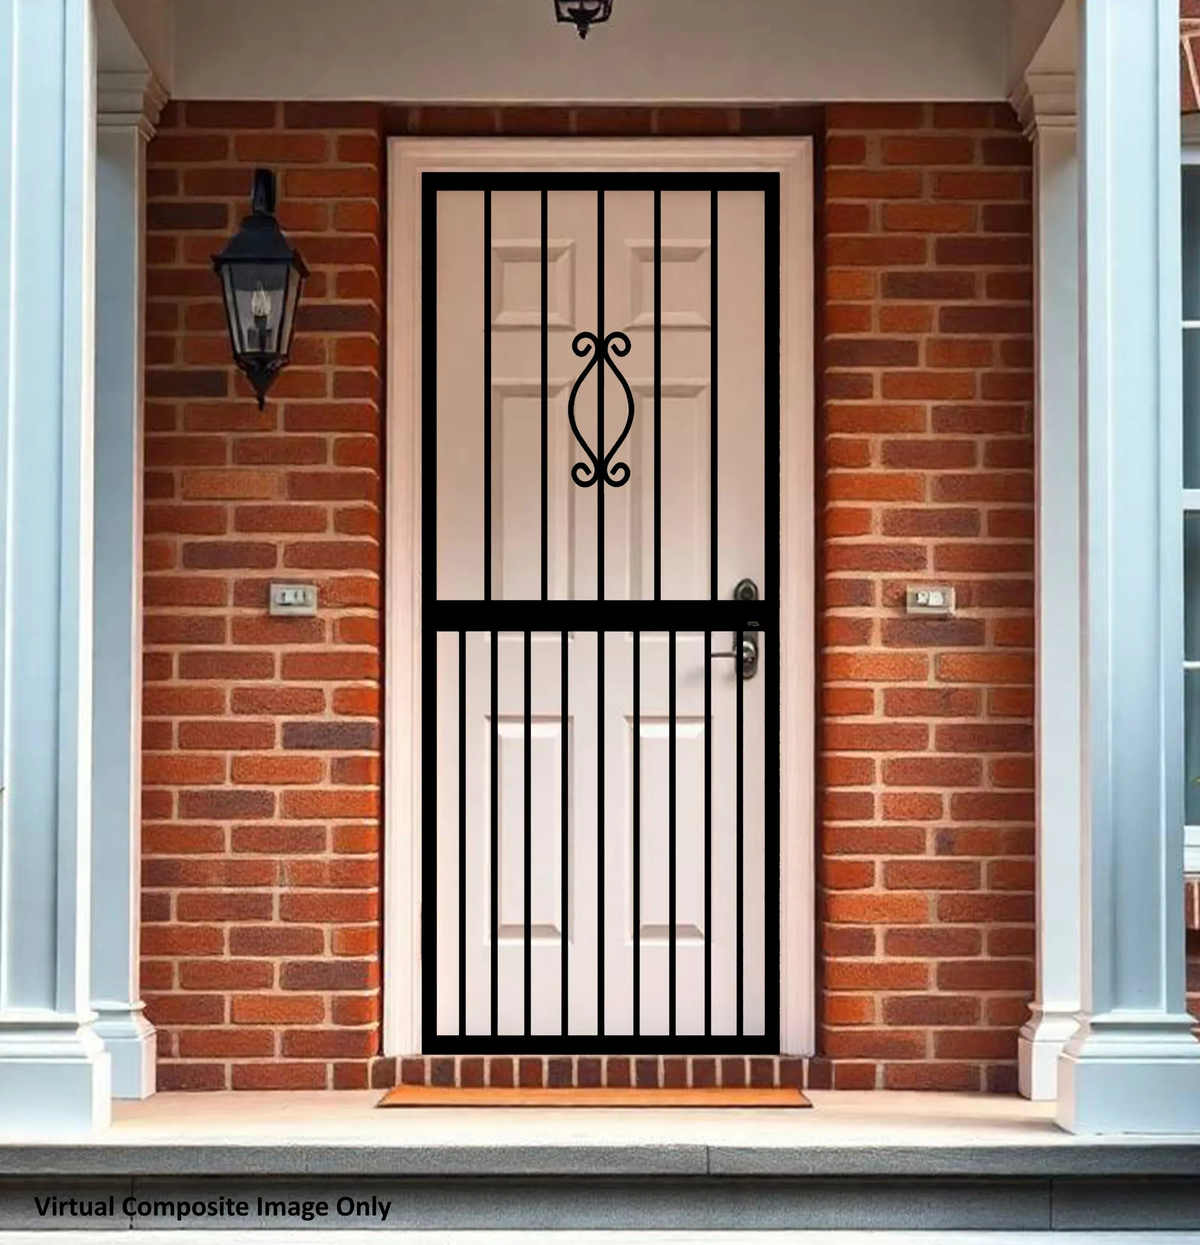
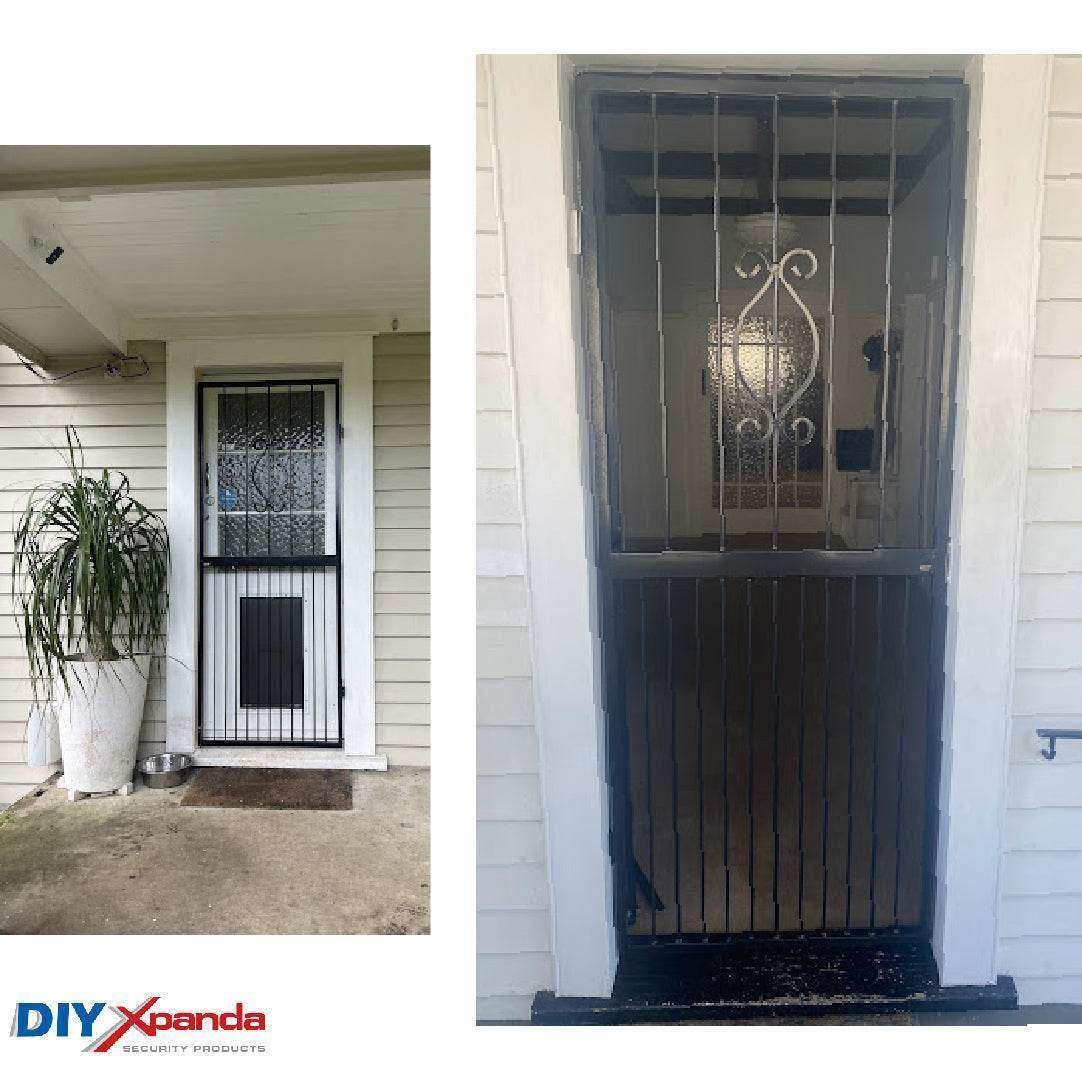
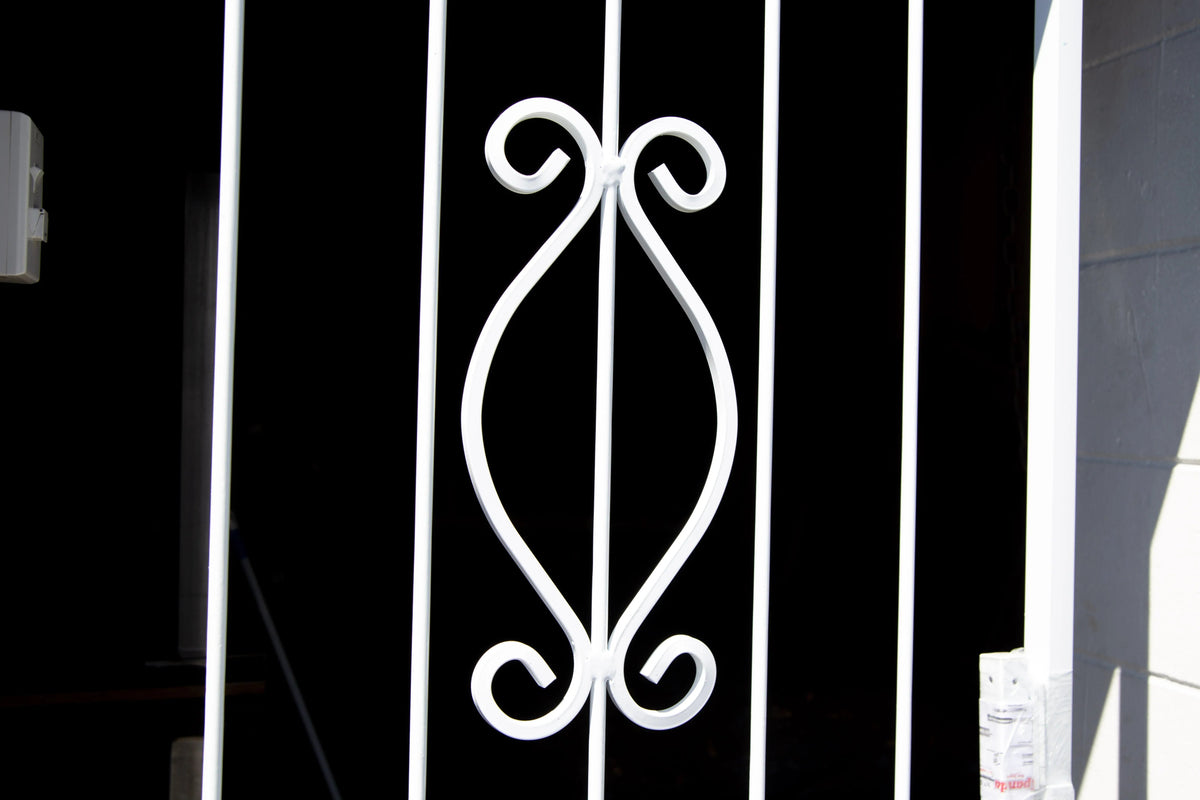
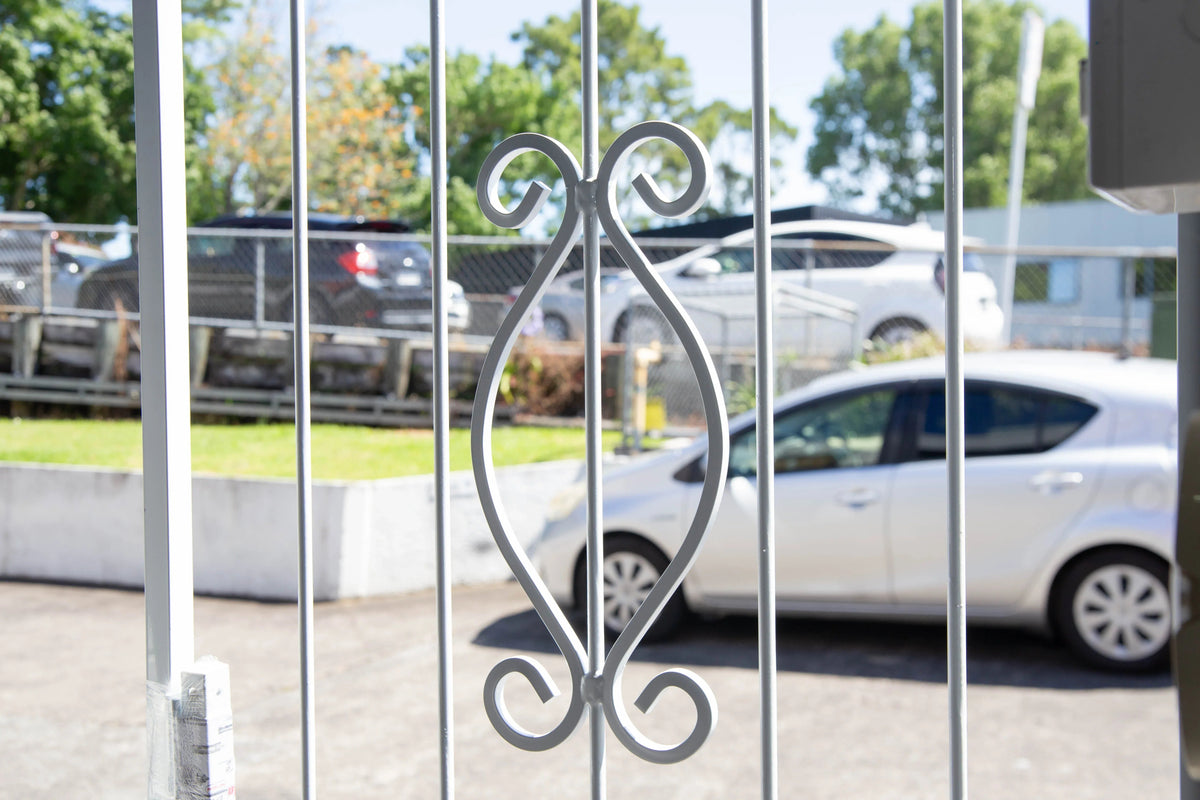
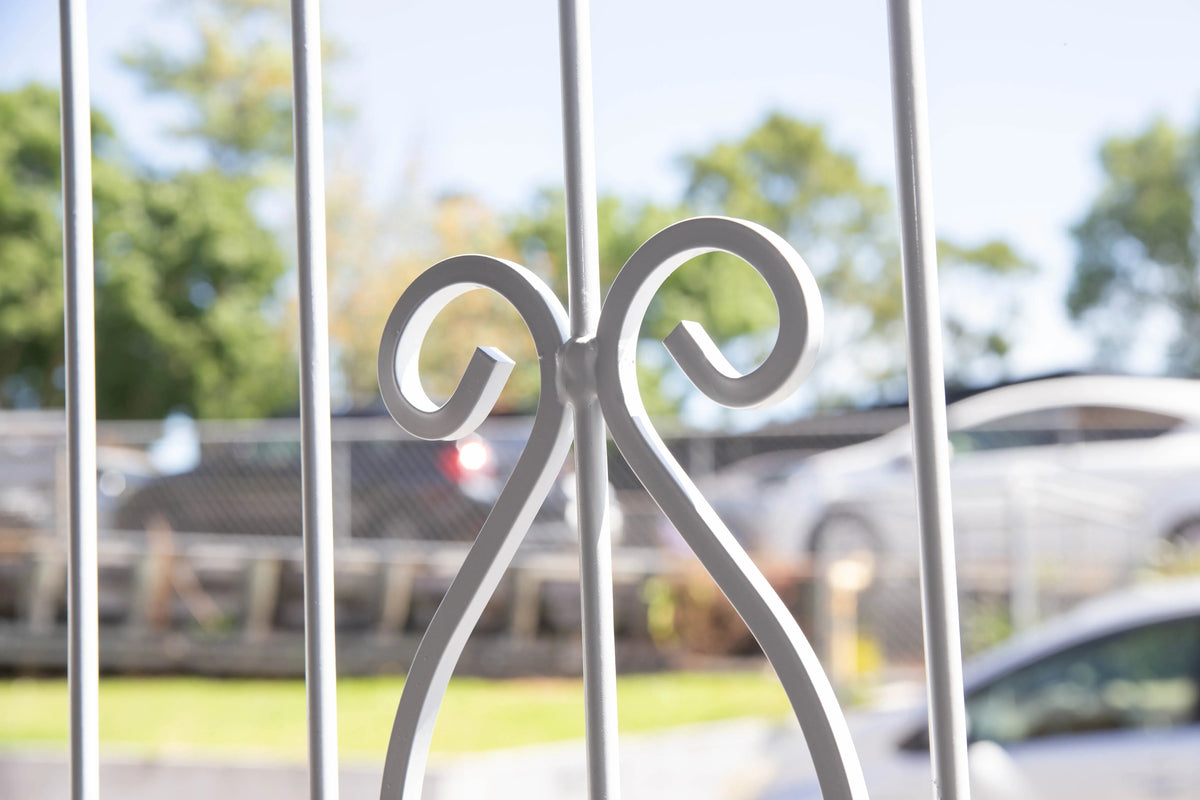
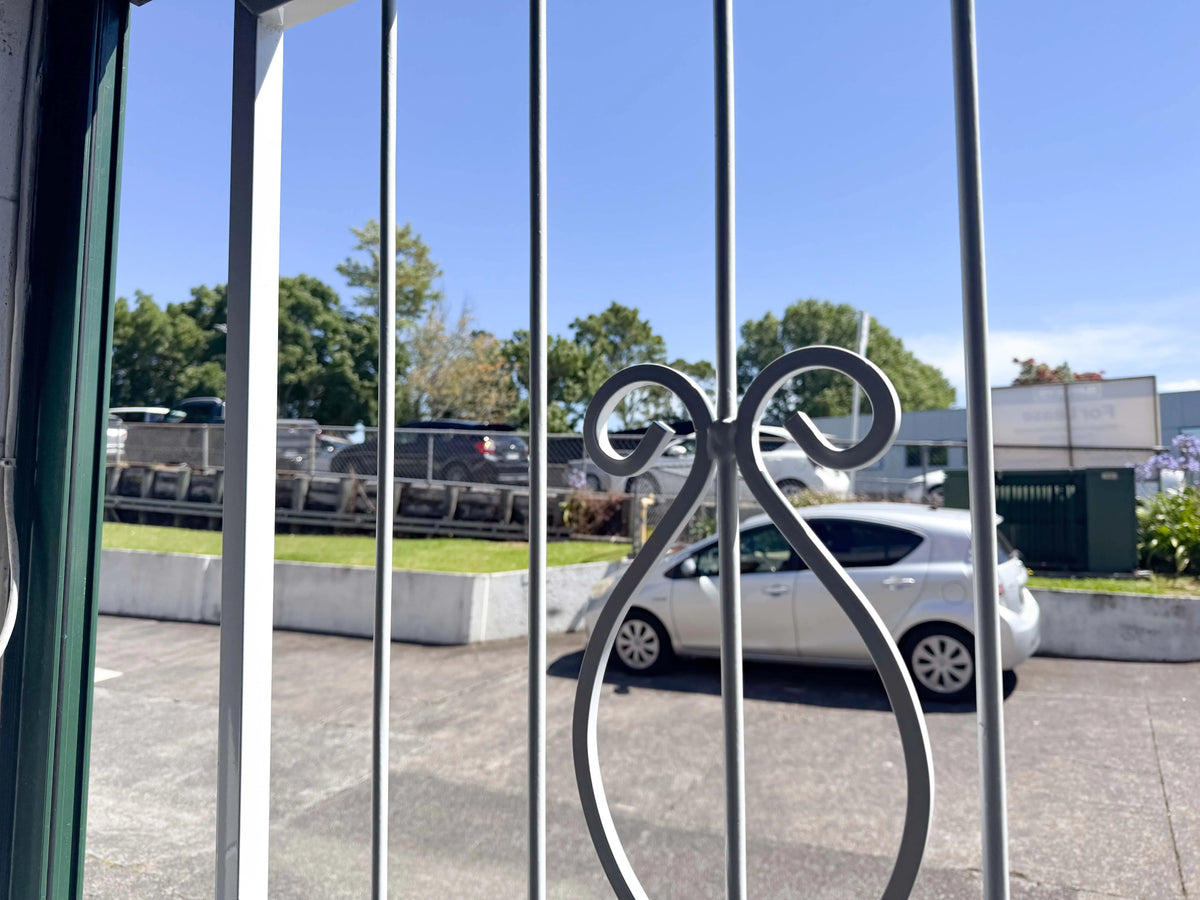
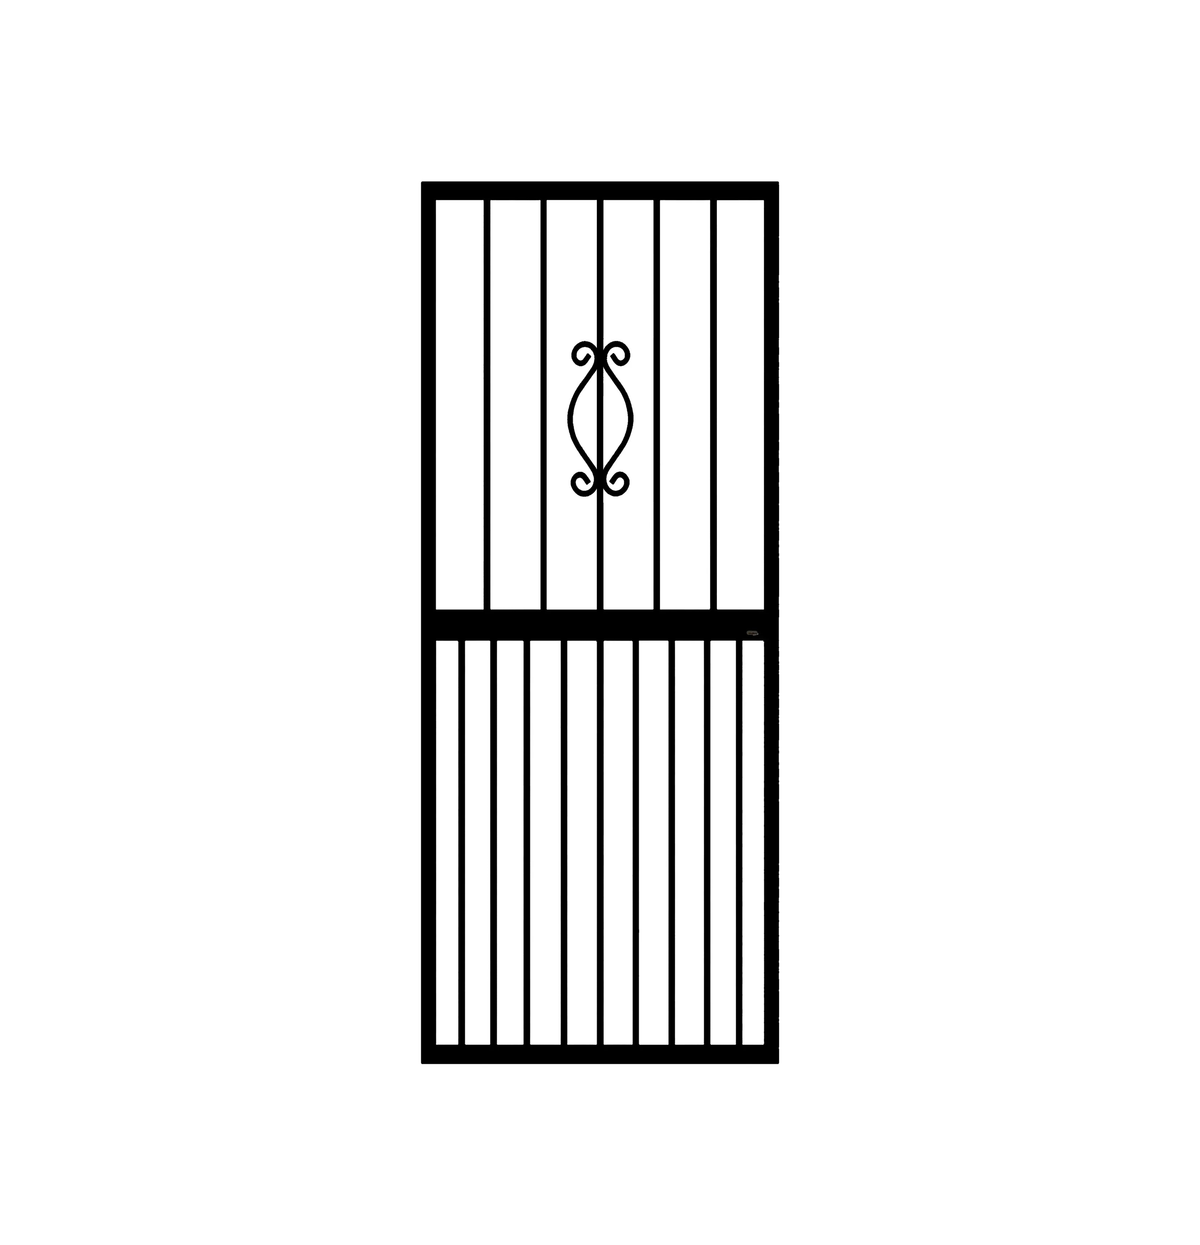
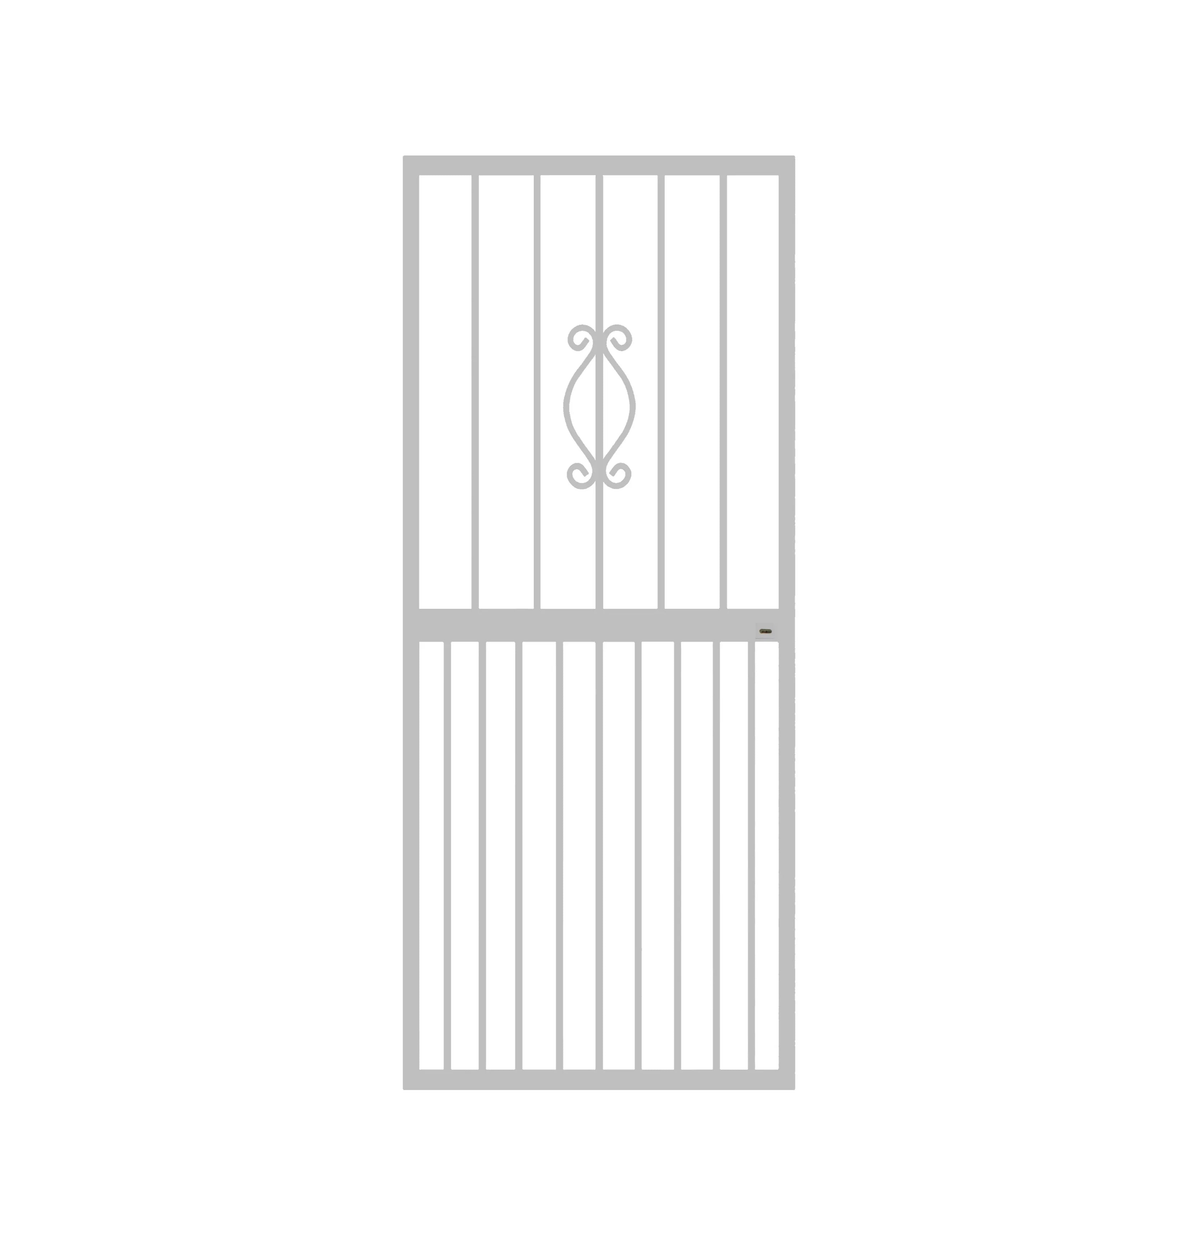
The Regal Steel Security Gate combines dependable steel strength with the added security of an L302 lock system. A practical and cost-effective choice for securing residential entrances, side doors, and everyday access points.
Designed for straightforward installation and reliable daily use, Regal provides practical protection while remaining simple to operate and maintain.
For larger or higher-risk sites, Xpanda recommends our custom welded security gates for maximum strength.
Top Features
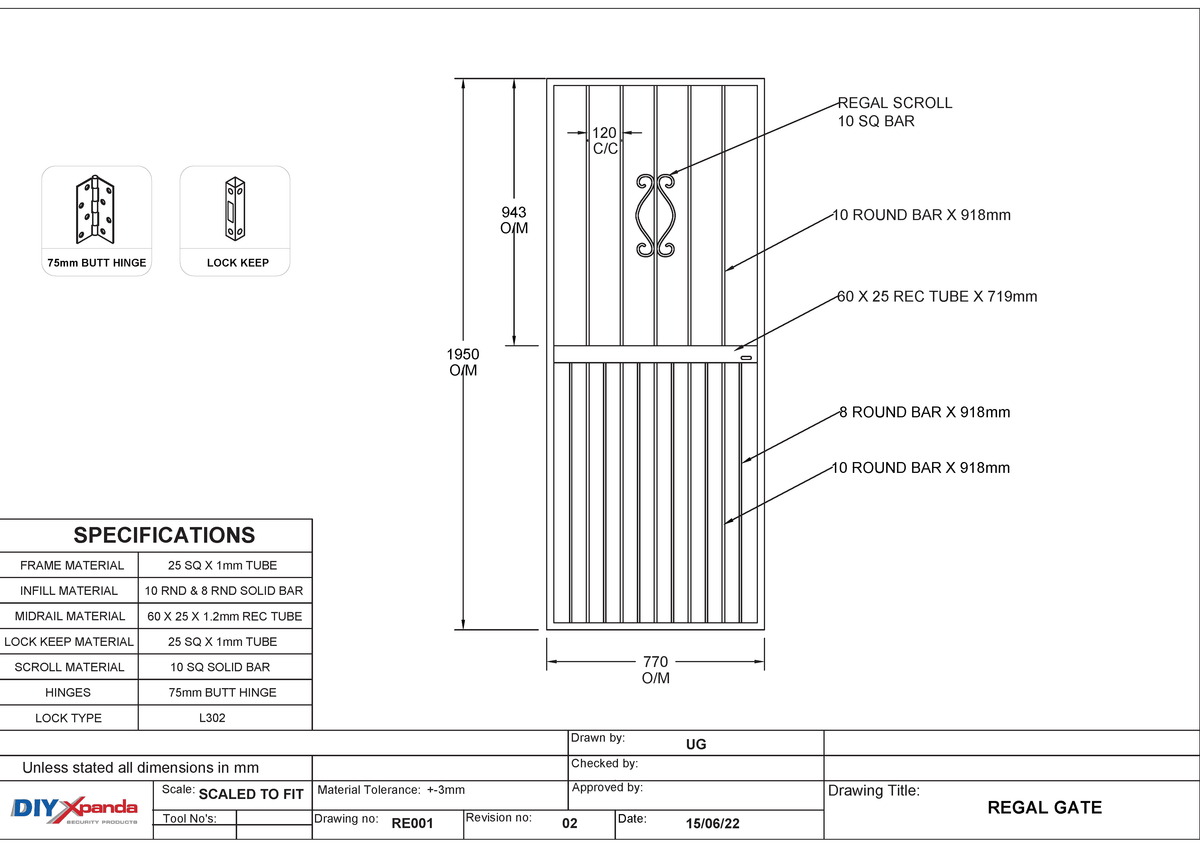
- Width: 770mm | Height: 1950mm
- Mild steel, zinc plated + epoxy coated
- Type: Fixed swing gate
- Lock type: L302
Key Strengths
- Classic Security Design:
A simple, reliable swing gate designed for homes and residential entrances. - Enhanced Protection:
Supplied with an L302 lock for added entry-point control. - Durable Coating:
Steel frame finished to help resist wear under New Zealand conditions. - Low-Maintenance Security:
Minimal upkeep compared to retractable or sliding systems.
Applications
- Homes and apartments
- Rental properties
- Utility and side doors
- Holiday homes and baches
- Secondary entrances
What’s Included
- Regal gate panel (steel, coated finish)
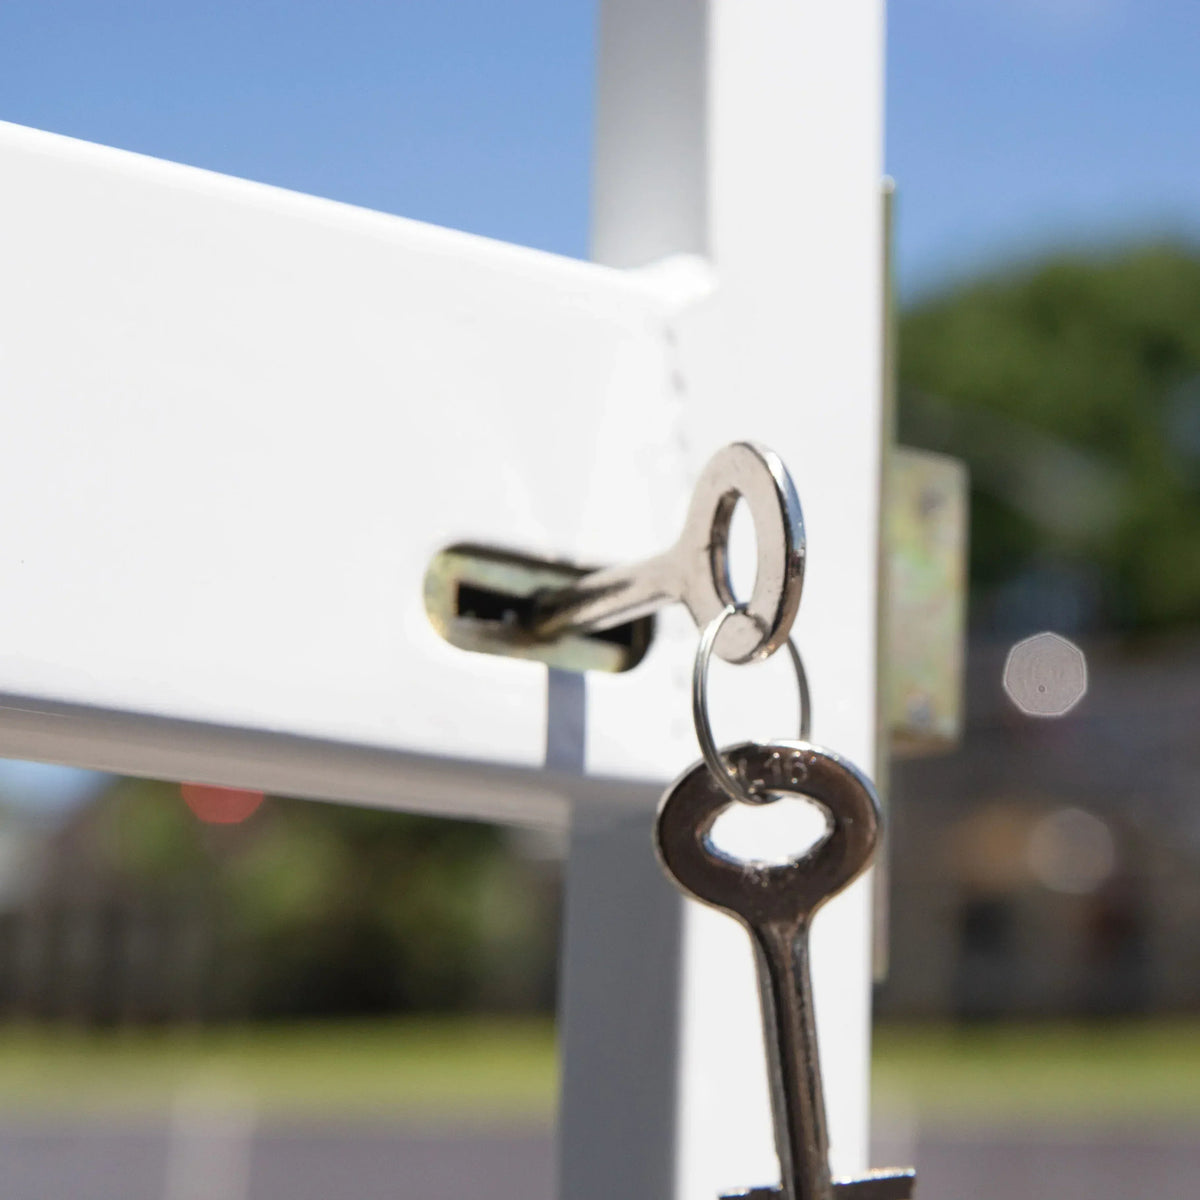
- L302 Lock (Lockable from both sides)
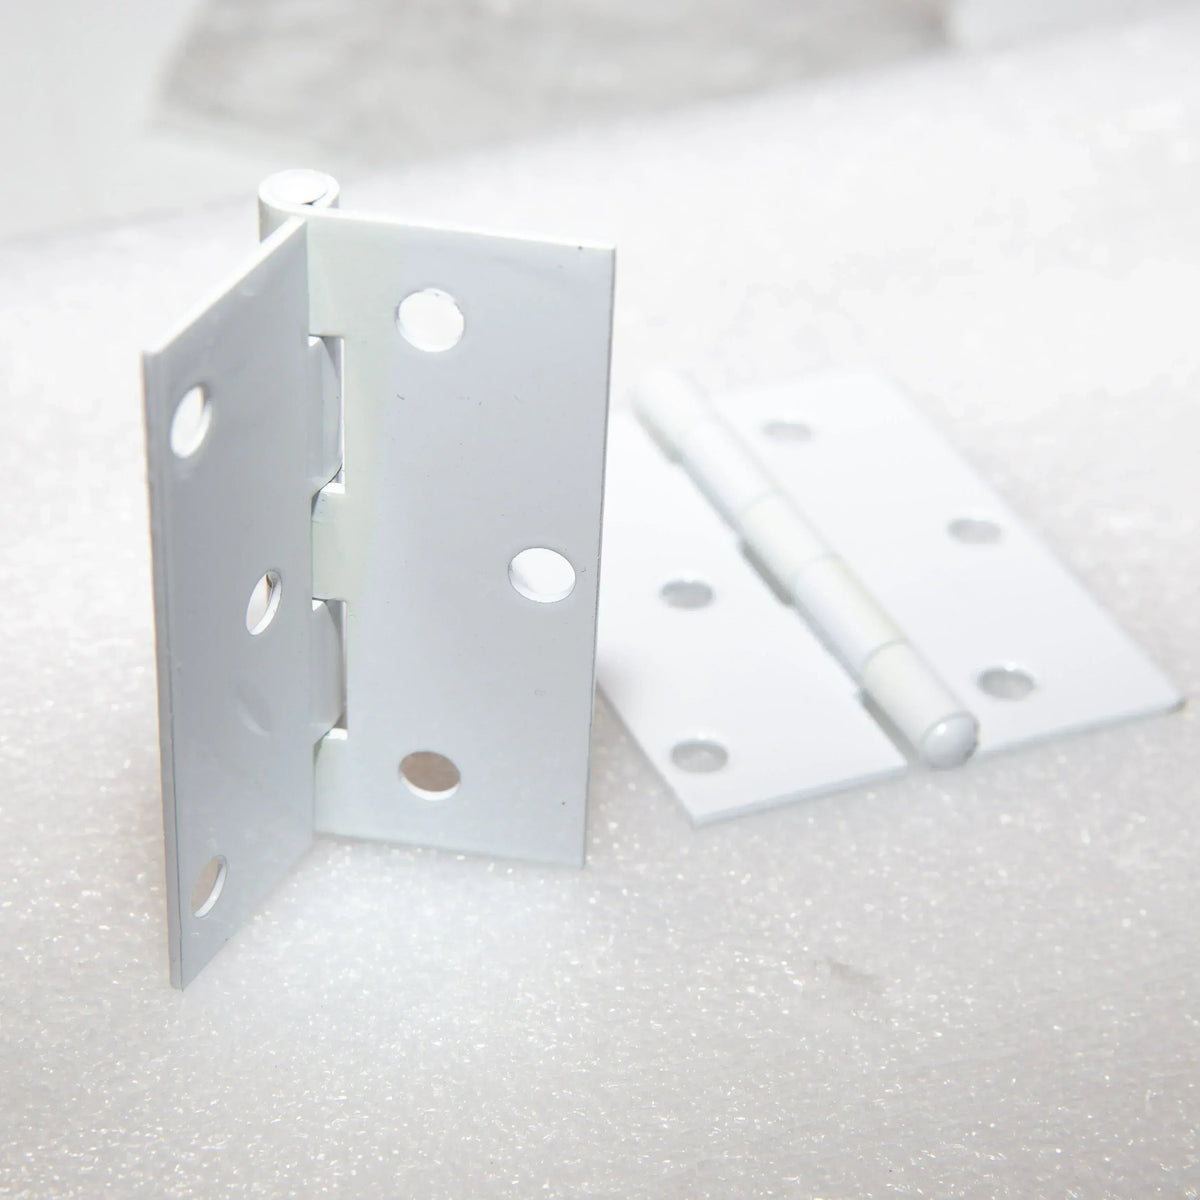
- Butt Hinges
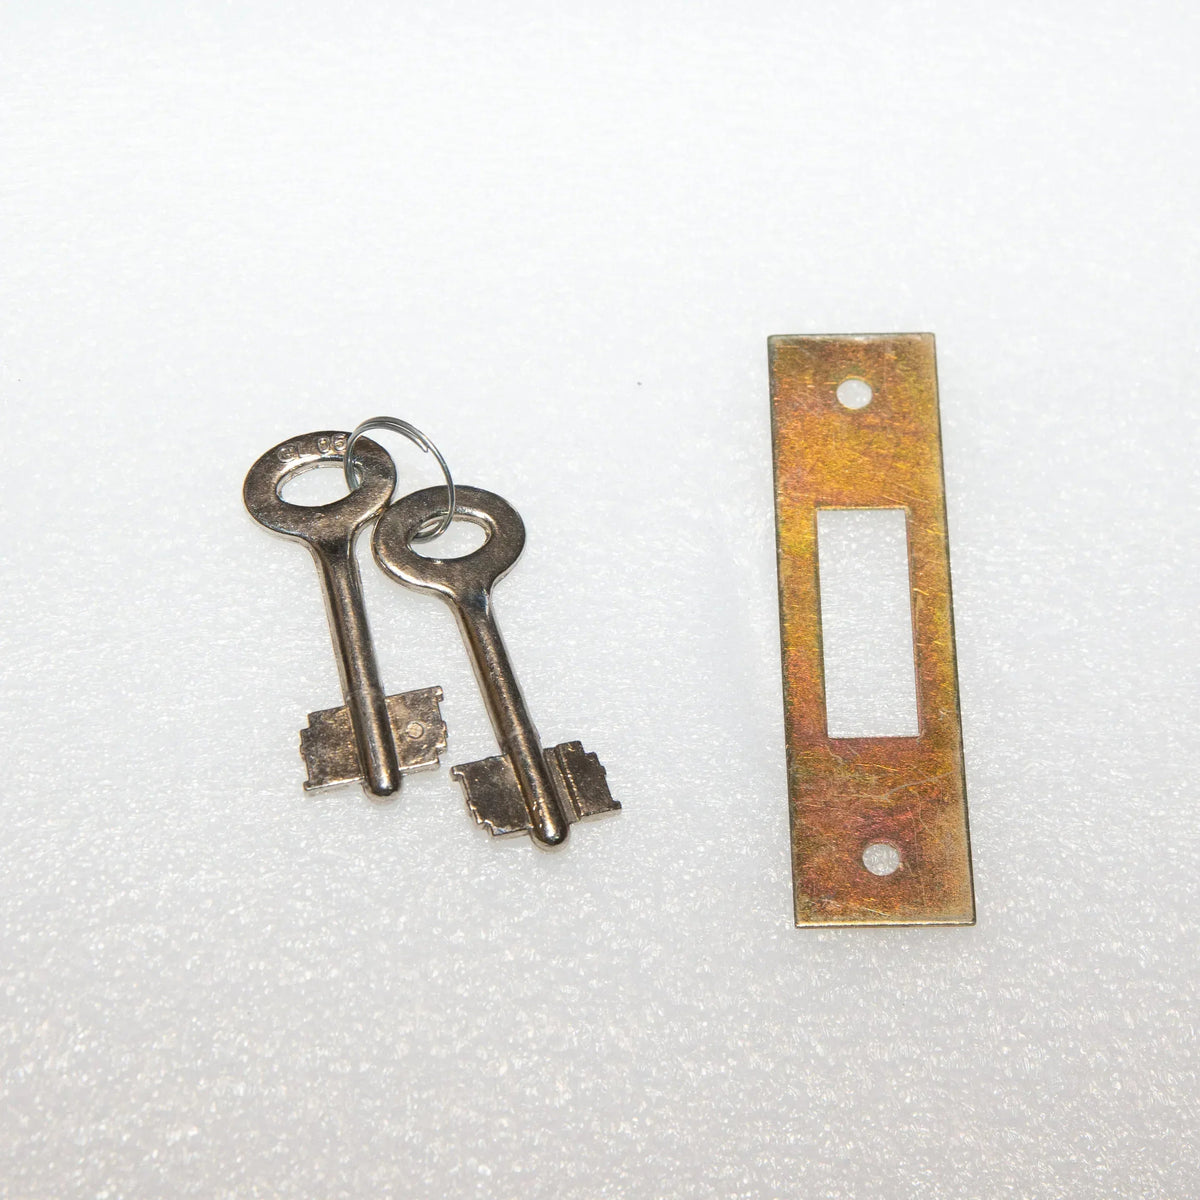
- Lock Protection Plate
- Lock Keep
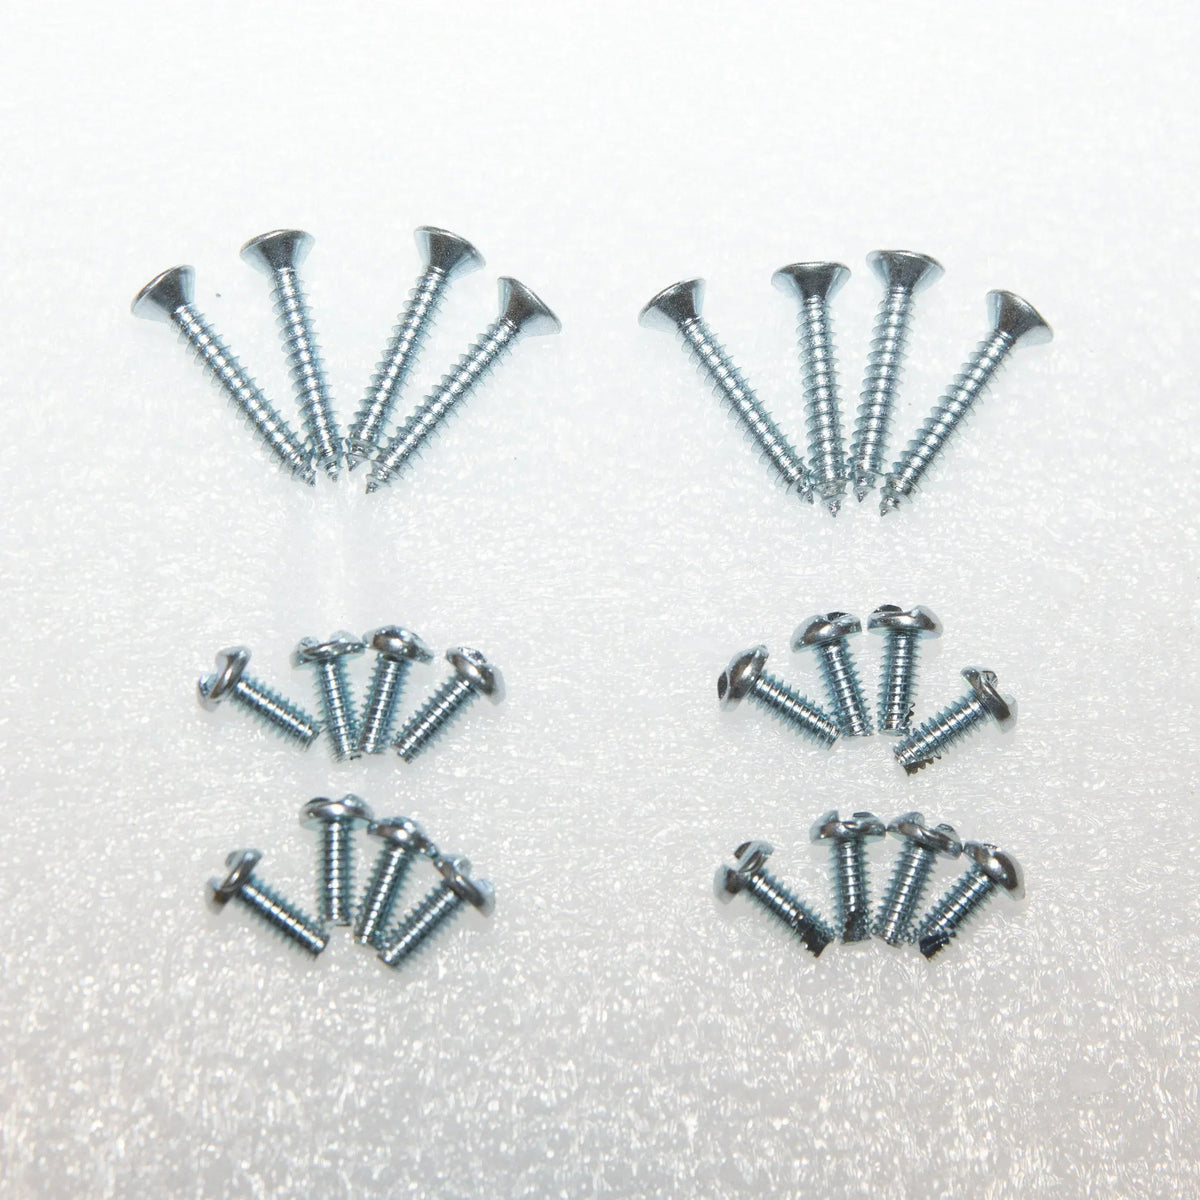
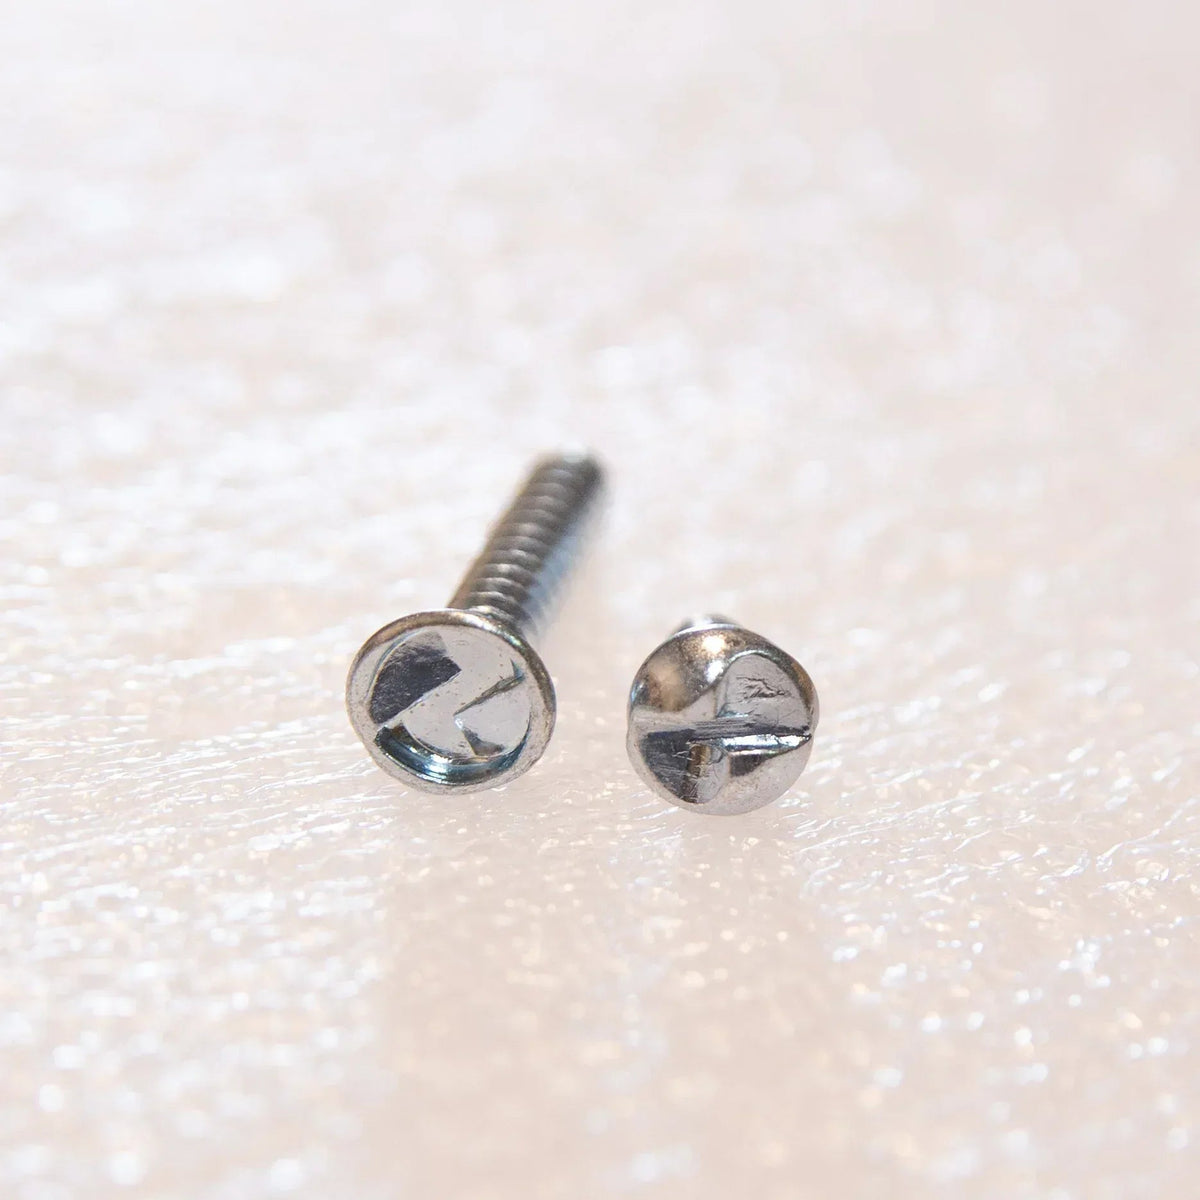
- Fixings
- Instruction guide
Regal Security Gate Components & Contents
Regal gate panel (steel, coated finish)


- Panel Height: 1950mm
- Panel Width: 770mm
- Panel Thickness: 25mm
L302 Lock (Lockable from both sides)


Butt Hinges

- Hinge Width: 60mm
- Hinge Height: 75mm
- Hinge Thickness: 1mm
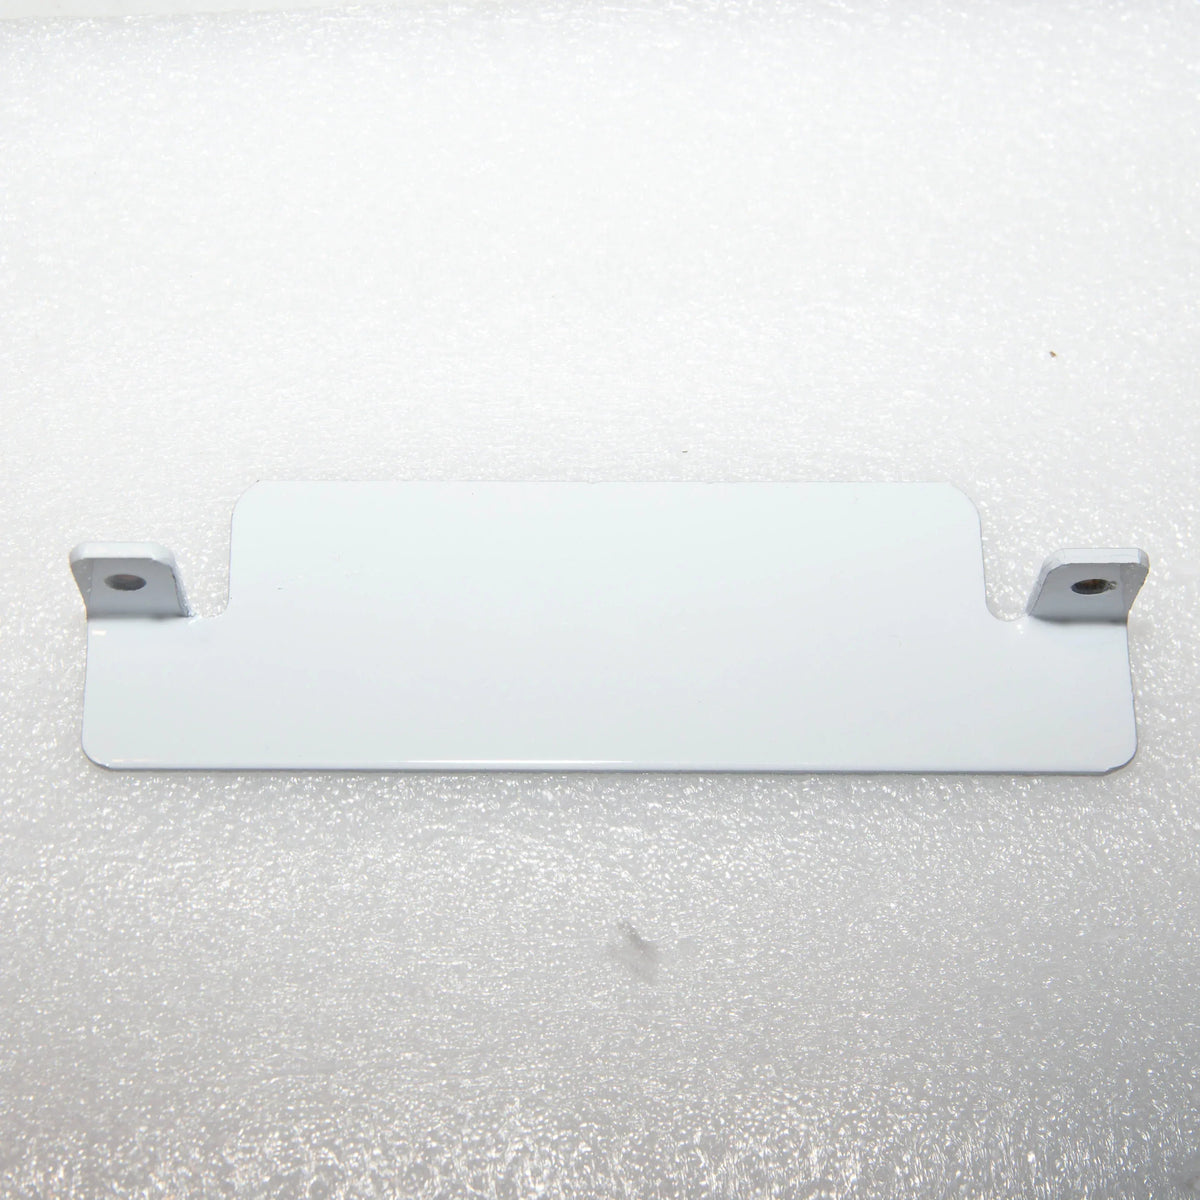
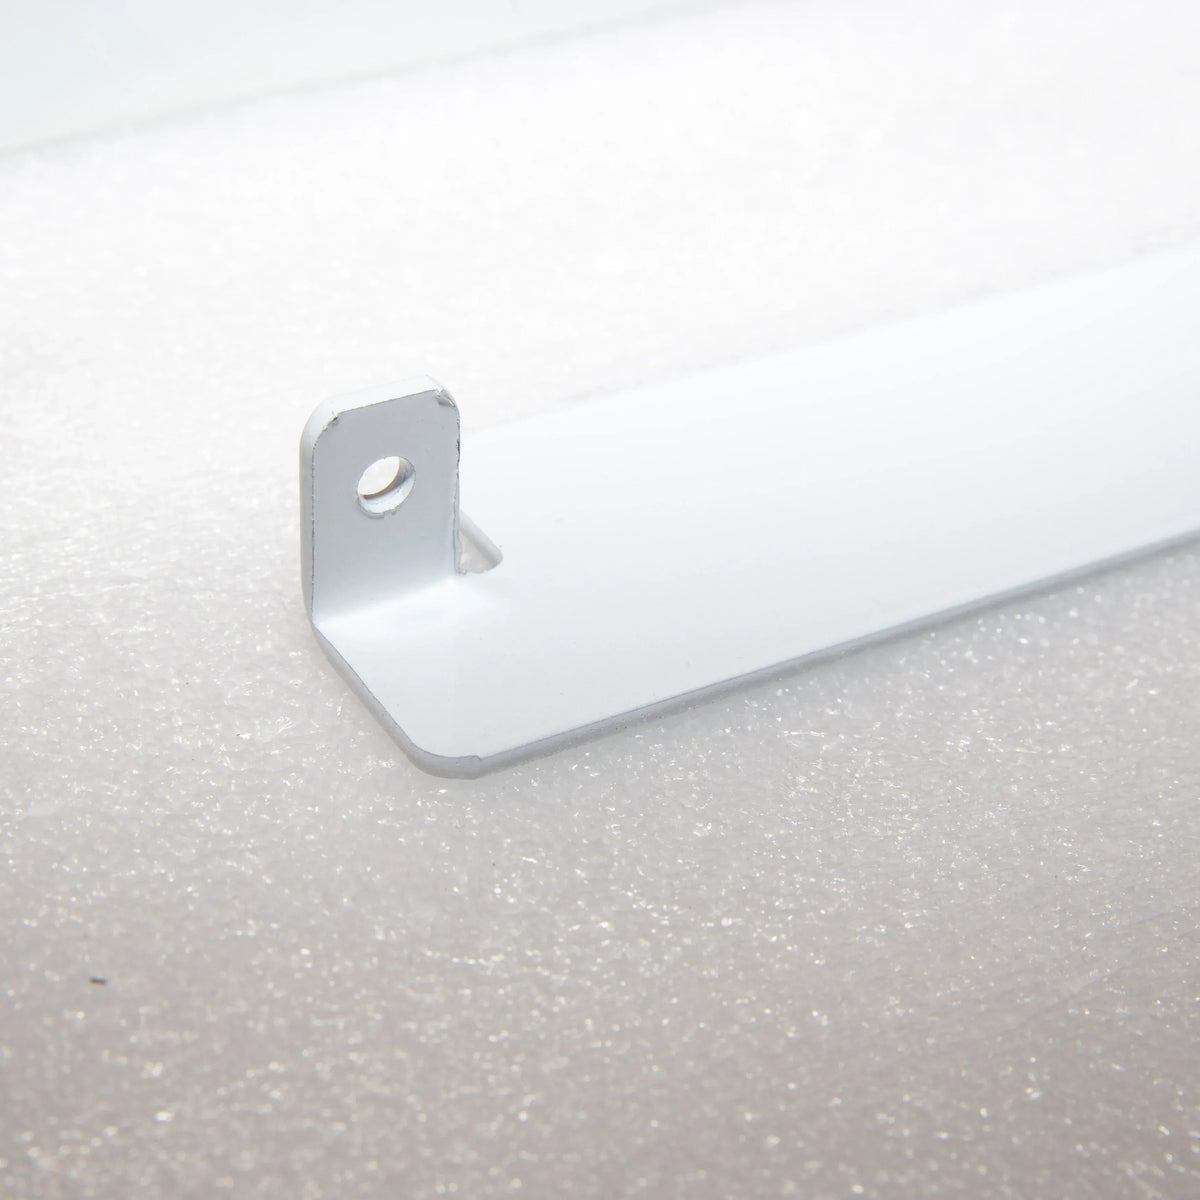
Lock Protection Plate

- Lock Protection Plate Width: 165mm
- Lock Protection Plate Height: 50mm
- Lock Protection Plate Depth: 25mm
- Lock Protection Plate Thickness: 1mm
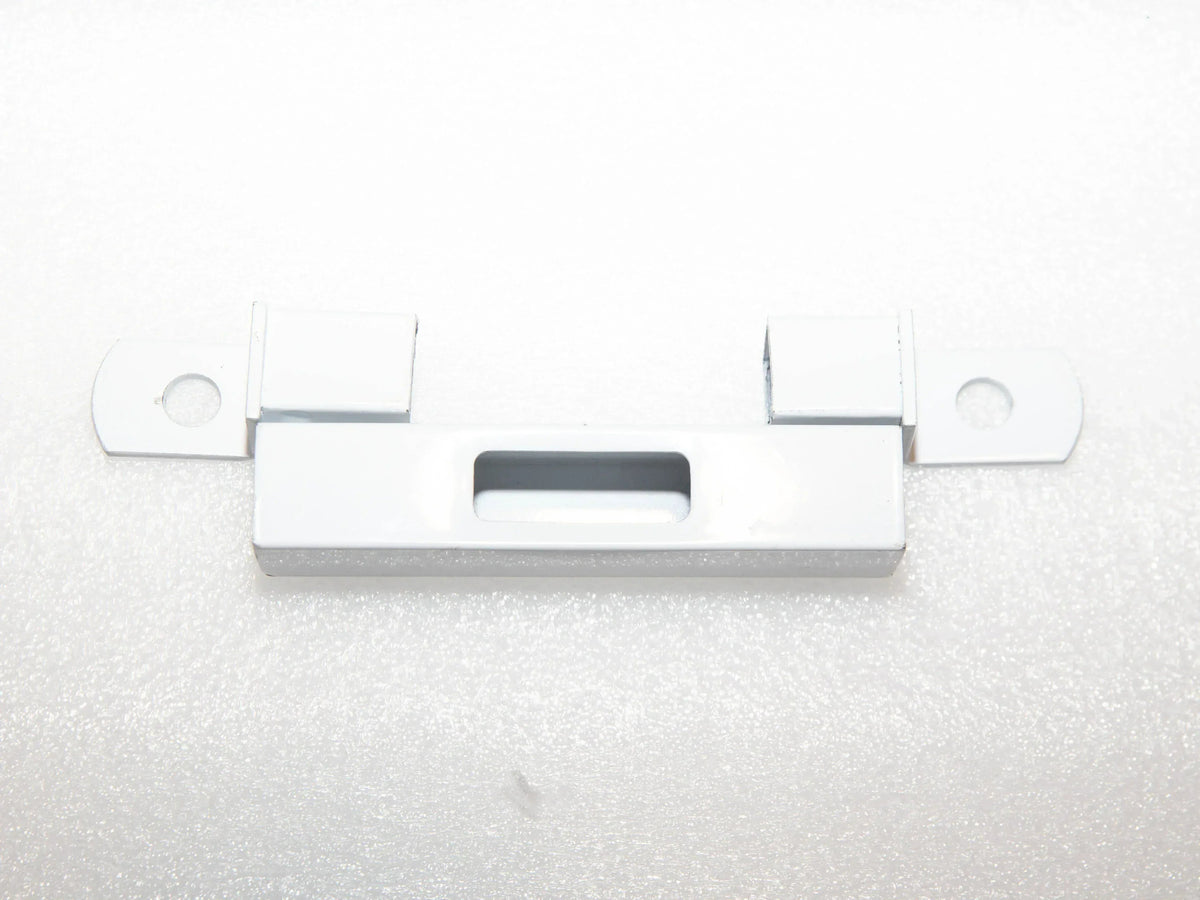
Lock Keep

- Lock Keep Width: 25mm
- Lock Keep Height: 130mm
- Lock Keep Depth: 25mm
Fixings


Instruction guide

Please click here to download the PDF version.
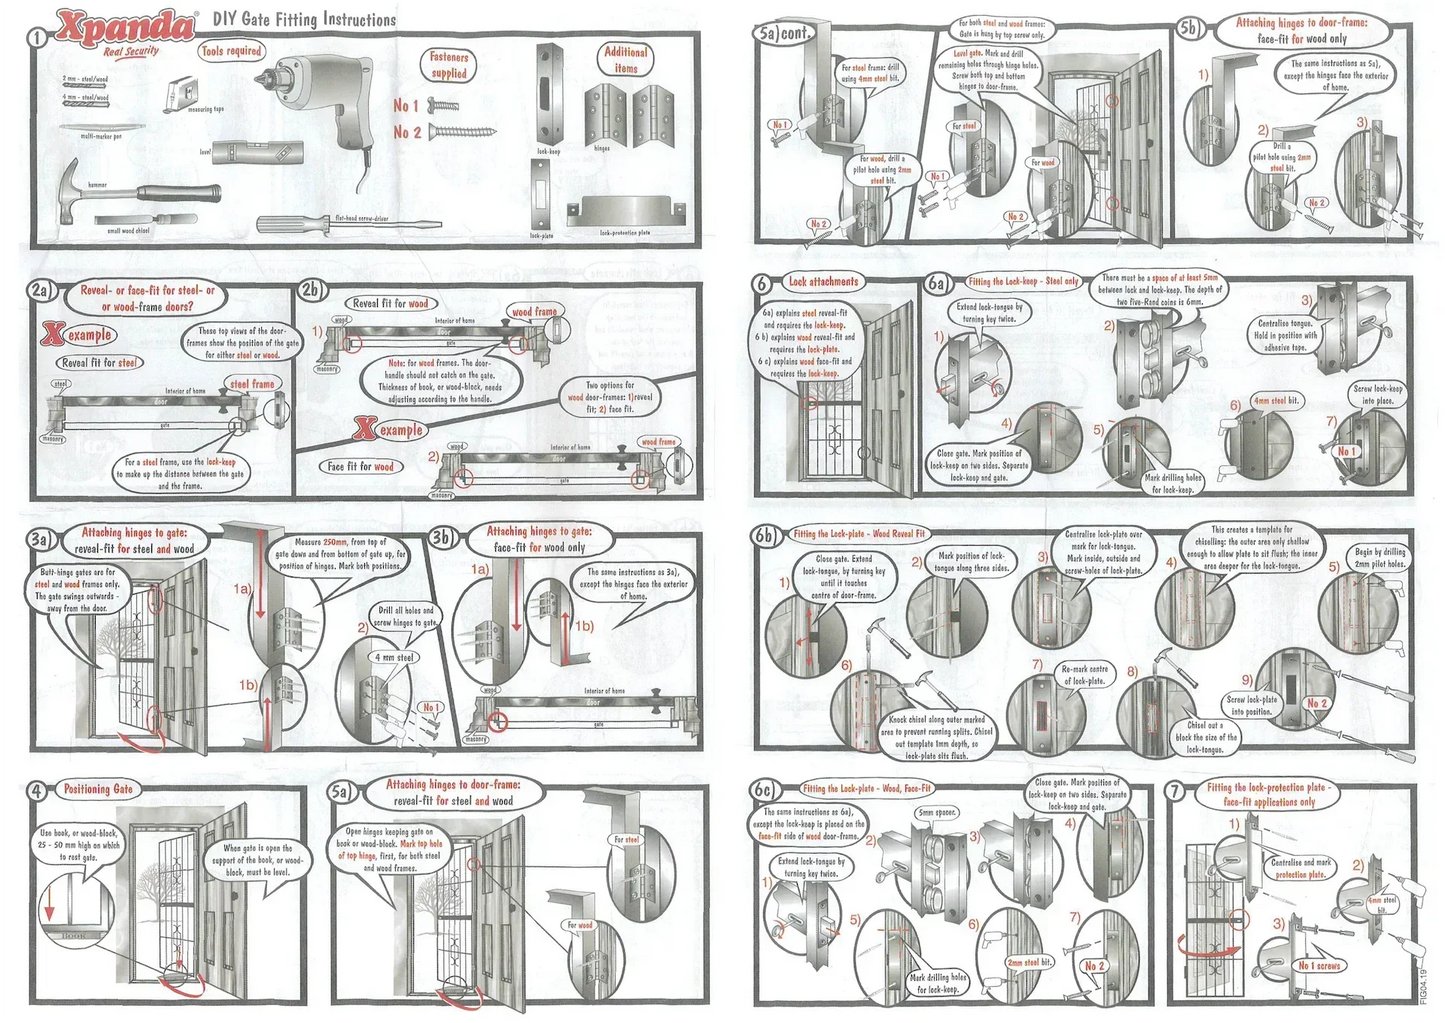
Installation Guide
How to Install Fixed Swing Security Gates
Fixed Swing Security Gates are designed for straightforward installation using common DIY tools. Follow the steps below to ensure a secure fit and smooth operation.


Tools Required
🖊️ Marker or pencil
📏 Measuring tape
📐 Spirit level
🛠️ Multi-purpose drill
🔩 Appropriate drill bits for timber, steel, or masonry
🔧 Phillips and flat-head screwdrivers
🔧 Spanners or socket set
Step 1: Measure the Door Frame
Measure the inside width and height of the doorway where the gate will be installed.
Always measure carefully before installation to ensure the gate is suitable for the opening.

Step 2: Attach Hinges to the Gate
Attach the supplied hinges to the gate panel.
Leave the hinges slightly loose so minor adjustments can be made during positioning.

Step 3: Position the Lock-Keep
Position the lock-keep so it aligns with the lock tongue when the gate is closed.
Use masking tape or temporary fixings to hold the lock-keep in place while positioning the gate.
Allow approximately 5mm clearance between the lock tongue and lock-keep.

Step 4: Position the Gate
Place the gate into the doorway.
For sill-fix (reveal-fit) installations, position the gate within the frame.
For face-fix (face-fit) installations, position the gate against the face of the frame.
Use a timber block or spacer beneath the gate to support it during installation.

Step 5: Check Alignment
Use a spirit level to ensure the gate is straight and square.
Adjust hinge positions if required.
Once satisfied with the alignment, mark the hinge fixing positions.

Step 6: Secure the Hinges
Remove the gate if necessary.
Drill pilot holes at the marked locations.
Secure the hinges using the supplied fixings appropriate for the installation surface.
Reinstall the gate and confirm smooth operation.
Step 7: Install the Lock-Keep
Close the gate and verify the lock tongue aligns correctly with the lock-keep.
Mark the fixing locations.
Drill pilot holes and secure the lock-keep.
Check that the gate locks and unlocks correctly.
Step 8: Install the Lock Protection Plate
Position the lock protection plate over the lock area.
Mark fixing locations.
Drill pilot holes and secure the plate using the supplied screws.
This helps protect the lock area from tampering and forced entry.

Step 9: Final Adjustment
Open and close the gate several times.
Check that:
✔ Gate opens smoothly
✔ Gate closes correctly
✔ Lock engages securely
✔ Hinges are firmly attached
✔ Lock protection plate is secure
Make any minor adjustments as required.
Your Fixed Swing Security Gate is now ready to provide an additional layer of security for your home, rental property, garage, or business.
Click here to download the installation guide.