






Overview
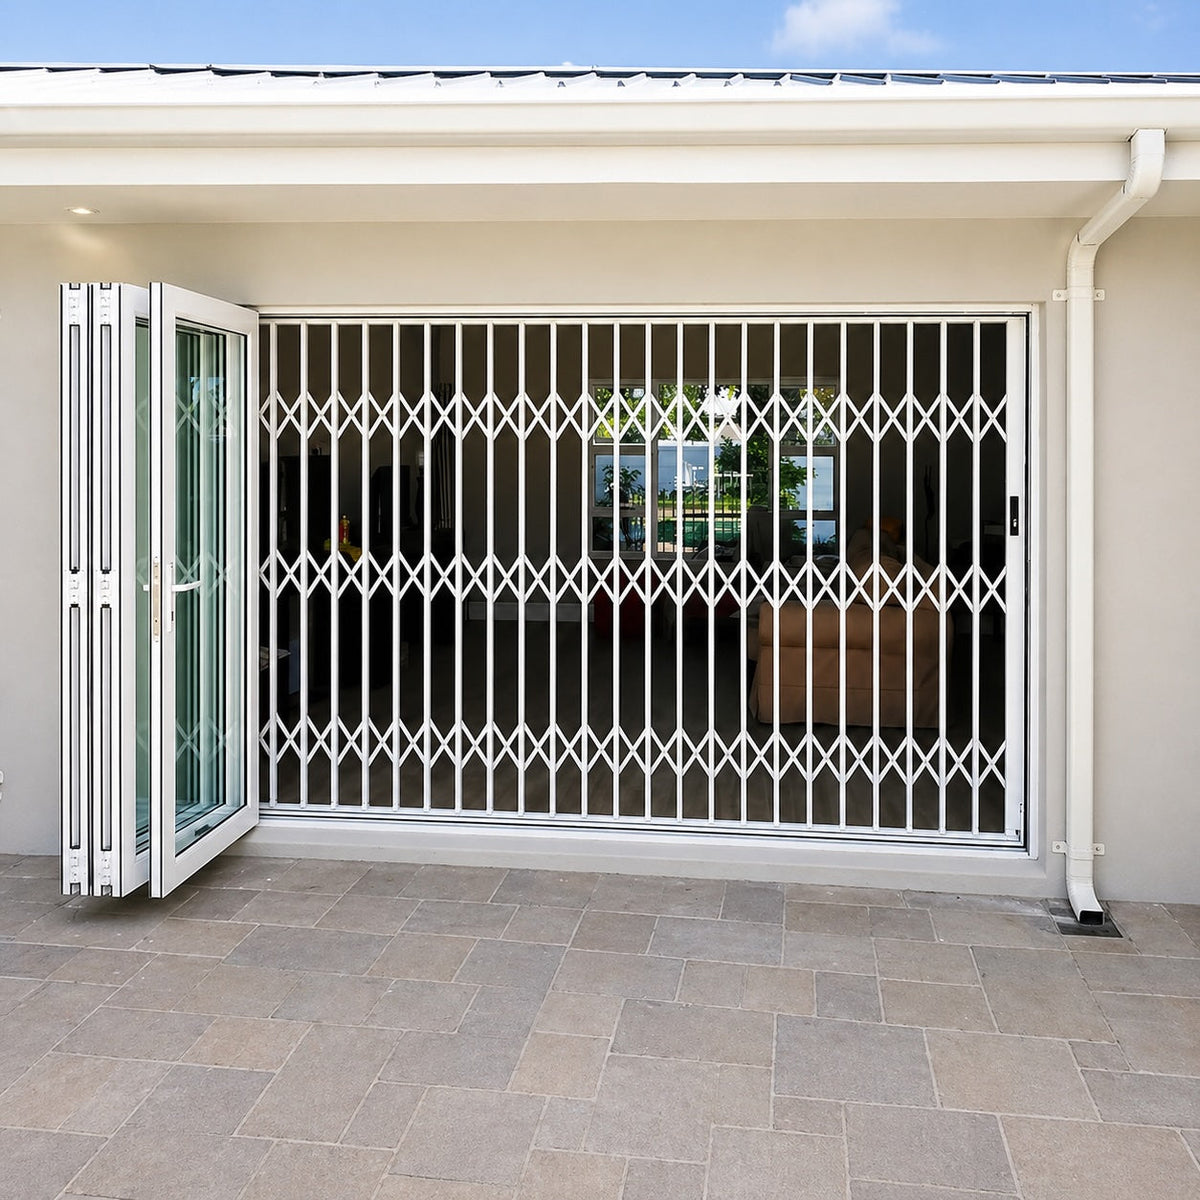
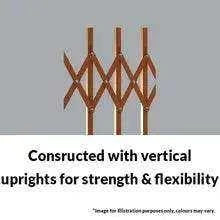
The Aluglide Retractable Security Gate combines modern design with practical, space-saving security. Built from rust-resistant aluminium, it offers a balance of strength, visibility, and ease of use — ideal for New Zealand’s varied weather conditions, including coastal areas.
Often referred to as a scissor gate, expandable security gate, or retractable security gate, Aluglide creates a strong visible barrier while folding neatly away when open, helping provide security without permanently obstructing access.
Compact when stacked, smooth in operation, and suitable for a wide range of openings, Aluglide is a reliable day-to-day solution for residential and light commercial security.
For larger openings or high-risk commercial sites, Xpanda recommends our custom welded steel security gates, designed for maximum strength and full-span protection.
Top Features
- Adjustable width: 570mm - 3000mm
- Height: 2150mm
- Material: Powder-coated aluminium (rust-resistant finish)
- Compact stacked width for space-saving storage
Key Strengths
- Practical Everyday Security
Designed to help protect vulnerable entry points, this retractable steel grille provides reliable security for homes, rentals, and residential access areas. - Retractable & Space-Saving
This retractable security gate — also commonly known as a scissor gate or expandable security gate — folds neatly away when not in use, helping maintain airflow, visibility, and convenient access without permanently blocking the opening. - Smooth Daily Operation
Easy opening and closing design without floor tracks or complicated moving parts, making everyday use simple. - Weather-Resistant Steel Finish
Powder-coated mild steel construction helps resist rust and wear, suitable for New Zealand conditions.
Applications
- Homes and townhouses
- Apartments and flats
- Rental properties
- Holiday homes and baches
- Side doors and secondary entrances
- Garage access areas
- Utility rooms and storage access areas
- Larger residential openings
What’s Included
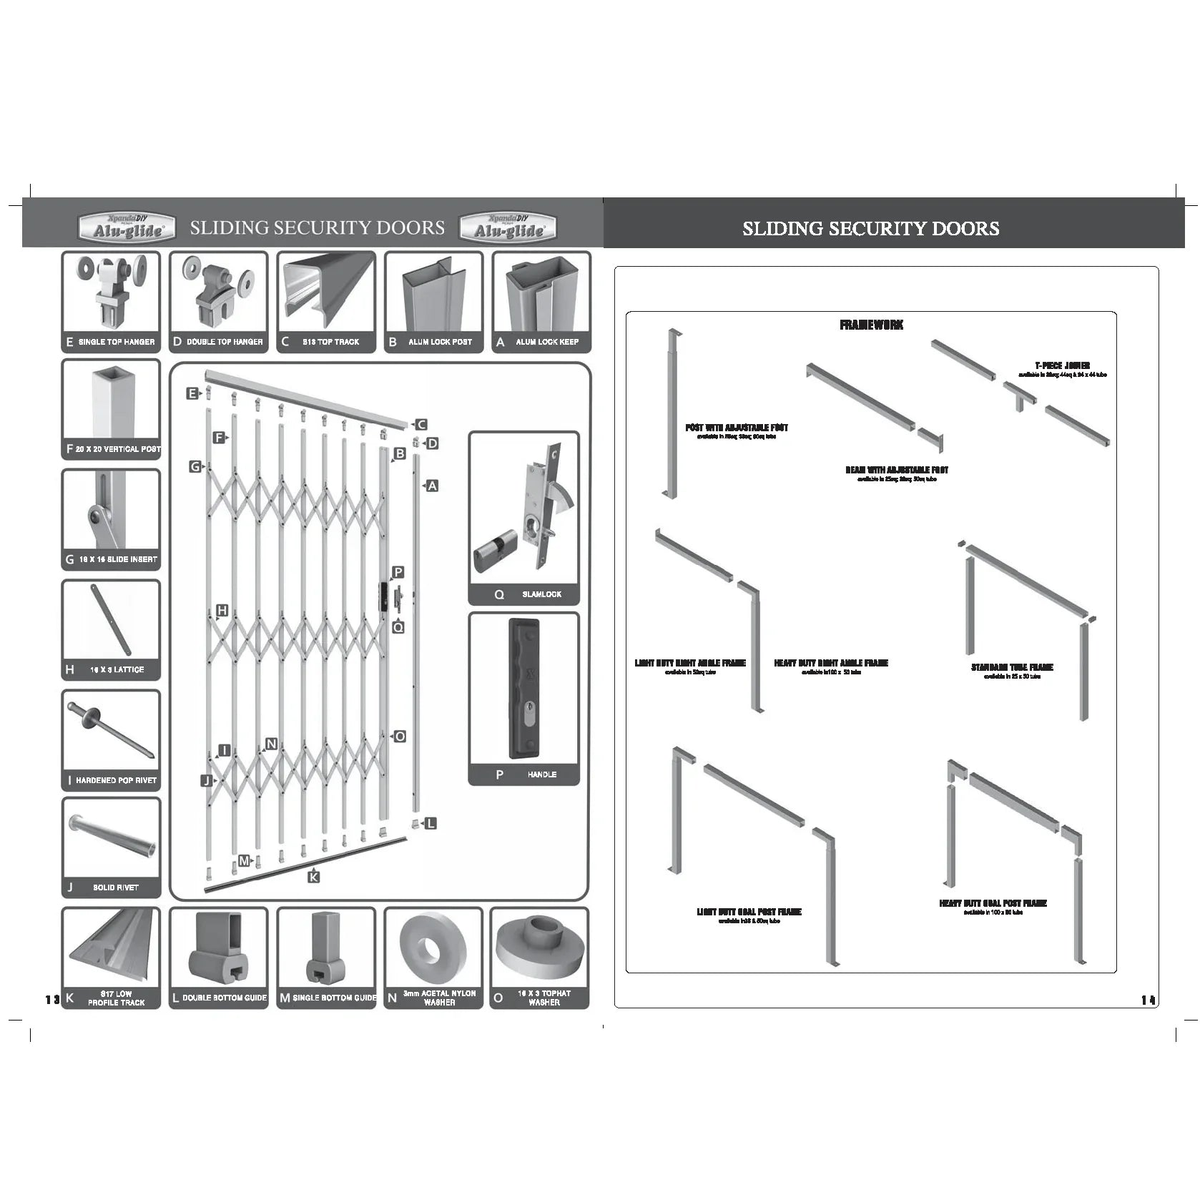
Aluglide Retractable Security Gate Parts & Components
- Aluglide retractable security gate panel (white, powder-coated aluminium)

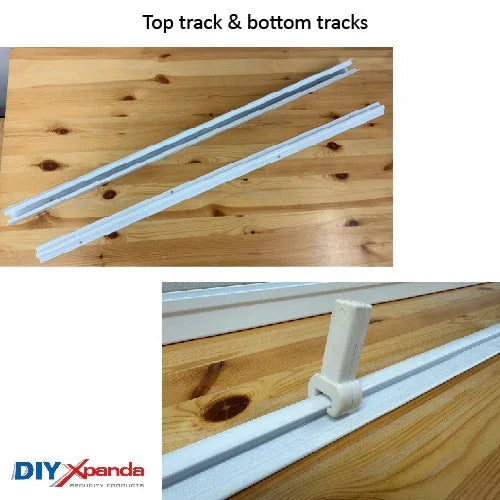
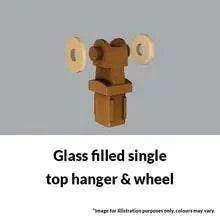
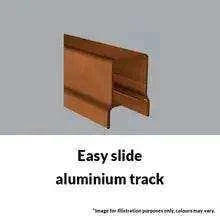
- Anti-trip bottom track / Top nylon rollers

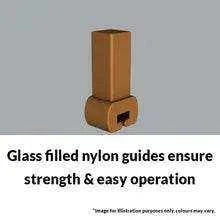
- Aluglide Security Gate Nylon Gate Guide (Foot)

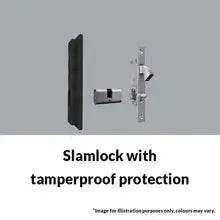
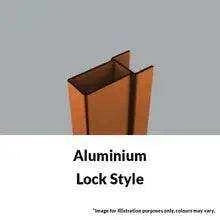
- Slamlock and 2 keys ( Silca CS7)

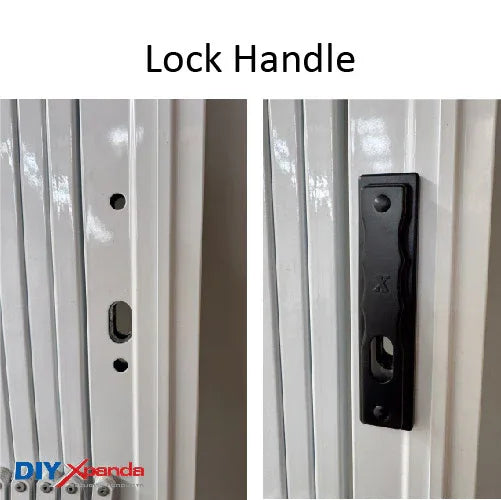
- Lock Handle

- Fixings and Caps

- Downloadable PDF Detailed Sheet.
Click here to watch the installation video.
Installation Guide
How to Install an Aluglide Retractable Security Gate

1. Before You Start
Before installation, check that:
-
 Allow at
least 50 mm between the existing door and the Aluglide gate. - The gate will not interfere with door handles, keys, skirting orother protruding objects.
- You have decided whether the gate will open and lock from the left or right.
- The mounting surface is suitable for secure fixing.
- You have measured the opening carefully before cutting anything.
Avoid drilling too close to the edge of brick, masonry or plaster, as this may cause the surface to break away. Where necessary, angle the drill slightly further into the reveal to achieve a secure fixing point.
Tools Required
- Hammer drill
- 6 mm masonry drill bit

- 8 mm masonry drill bit
- Hacksaw with a 24-tooth blade
- Jigsaw or circular saw with a suitable aluminium-cutting blade, optional
- 10 mm socket and ratchet or 10 mm spanner
- Phillips / Pozi screwdriver
- Tape measure
- Spirit level
- Pencil
- Flat file
- Square
- Hammer
- Safety glasses
-
Safety gloves
When using a power saw or jigsaw, always use suitable eye protection and a blade designed for cutting aluminium.
2. Measure the Opening Height
Measure the height of the opening in at least three places:
- Left
- Centre
- Right
Use the lowest measurement for your calculation.

>>> Calculate Whether Trimming Is Required >>>
Subtract 70 mm from the lowest opening height.
This 70 mm is the required allowance for the Aluglide track and guide system.
Then compare the result with the supplied tube (gate panel) height:
- If the measurements are the same, no trimming is required.
- If the calculated height is smaller, trim the difference from the bottom of the gate.
- If the calculated height is larger than the supplied tube height, contact DIY Xpanda before installation.
-
You can use the calculation table included in the instruction sheet.
Example A:
- Lowest opening height: 2085 mm
2085 − 70 = 2015 mm - Supplied tube height: 2080 mm
2080 − 2015 = 65 mm - Trim 65 mm from the bottom of the gate.
Example B:
- The opening is 2150 mm
- 2150 − 70 = 2080 mm
- No trimming would be required.

3. Measure the Opening Width
Measure the opening width at both the Top and Bottom.
Use the top measurement for the top track and the bottom measurement for the bottom track.
The tracks are pre-drilled. If trimming is required, consider removing material from both ends where practical so that the existing fixing holes remain suitably positioned.

4. Cut the Aluglide and Tracks
Place the gate securely on a suitable workbench or table.
- Remove the bottom plastic guides before cutting.
- Measure and mark the amount that needs to be removed.
- Use a square to mark a straight cutting line across the gate.
- Cut carefully with a hacksaw, jigsaw or suitable power saw.
- File the cut edges smooth with a flat file.
- Reinsert the bottom plastic guides.
Removing burrs and rough edges helps the bottom guides move correctly.
Trim the top and bottom tracks separately according to the measurements taken earlier.

5. Mark and Drill the Top Fixings
Before drilling, place the top track into position and confirm that:
- The gate will fit correctly within the opening.
- There is sufficient clearance from handles, locks and other obstructions.
- There is at least 50 mm of suitable reveal for mounting.
Mark the fixing points through the pre-drilled holes using a pencil.
Remove the track and drill the holes using an 8 mm masonry drill bit with the drill in hammer mode.
Insert suitable 8 mm wall plugs.
Tip: Hold a vacuum cleaner close to the drill point while drilling to reduce dust and mess.
6. Position and Hang the Gate
Decide which direction the gate will open before positioning it.
Slide both the top and bottom tracks onto the Aluglide gate.


With another person helping where possible, manoeuvre the complete gate and track assembly into the opening.
Secure the top track using the coach bolts.
Move the gate to the opposite side where necessary to access and secure the remaining fixing points.
The Aluglide is supported by the top track. The bottom track primarily guides the gate as it opens and closes.
(Bottom track guide)
7. Level the Gate and Fix the Bottom Track
Extend the gate across the opening. Use a spirit level against the vertical section of the gate and make sure it is hanging completely plumb.
Once correctly aligned:
- Mark the bottom-track fixing positions.
- Move the bottom track aside to expose the marks.
- Drill the holes using a 6 mm masonry drill bit.
- Insert suitable wall plugs.
- Reposition the bottom track.
- Secure it using the appropriate screws.
Check the gate at both ends before completing all of the bottom-track fixings.

8. Secure Both Sides
Start with the non-locking side. Mark the fixing positions through the pre-drilled holes, then:
- Drill using an 8 mm masonry drill bit.
- Insert the wall plugs.
- Secure the side of the gate using the coach bolts.
- Fit the plastic caps over the bolt heads.
Repeat the process on the locking side: Before fixing the locking side, insert the key cylinder into the lock and unlock it to release the locking post. Position the post correctly before marking and drilling its fixing points.

9. Fit the Handles and Lock
Place the handles into position on both sides of the gate and tighten them together.
Then secure the lock cylinder using the threaded screw.
Do not fully tighten the cylinder until the handles are correctly positioned.
Secure the lock keep and check that the gate closes and locks correctly

10. Check the Gate Operation
Once installation is complete, open and close the Aluglide several times.
Check that:
- The gate opens and retracts smoothly.
- The gate hangs vertically.
- The bottom guides remain correctly inside the bottom track.
- The top and bottom tracks remain aligned.
- The gate closes correctly into the locking post.
- The lock and key operate correctly.
- All fixings are secure.
Correct alignment is important for smooth everyday operation.

Simple Installation Overview
- Measure the opening height in three places.
- Calculate how much must be trimmed from the gate.
- Measure the top and bottom opening widths.
- Cut the gate and tracks to size.
- Position the top track and drill the fixing holes.
- Hang the gate and secure the top track.
- Make sure the gate is plumb.
- Drill and secure the bottom track.
- Fix the non-locking and locking sides.
- Install the handles and lock.
- Check smooth operation and locking.
The Aluglide Retractable Security Gate is a lightweight aluminium security gate designed for wider residential openings such as garages, patios and entrances.
It folds neatly to the side when not in use, helping maintain everyday access while providing a visible physical security barrier when closed.
Correct measuring, cutting and alignment are important for smooth operation. The gate hangs from the top track, while the bottom track acts as a guide, so the top track must be positioned and secured correctly.
Need Help?
If you are unsure about your measurements, cutting requirements, lock direction or installation position, please contact DIY Xpanda before cutting or drilling.
Careful measuring and correct alignment will make installation easier and help your Aluglide Retractable Security Gate operate smoothly.
Check out the installation video below.