



Overview
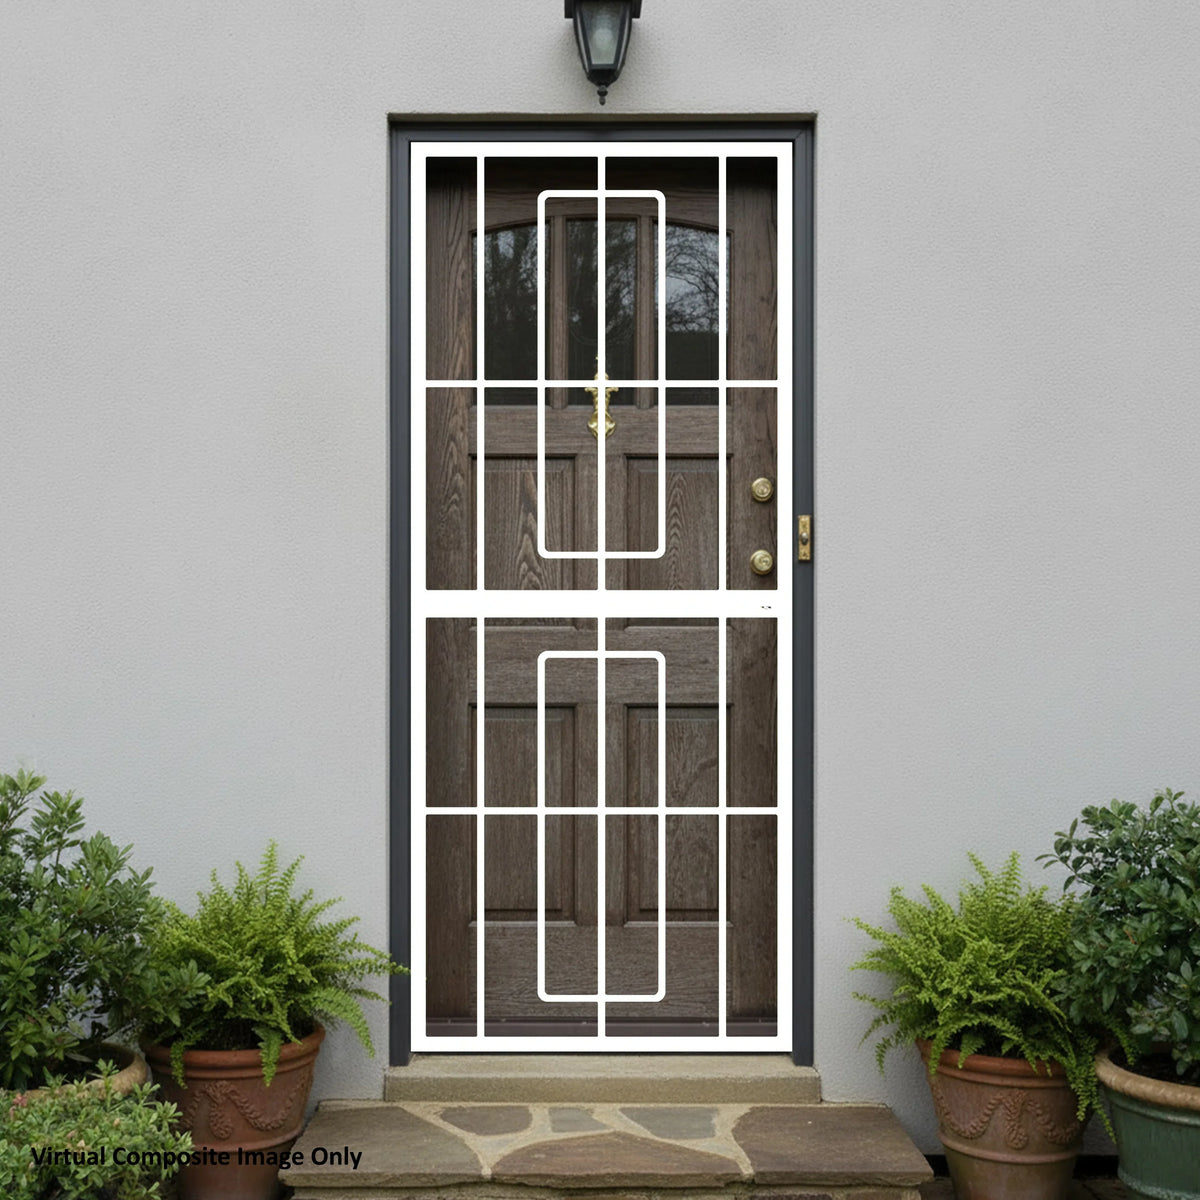
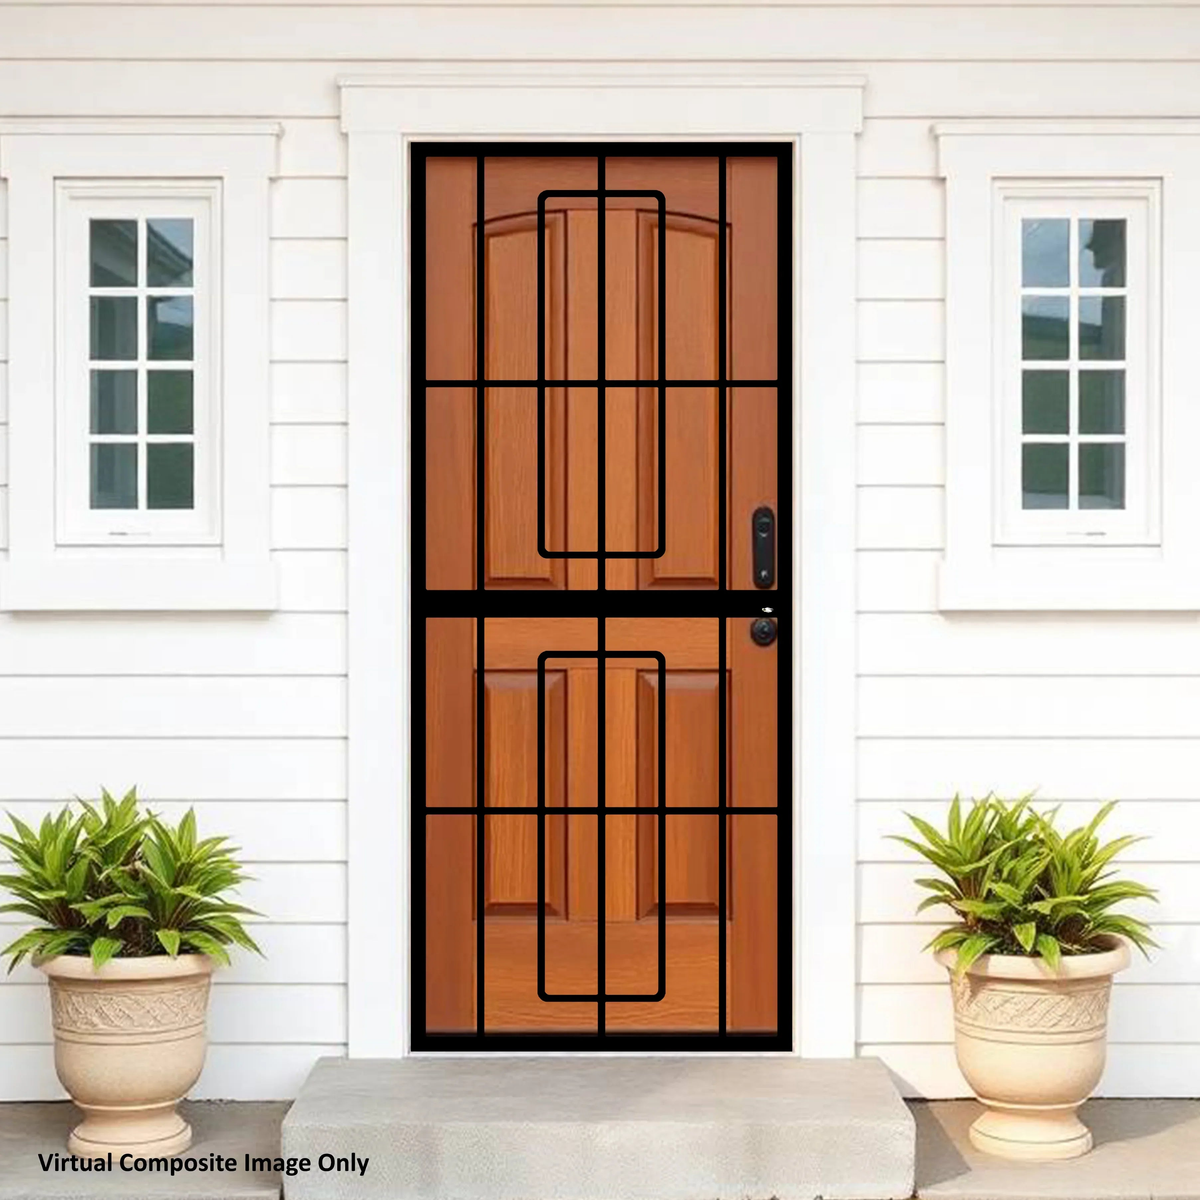
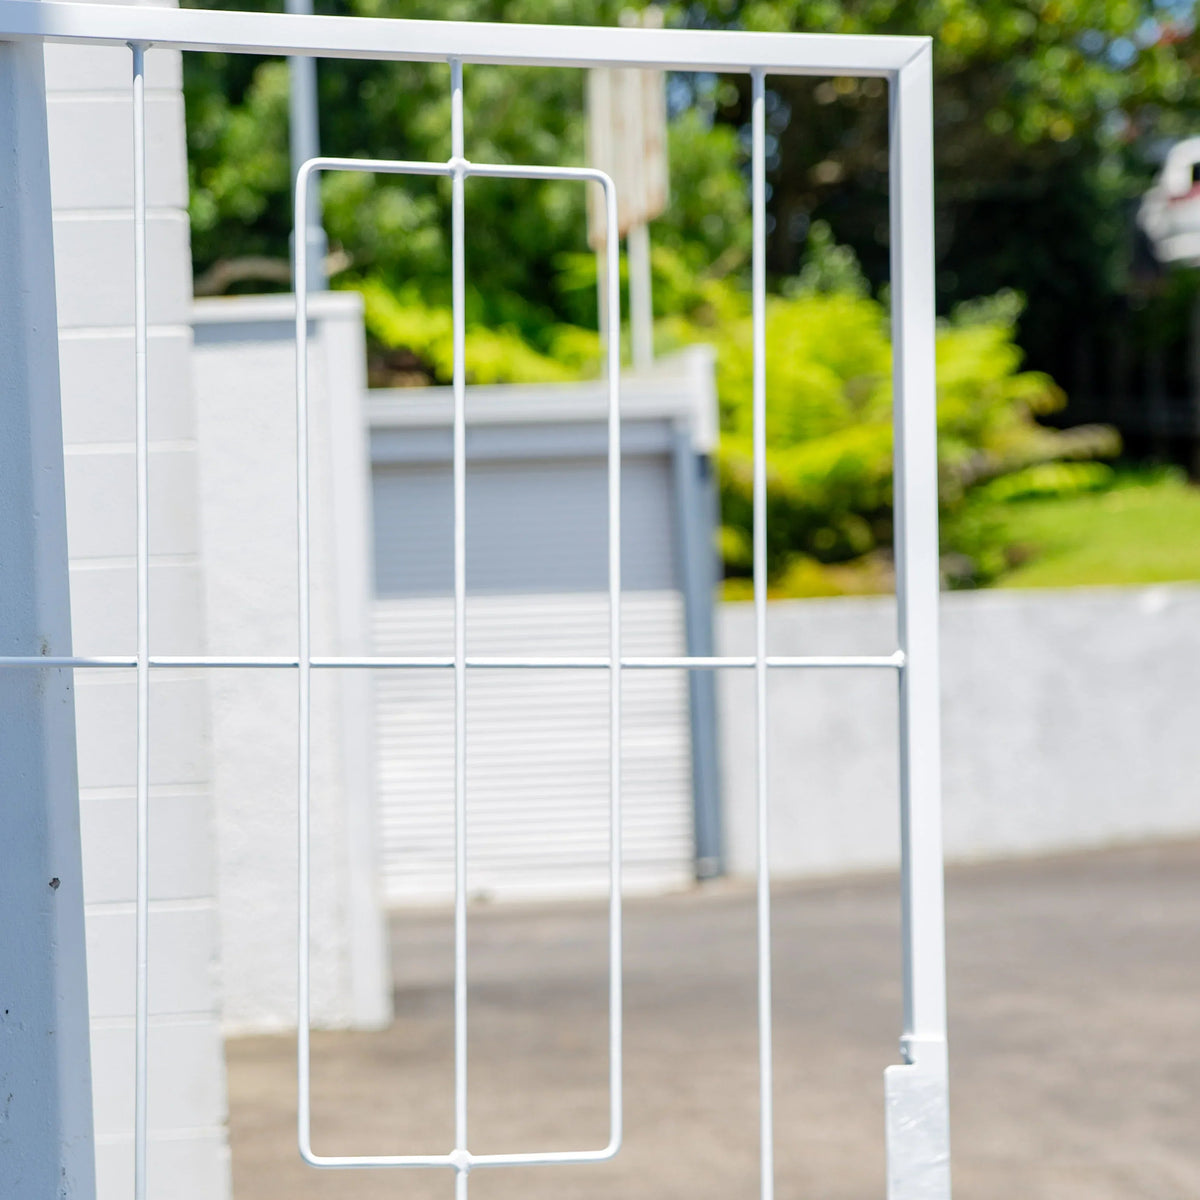
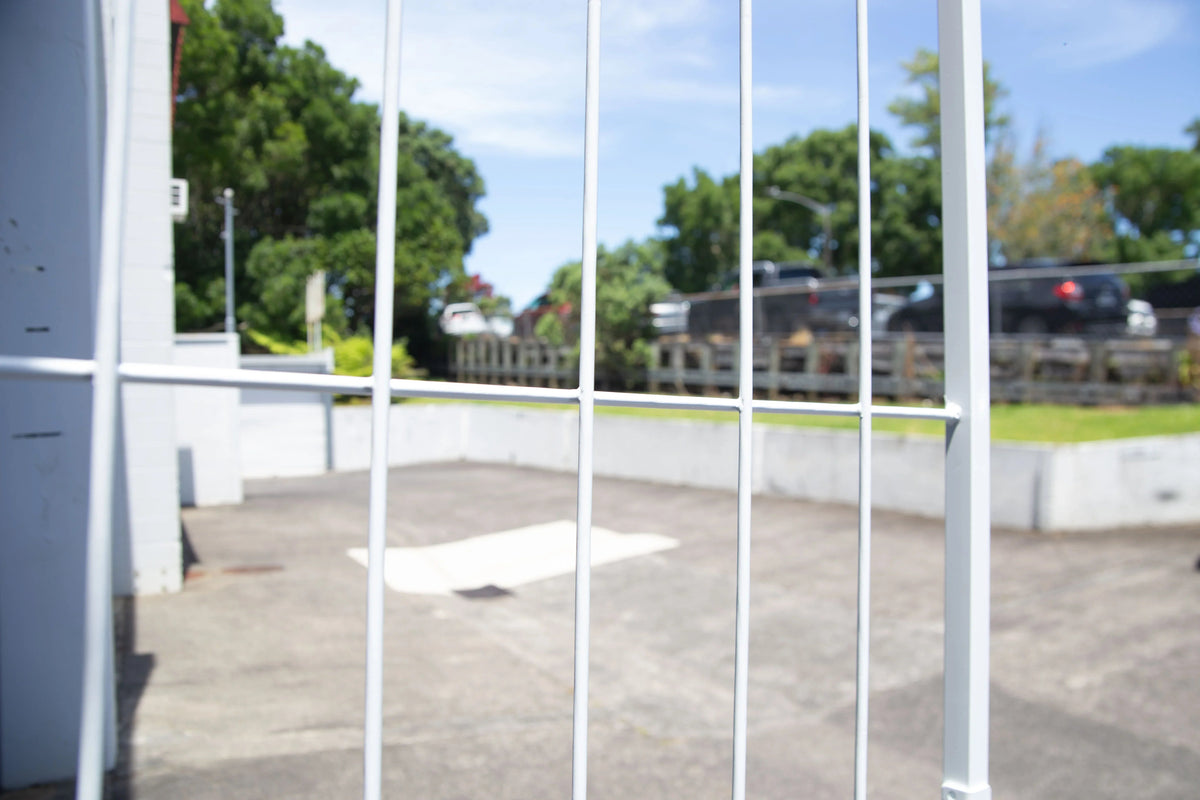
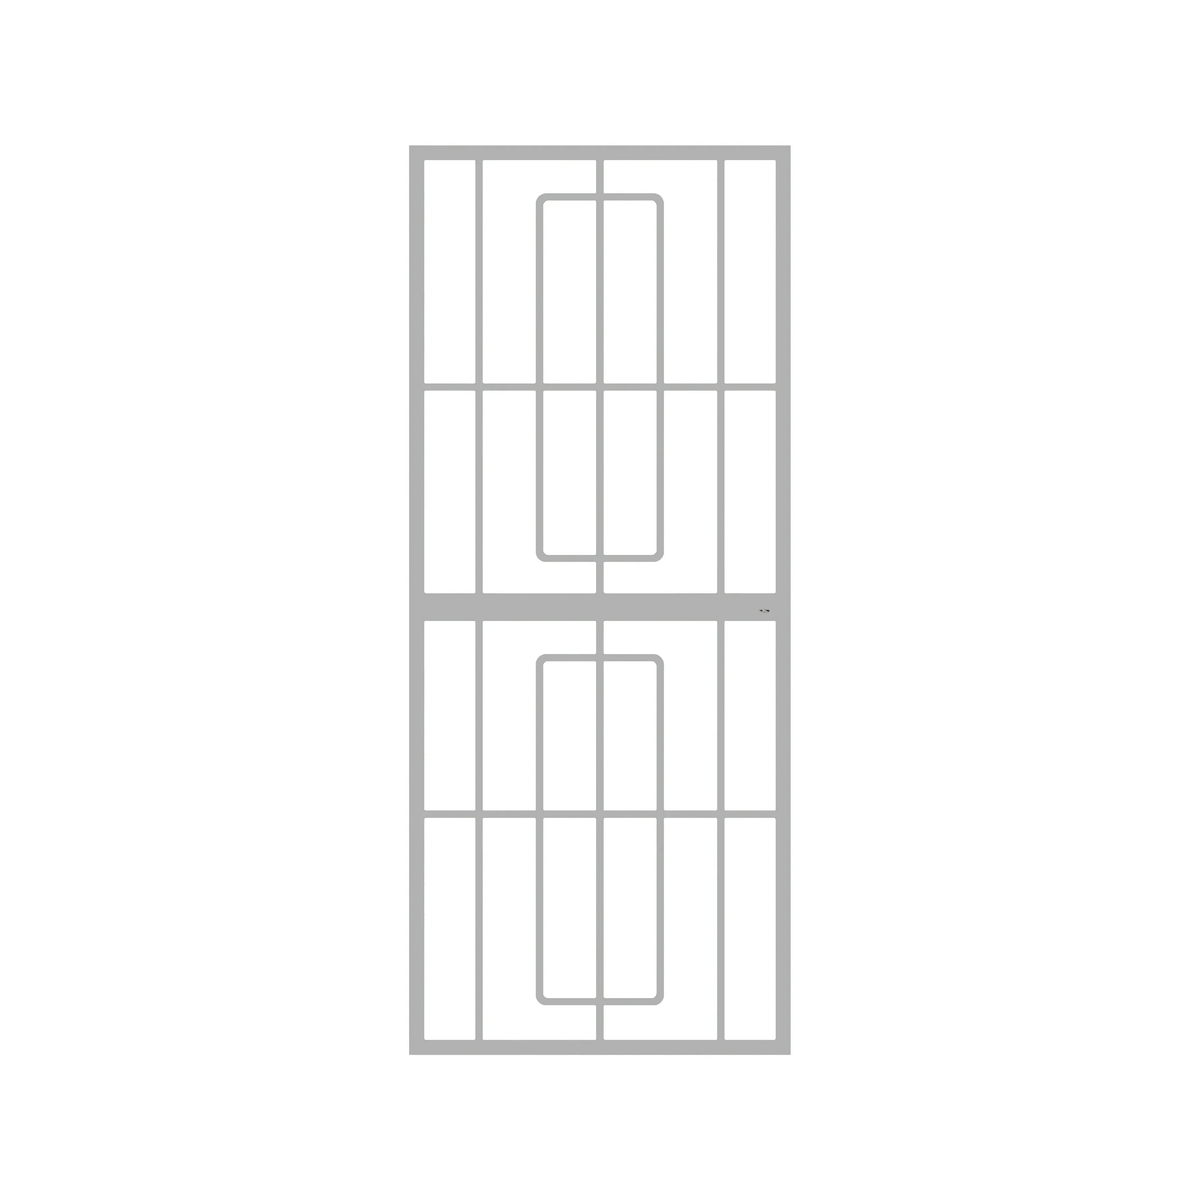
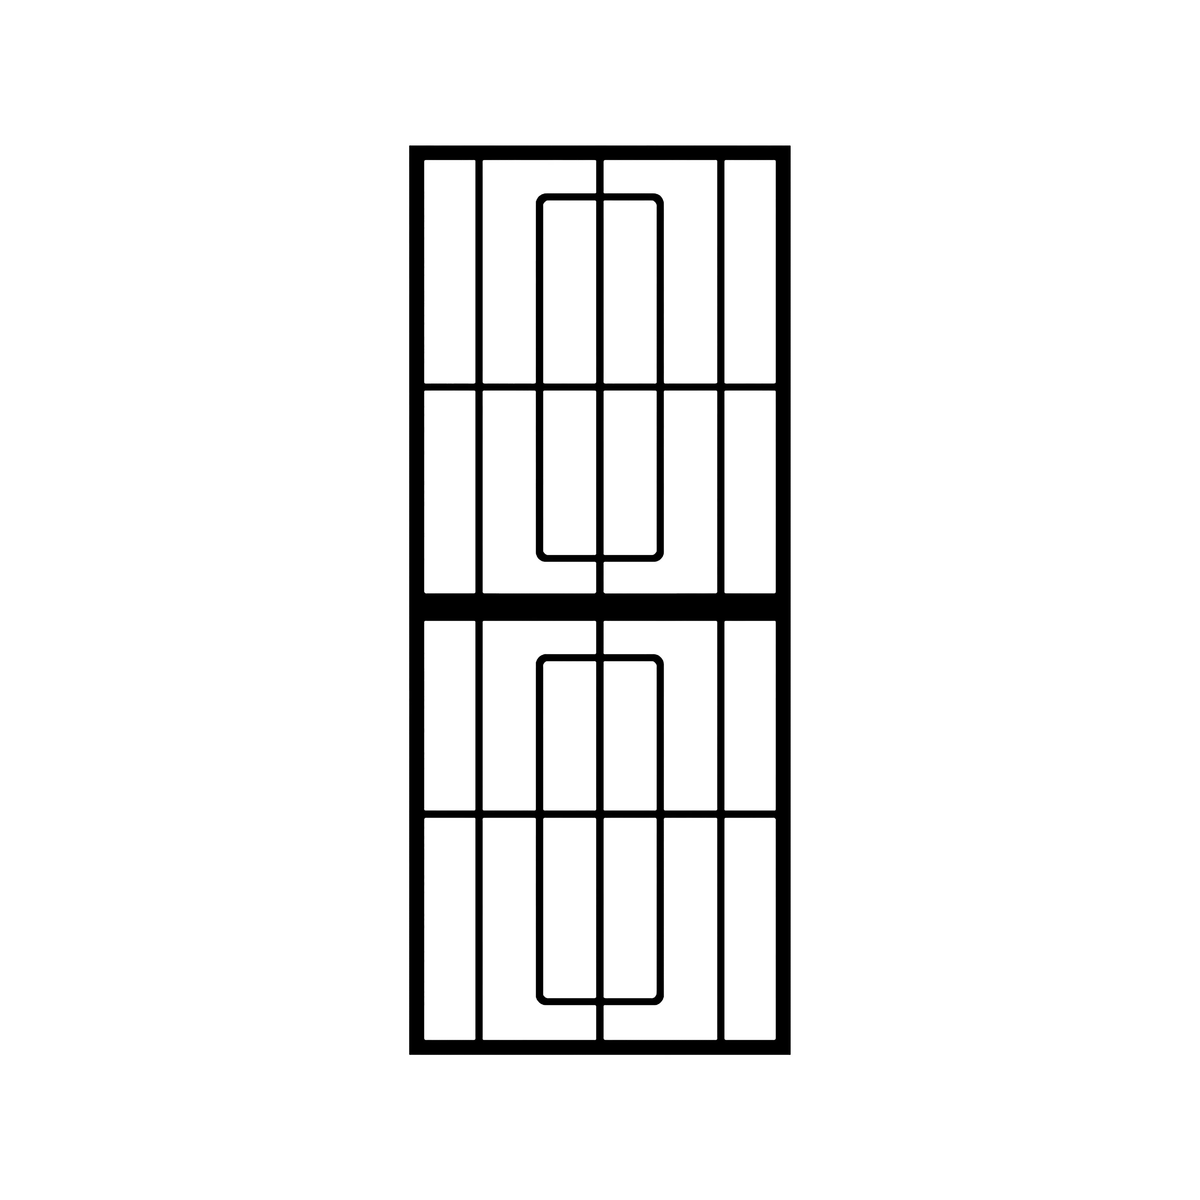
The Valor Steel Security Gate is a practical and affordable way to secure smaller entrances. Its durable steel frame and coated finish provide everyday protection, while the lockable design ensures peace of mind.
For larger or higher-risk sites, Xpanda recommends our custom welded security gates for maximum strength.
Top Features
- Width: 770mm | Height: 1950mm
- Material: Mild steel, zinc plated + epoxy coated
- Type: Fixed swing gate
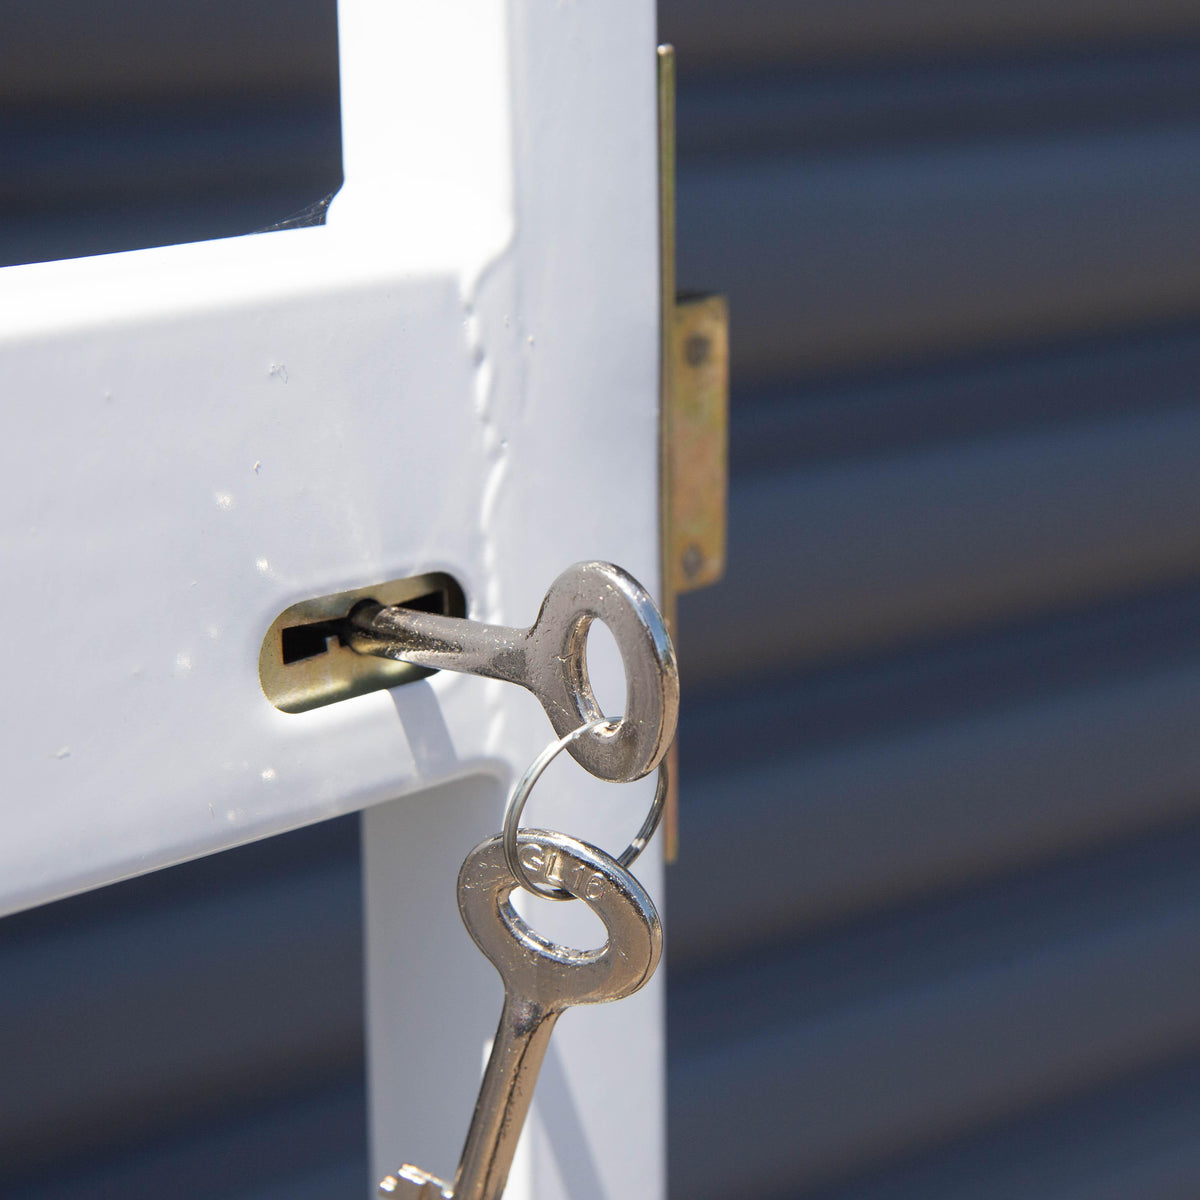
- Lockable
Key Strengths
- Dependable Everyday Security:
Solid steel frame provides effective protection for standard entrances. - Visible Deterrent:
Creates a clear physical barrier that discourages unauthorised access. - Weather-Resistant Coating:
Zinc plating and epoxy finish help protect against NZ’s conditions (Perhaps not coastal). - Low Maintenance:
Simpler than sliding or retractable gates, with no tracks to clean or moving parts to service.
Applications
- Homes and side entrances
- Small office or light commercial doors
- Utility and service areas
What’s Included
- Valor gate panel (steel, coated finish)
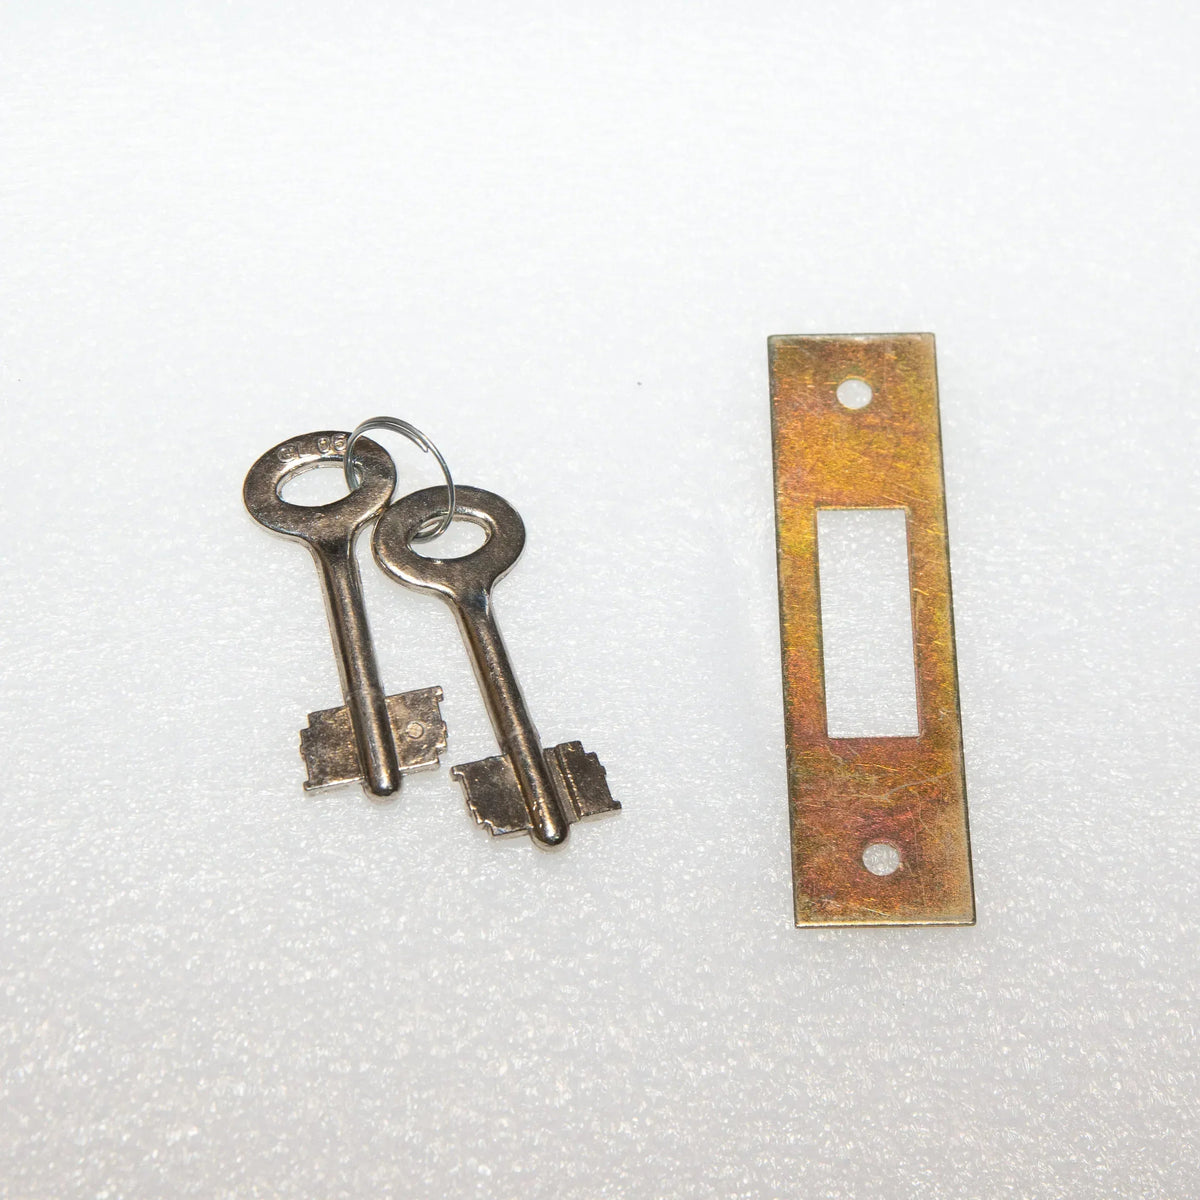
- L302 Lock (Lockable from both sides)
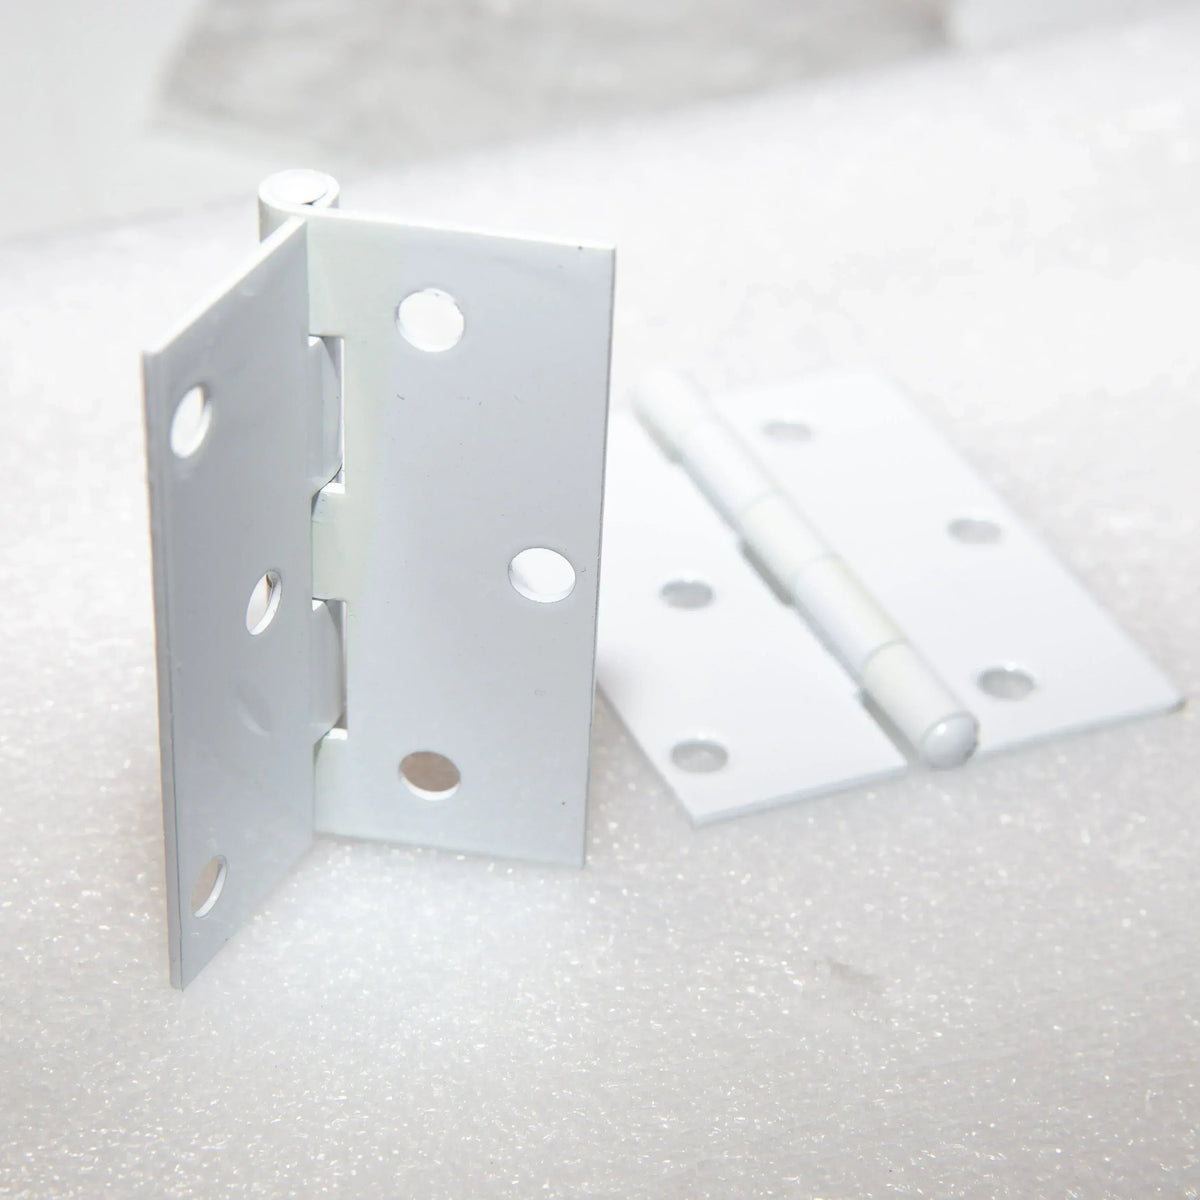
- Butt Hinges
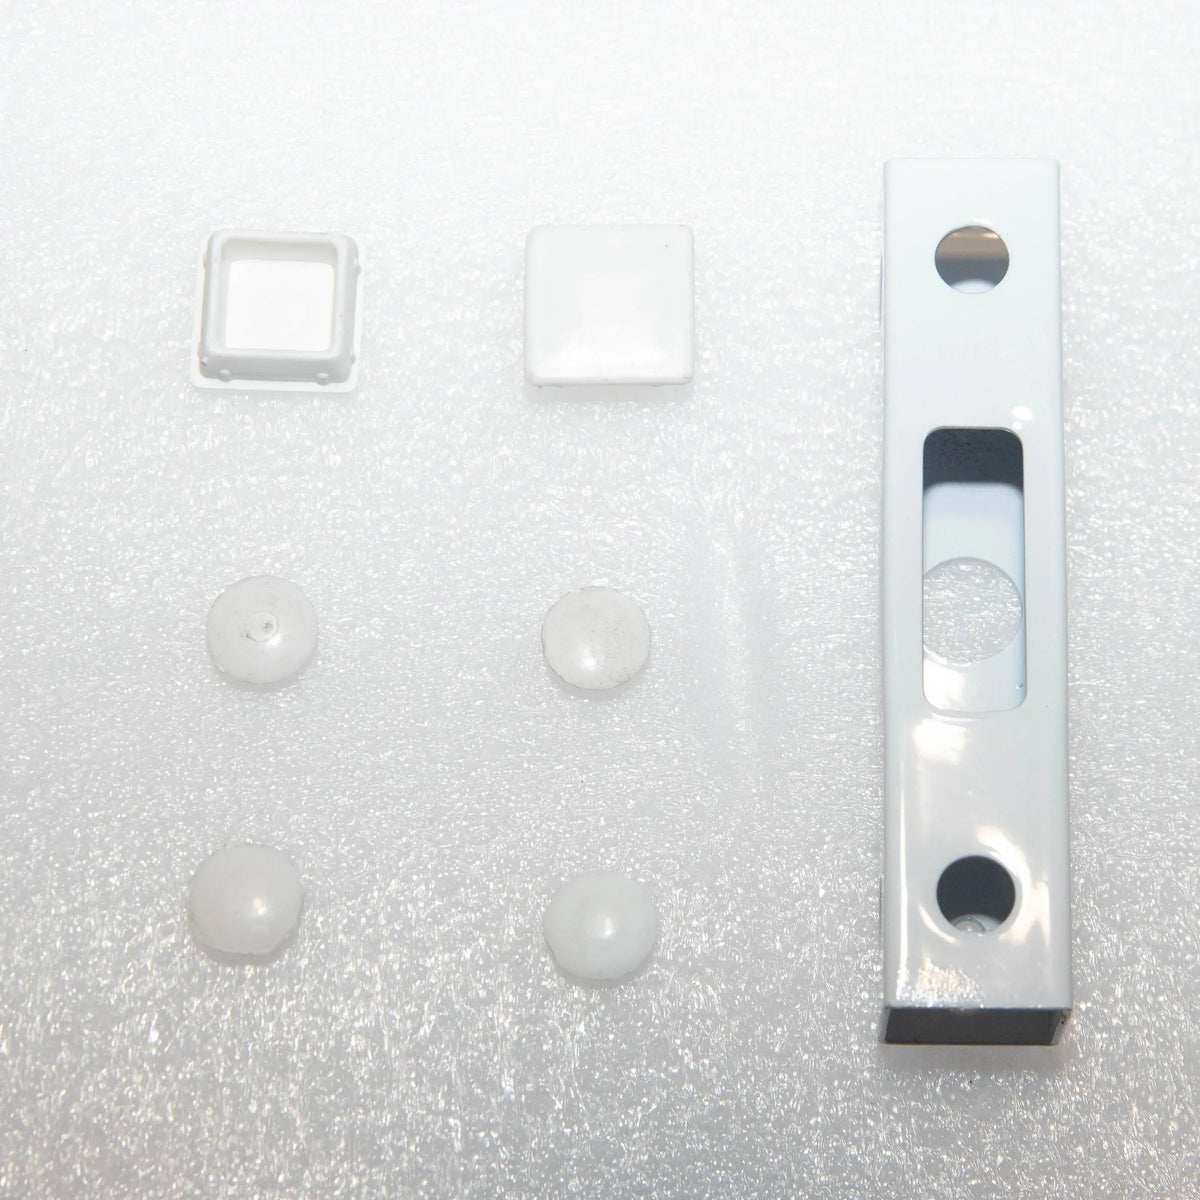
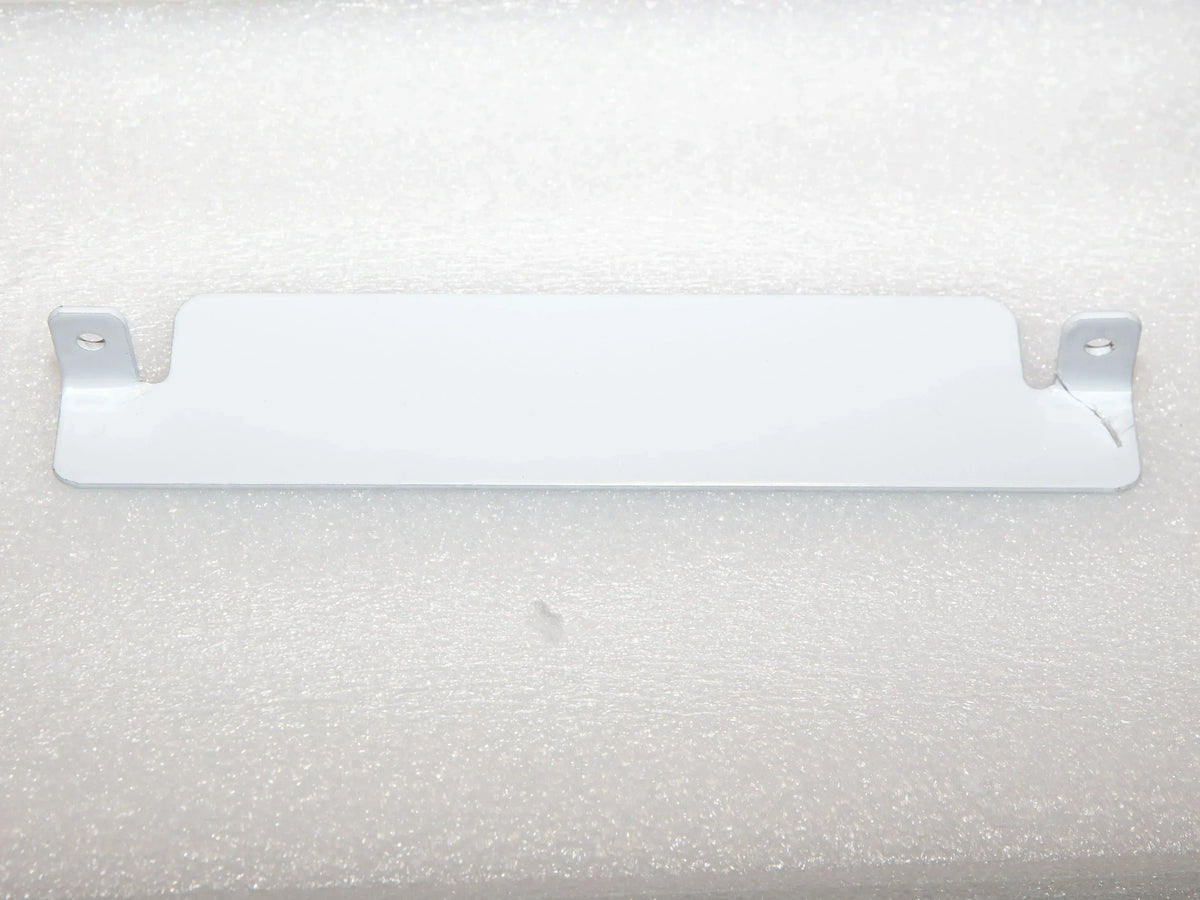
- Lock Protection Plate
- Lock Keep
- Fixings
- Instruction guide
Valor Security Gate Components & Contents
Valor gate panel (steel, coated finish)


- Panel Height: 1950mm
- Panel Width: 770mm
- Panel Thickness: 25mm
L302 Lock (Lockable from both sides)


Butt Hinges

- Hinge Width: 60mm
- Hinge Height: 75mm
- Hinge Thickness: 1mm
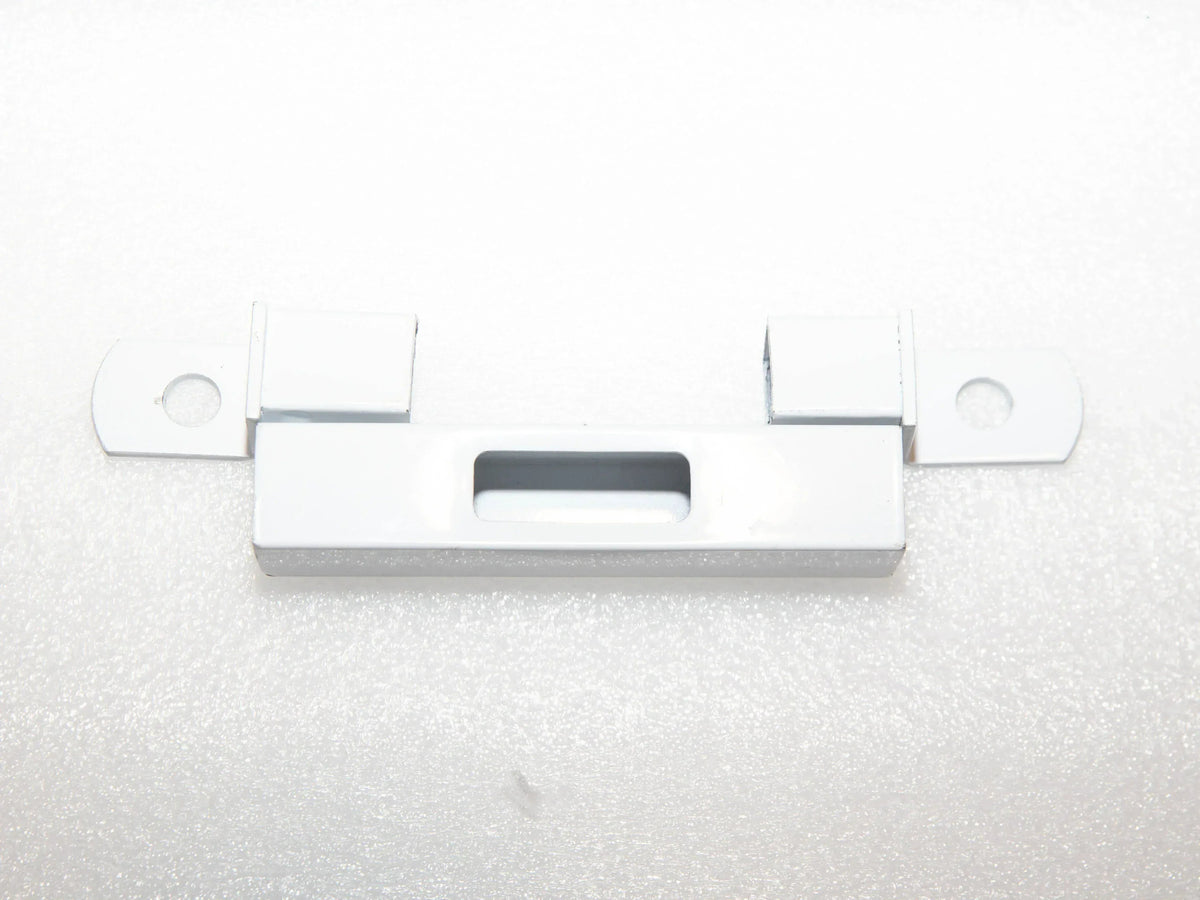
Lock Protection Plate

- Lock Protection Plate Width: 165mm
- Lock Protection Plate Height: 50mm
- Lock Protection Plate Depth: 25mm
- Lock Protection Plate Thickness: 1mm
Lock Keep

- Lock Keep Width: 25mm
- Lock Keep Height: 130mm
- Lock Keep Depth: 25mm
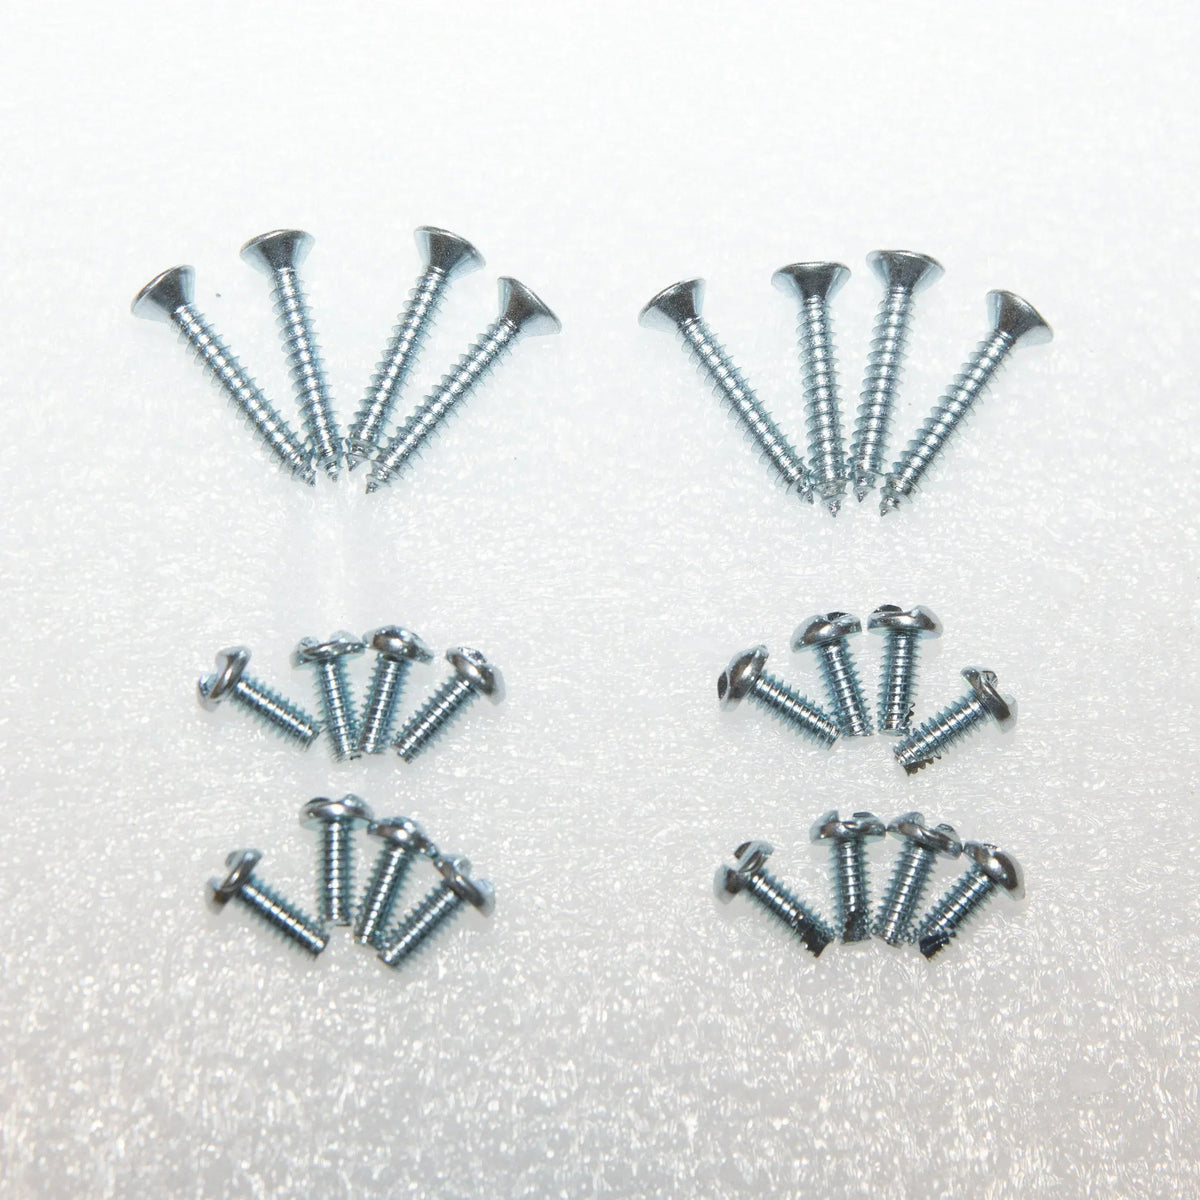
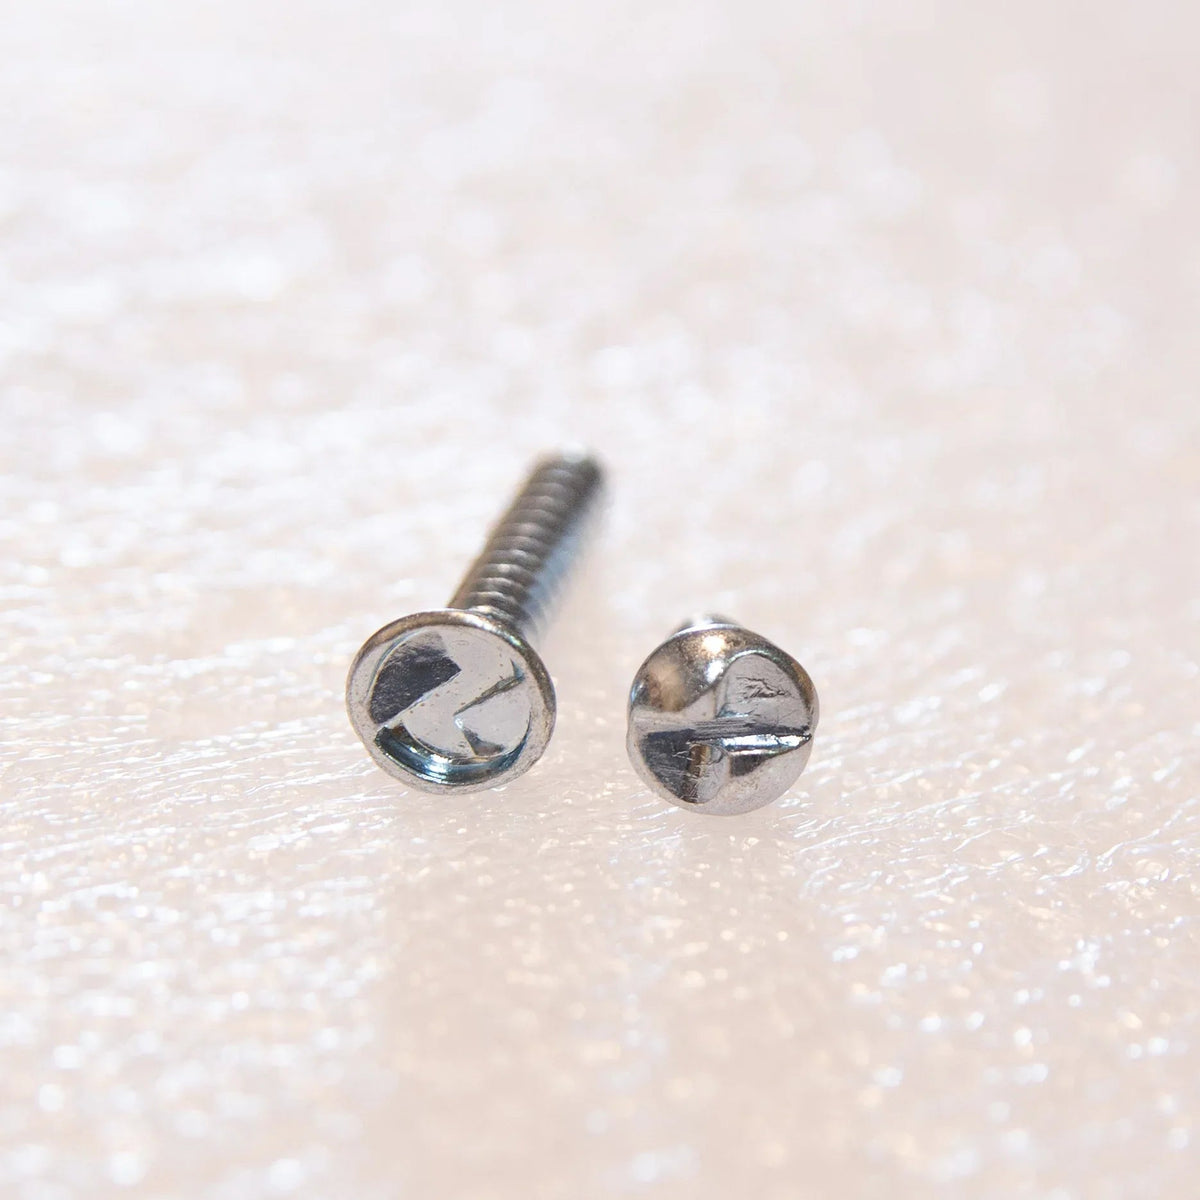
Fixings


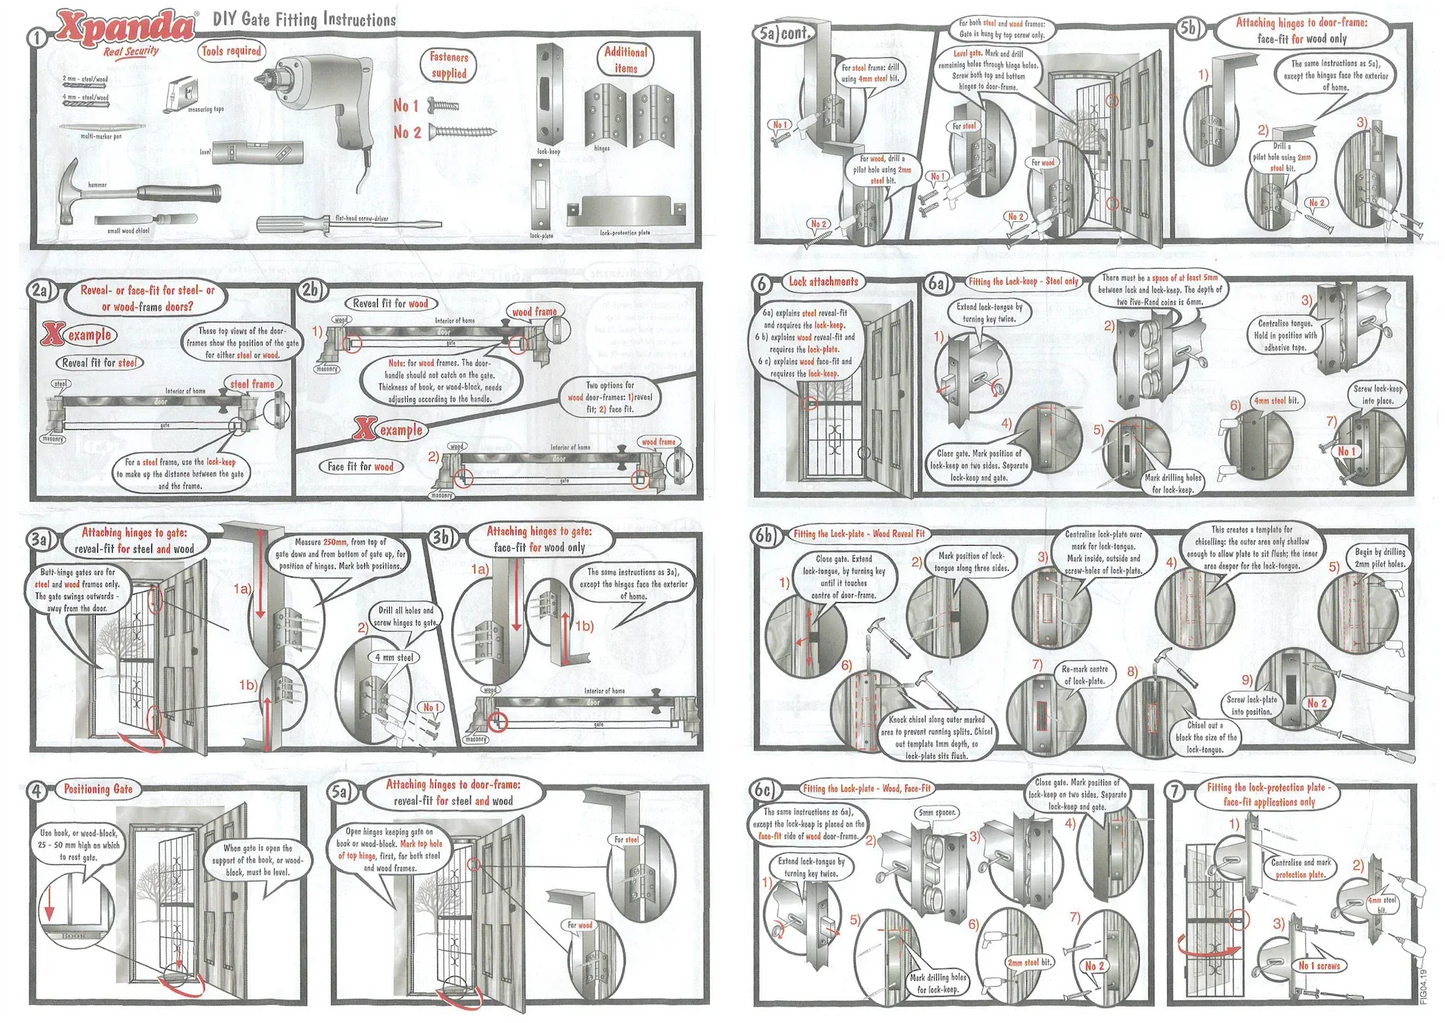
Instruction guide

Please click here to download the PDF version.
Installation Guide
How to Install Fixed Swing Security Gates
DIY Xpanda Fixed Swing Security Gates are designed for straightforward installation using common DIY tools. The method depends on whether your door frame is steel or timber, and whether the gate is fitted inside the opening (sill fix) or onto the face of the frame (face fix).
These instructions are for Sibaya, Valor, Trellis and Regal Gates.


Important: The gate must swing outwards, away from the main door. Check the opening direction and clearance before drilling.
Tools and Fixings Required

- 2 mm drill bits
- 4 mm drill bits
- Drill
- Hammer
- Level
- Measuring tape
- Flathead screwdriver
Step 1: Measure the Opening and Choose the Fitting Position
Measure the width and height of the doorway and check that your gate fits the intended position. Confirm whether your installation is sill fix or timber face fix.
For timber-framed doorways, check that the existing door handle will not catch on the security gate. Allow enough clearance for both doors to operate properly.

Step 2: Attach the Hinges to the Gate
Mark the two hinge positions approximately 250 mm down from the top and 250 mm up from the bottom of the gate.
- Steel or timber sill fix: Position the hinges for mounting inside the door frame.
- Timber face fix: Position the hinges so they face towards the exterior of the home.

Mark the hinge holes on the steel gate. Drill with a 4 mm steel drill bit, then secure both hinges to the gate using the supplied No. 1 screws.


Step 3: Position and Support the Gate
Place the gate in the selected opening position. Support its weight on a solid, level block or book approximately 25–50 mm high.
Use a spirit level to check the gate's alignment. Keep the support level while the gate is open, and make sure the gate can swing outward without catching on the main door or door handle.

Step 4: Fix the Hinges to the Door Frame
With the gate supported in position, open the hinges against the door frame. Mark the top fixing hole of the upper hinge first.
Drill the first hole and fit just one screw to support the gate temporarily:
- Steel frame: Use a 4 mm steel drill bit and a No. 1 screw.
- Timber frame (sill or face fix): Drill a 2 mm pilot hole and use a No. 2 screw.
Check the gate again with a spirit level before drilling any remaining holes.
Once the gate is level, mark and drill the remaining holes through the hinge positions. Secure the upper and lower hinges using the appropriate fixings:
- Steel sill fix: 4 mm steel drill bit + No. 1 screws.
- Timber sill fix: 2 mm pilot holes + No. 2 screws.
- Timber face fix: 2 mm pilot holes + No. 2 screws, with the hinges facing towards the exterior.
Remove the support carefully and test the gate's movement. It should swing freely and remain correctly aligned.

Step 5: Fit the Lock Hardware
The lock is already installed within the gate panel.
Follow only the section that matches your installation type.
- Steel face fix and timber face fix use the supplied lock keep.

- Timber sill fix uses the supplied lock plate.

A. Steel Frame — Sill Fix (Use Lock Keep)
- Turn the key twice to extend the lock tongue.
- Centre the lock keep over the lock tongue. Leave a gap of at least 5 mm between the lock and the lock keep.
- Hold the lock keep in position with masking tape, close the gate and mark its position on both sides.
- Separate the lock keep from the gate and mark the fixing holes on the steel frame.
- Drill the holes with a 4 mm steel drill bit and secure the lock keep using No. 1 screws.

B. Timber Frame — Sill Fix (Lock Plate)
- Close the gate and extend the lock tongue until it touches the centre of the timber frame.
- Mark the position of the lock tongue along three sides.
- Centre the lock plate over the marking, then trace its outside edge, inner opening and screw holes.
- Drill 2 mm pilot holes for the fixing screws.
- Use a hammer and wood chisel to cut a shallow recess of approximately 1 mm for the lock plate, so it sits flush with the frame. Chisel a deeper opening for the lock tongue.
- Position the lock plate and secure it to the timber using No. 2 screws.

C. Timber Frame — Face Fix (Lock Keep)
- Turn the key twice to extend the lock tongue.
- Position the lock keep on the face of the timber frame using a 5 mm spacer between the lock and the lock keep.
- Centre the lock tongue in the lock keep and hold the keep temporarily in position.
- Close the gate, mark the lock keep's position on both sides, then remove the keep and mark its fixing holes.
- Drill 2 mm pilot holes and attach the lock keep using No. 2 screws.

Step 6: Fit the Lock Protection Plate — Face Fix Only
- For a timber face-fix installation, position the supplied lock protection plate over the exposed lock area on the gate. Centre the plate and mark its fixing holes.
- Drill the holes into the steel gate using a 4 mm steel drill bit.
- Secure the protection plate with the supplied No. 1 screws.


Step 7: Check the Finished Installation
Open, close and lock the gate several times. Check that:
- The gate swings outward smoothly without catching.
- The gate sits level and remains properly aligned.
- Both hinges are securely fixed to the gate and door frame.
- The lock tongue enters the lock keep or lock plate cleanly.
- The lock operates correctly with the key.
- The lock keep or lock plate is firmly secured.
- The lock protection plate is secure, if fitted.
- Adjust the alignment if necessary before completing the installation.
Your DIY Xpanda Fixed Swing Security Gate is now ready to provide an additional physical barrier for your home, rental property, garage or business.
Download the original Fixed Swing Security Gate Installation Guide (PDF).