


Overview
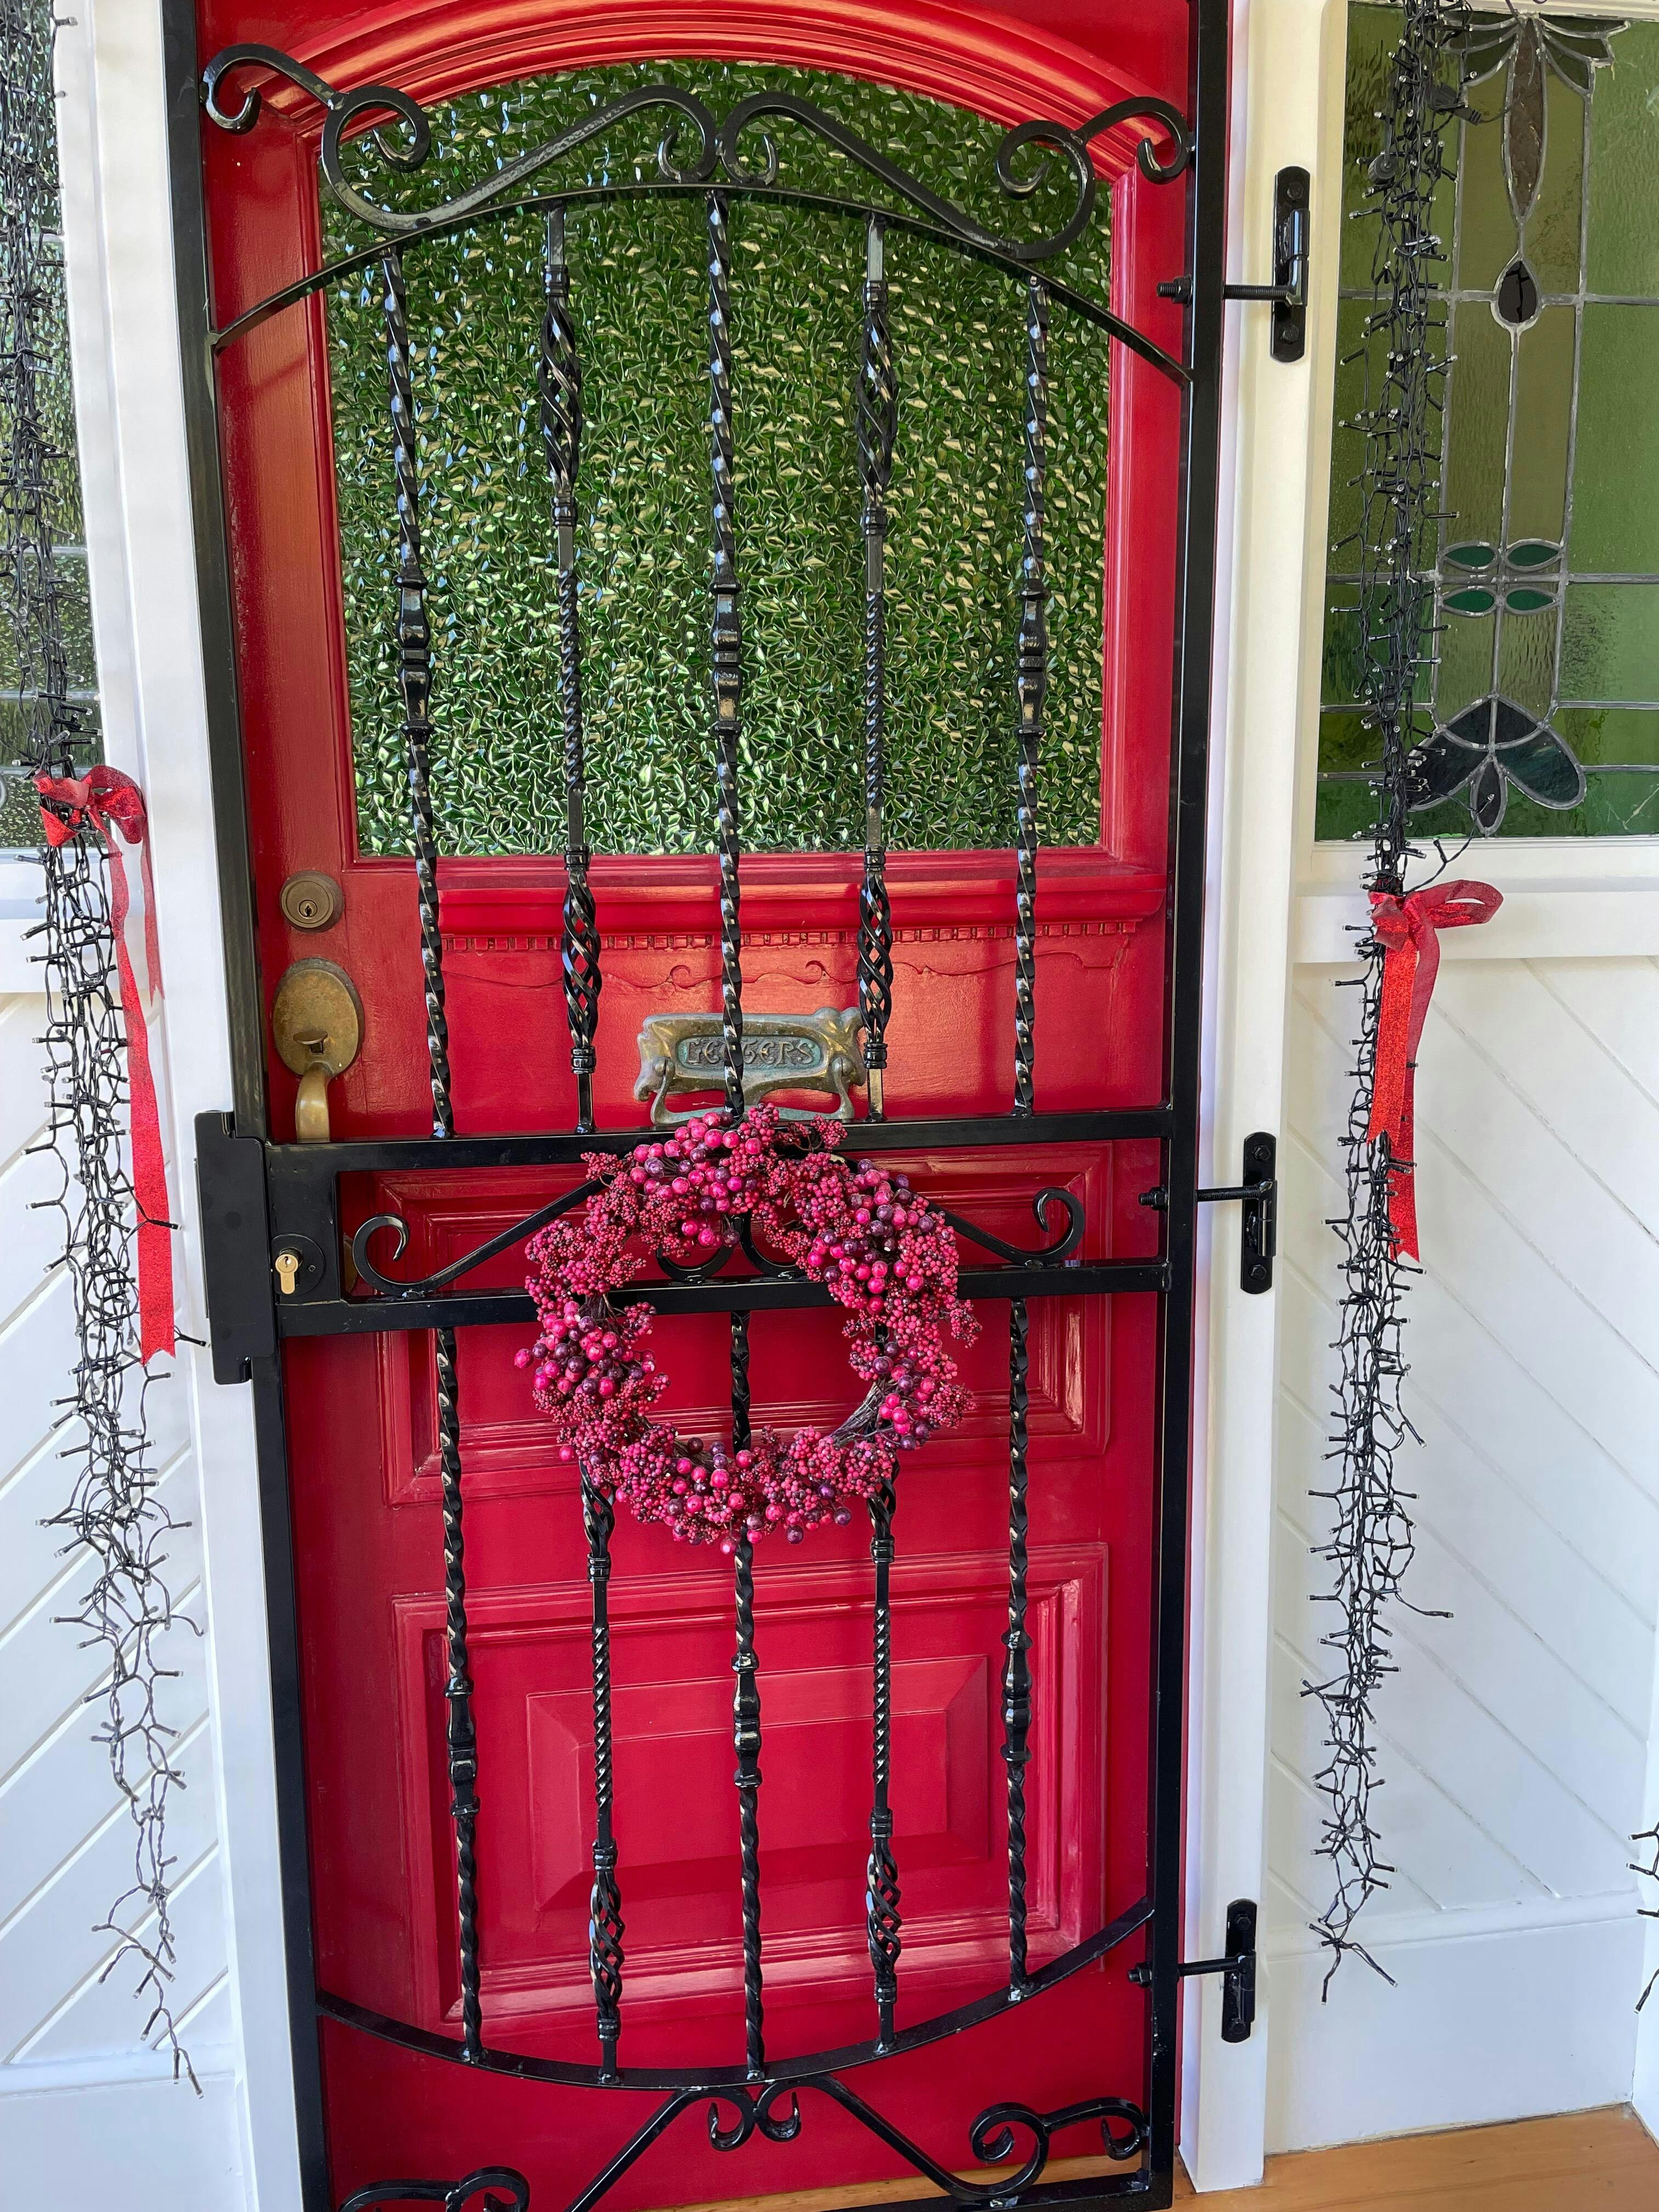
The Renaissance Metal Security Gate offers a wider fit and enhanced deadlock security, making it ideal for larger residential and light commercial entrances. Its adjustable hinge design ensures flexible installation while maintaining strong protection.
*For larger or higher-risk sites, Xpanda recommends our custom welded security gates for maximum strength.
Top Features
- Width: 910mm
- Height: 2000mm
- Mild steel, zinc plated + epoxy coated
- Type: Fixed swing gate
- Adjustable hinge fitting (Sill or face fix)*
*Size Clarification
When installed, the final width can vary depending on frame material and fixing method.
- For masonry walls (sill-fix):
885mm - 930mm - For wooden frames (face-fix):
865mm - 910mm
Key Strengths
- Wider Coverage:
Designed to fit slightly larger openings than other gates in the range. - Deadlock Security:
Key-operated lock adds stronger protection against tampering. - Adjustable Fit:
Hinges allow installation inside or outside the door frame. - Resilient Finish:
Coated for resistance to NZ’s challenging weather conditions.
Applications
- Homes and larger entrances
- Offices and reception doors
- Utility access points
What’s Included
- Renaissance gate panel (steel, coated finish)
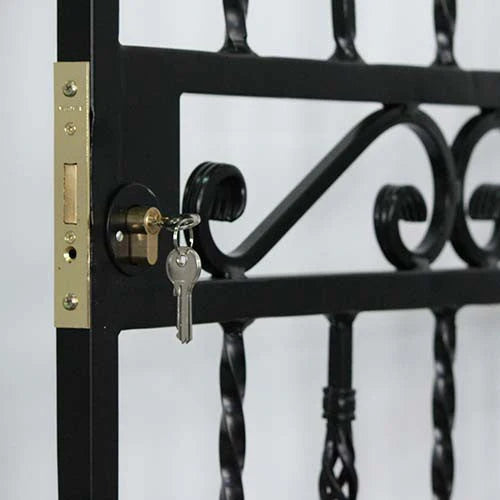
- Deadlock with keys
- Adjustable Hinges
- Lock Protection Plate
- Lock Keep
- Fixings
- Instruction guide
Renaissance gate panel (steel, coated finish)


- Panel Height: 1950mm
- Panel Width: 810mm
- Panel Thickness: 25mm
Deadlock (Lockable from both sides)


Adjustable Hinges

- Hinge Body Width: 30mm
- Hinge Height: 150mm
- Hinge Thickness: 3mm
- Adjustable Hinge Length:
- Face-fix (Recommended for Wooden Frame): 30-75mm
- Sill-fix (Recommended for Masonry Frame): 50-95mm

Lock Protection Plate

- Lock Protection Plate Width: 230mm
- Lock Protection Plate Height: 55mm
- Lock Protection Plate Depth: 30mm
- Lock Protection Plate Thickness: 1mm
Lock Keep

- Lock Keep Width: 25mm
- Lock Keep Height: 120mm
Fixings

Instruction guide

Please click here to download a PDF version of the Instruction guide.
Installation Guide
🛠️ Tools Required
🖊️ Multi marker pens
📏 Measuring tape
📐 Level
🛠️ Multi-purpose drill
🔩 Drill bits (2, 4, 6, 8, 10mm – Steel/Wood)
🧱 Masonry drill bits (6mm, 10mm)
🔧 Screwdrivers (Star & Flat head)
🔧 Ring spanners (10mm & 13mm)
Step 1. Measure the Door Frame Width
Use a measuring tape to get the frame width where the gate will be installed.
Make sure you measure inside the door frame. 🚪
Step 2. Attach Hinges to the Gate
a. Screw the hinges into the gate.
b. Do not fully tighten them yet — just enough to hold. 1
c. Adjust the hinges to align with the door frame. 📐

Step 3. Set Up Lock-Keep, Lock Tongue, and Hinges
a. Centralize the lock-keep over the lock tongue.
b. Use adhesive tape to hold the lock-keep in place.
c. Ensure there is at least 5mm gap between the lock and lock-keep.
d. Connect male to female hinges on top, center, and bottom.
e. Hold them in place with tape.


Step 4. Fit Gate Into Door Frame
Place the gate into the door frame. 🚪
- For masonry: install the gate parallel to the frame. 🧱
-
For wood: install the gate perpendicular to the frame. 🪵

Step 5. Adjust Gate Position
Adjust female hinge bolts to widen or narrow the gate’s reach. 🔧
- Reach for masonry fitment: 885mm–930mm. 📏
- Reach for wood fitment: 865mm–910mm. 📏

Step 6. Tighten Hinges & Check Level
a. Tighten all female hinge bolts.
b. Use a spirit level or a 30mm-thick book to check alignment. 📐
c. Mark the top, center, and bottom hinge positions. ✏️
d. Remove the gate carefully.

Step 7. Attach Gate to the Frame
a. Drill holes at the hinge markings.
b. Insert and tighten the hex bolts. Use a motion like opening a bottle top to secure bolts.
Step 8. Install the Lock-Keep
a. Ensure the lock-keep is still taped to the gate.
b. Close the gate and mark the lock-keep position.
c. Remove the gate and the lock-keep.
d. Drill holes on the marks and bolt the lock-keep into place. 🔩
Step 9. Adjust Lock Tongue Direction
Rotate the tongue so the angled side faces the closing direction.
If the flat side hits the lock-keep, the gate will not close. ⚠️

Step 10. Fine-Tune Lock Cylinder 🔑
a. Remove the lock from the gate.
b. Turn the key about 10° until the center bar is flush.
c. Insert the cylinder into the gate lock.
d. Turn the key until the tongue extends and screw appears.
e. Remove the screw and pull out the tongue.
f. Rotate the tongue to the correct direction.
g. Reinsert the tongue and secure it with the screw.
h. Remove the cylinder again.
i. Reinstall the lock in the gate.
j. Ensure the center bar is flush and the tongue retracts properly.
k. Fix the lock using screws.


Step 11. Install Lock Protection Plate
a. Centralize the plate and mark the holes.
b. Drill holes on the marks and screw and secure the protection plate.
CUSTOM ORDER?
