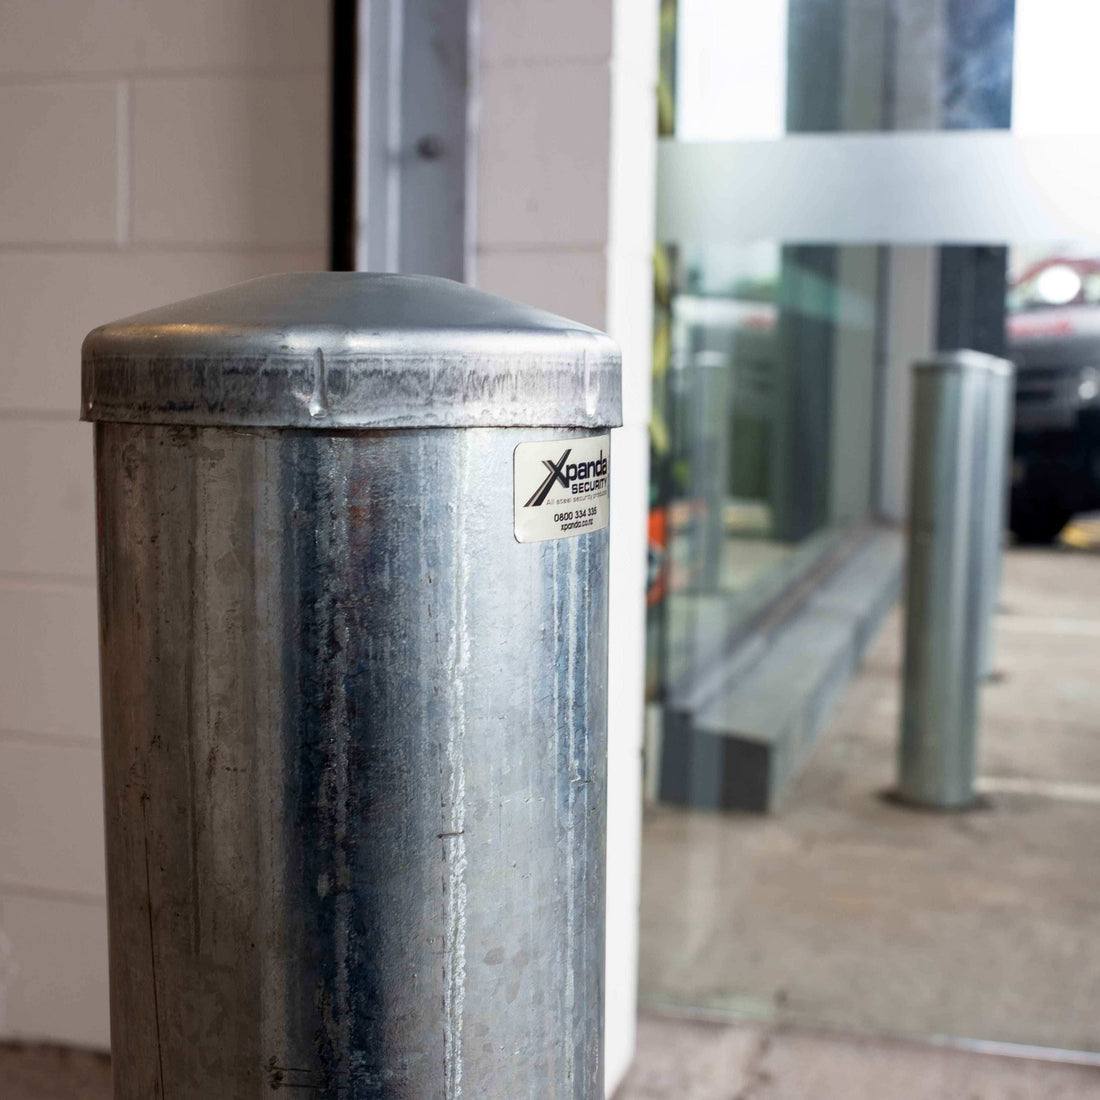
How to Install Removable Bollards - Anti-Ram Raid Protection
Share
How to Install Removable Bollards - Anti-Ram Raid Protection
Removable bollards provide solid protection against ram-raid while allowing smooth access when needed.
Here is a quick guide for how to install removable bollards.
For specific requirements around permits, distances, and sizes, always check with your regional authority.
Example: Auckland Transport – Applying to install bollards.
In this guide:
- The pipe refers to the bollard sleeve.
- The base refers to the ground section that holds the sleeve.
<Index>
- Safety Check
- Positioning
- Excavation
- Drainage
- Pipe Positioning
- Backfilling
- Finishing & Lock Installation

<Photo Credit: Ideal Shield https://www.idealshield.com/products/crash-bollards/astm-c40-traffic-impact-bollard/>
1. Safety Check
Before starting, make sure the area is safe to work on.
- Look at the surroundings — avoid creating hazards for pedestrians, vehicles, or workers.
- Confirm with utility services that no underground pipes or cables will be affected.
- Ensure you have any permits or permissions needed.

2. Positioning
Mark out where the bollards will go.
- The layout should allow easy access for pedestrians while still blocking vehicle entry.
- Think about visibility, accessibility, and how the bollards will line up with your storefront or boundary.
3. Excavation
Prepare the ground where the pipe will sit.
- Break open the surface carefully.
- Dig or core drill a hole deep and wide enough to securely hold the base.
- Keep the hole clean of loose material.
4. Drainage
A proper drainage base helps prevent water buildup.
- Place clean aggregate or similar material at the bottom of the hole.
- Level it out so the pipe will sit evenly.
5. Pipe Positioning
Place the pipe (sleeve) into the prepared base (hole).
- Make sure it is straight and upright.
- Test the fit of the bollard inside the pipe before final fixing.
6. Backfilling
Secure the pipe in place by filling around it.
- Start with compacted material for stability.
- Finish with concrete at the surface to lock everything in.
- Shape the top surface so water flows away from the pipe.
7. Finishing & Lock Installation
- Clean around the surface before the concrete sets.
- Insert the bollard post into the pipe and check it locks correctly.
- If your bollard has a lid or lock, make sure it opens and closes smoothly.
- Allow curing time before putting the bollard into full use.

If you are looking for custom-made bollards and professional installation, please contact Xpanda Security.
We are currently working on making an in-depth explanation video of how to install removable bollards.
Stay tuned!
Appendix:


